Installing Oracle WebCenter Sites 12c
The following tutorial, by Function1's Michael Crawford, takes you step by step through the process of installing WebCenter Sites 12c from scratch, including installing Oracle Fusion Middleware 12c Infrastructure, and then Sites itself. You will be guided through each step with screenshots of the entire process.
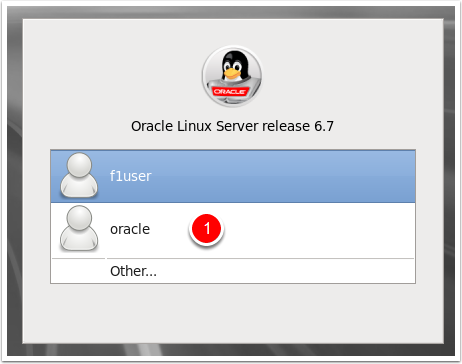
Login as oracle user
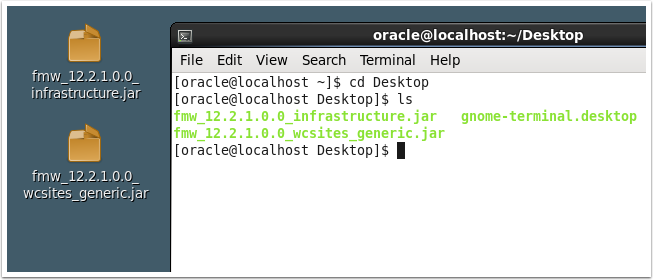
Files are on desktop
They can be downloaded at:
http://www.oracle.com/technetwork/middleware/webcenter/sites/downloads/index.html
http://www.oracle.com/technetwork/middleware/weblogic/downloads/wls-for-dev-1703574.html (You want the Fusion Middleware Infrastructure Installer)
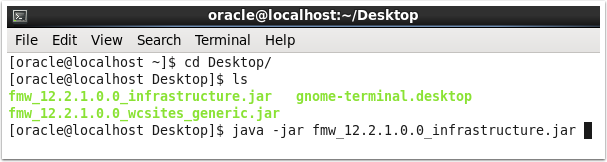
Run the Oracle Fusion Middleware 12c Infrastructure Installer
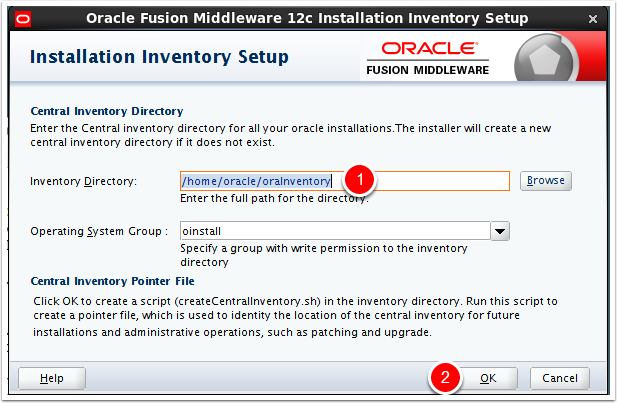
Tell the installer where you would like to keep your inventory
Set an inventory location then click OK
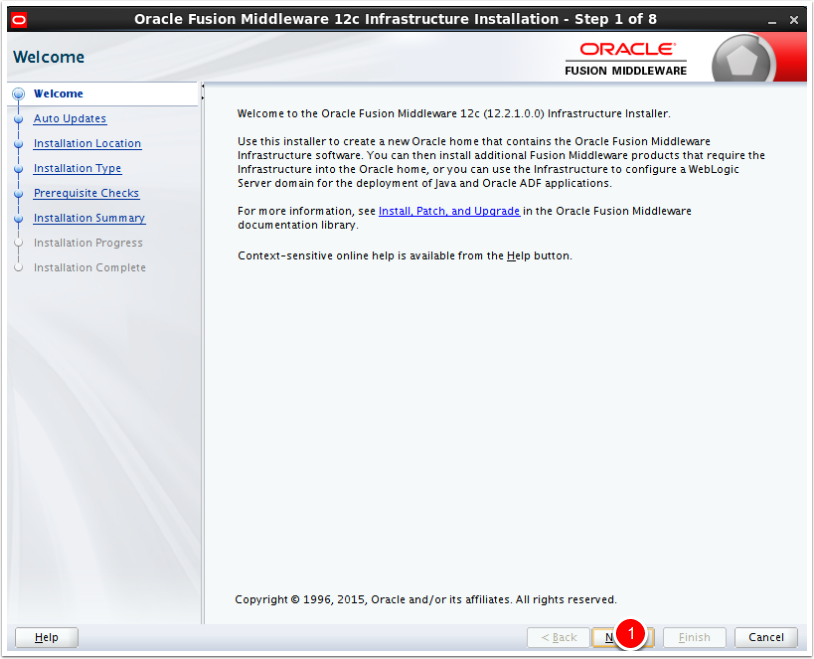
Welcome Screen
Click next
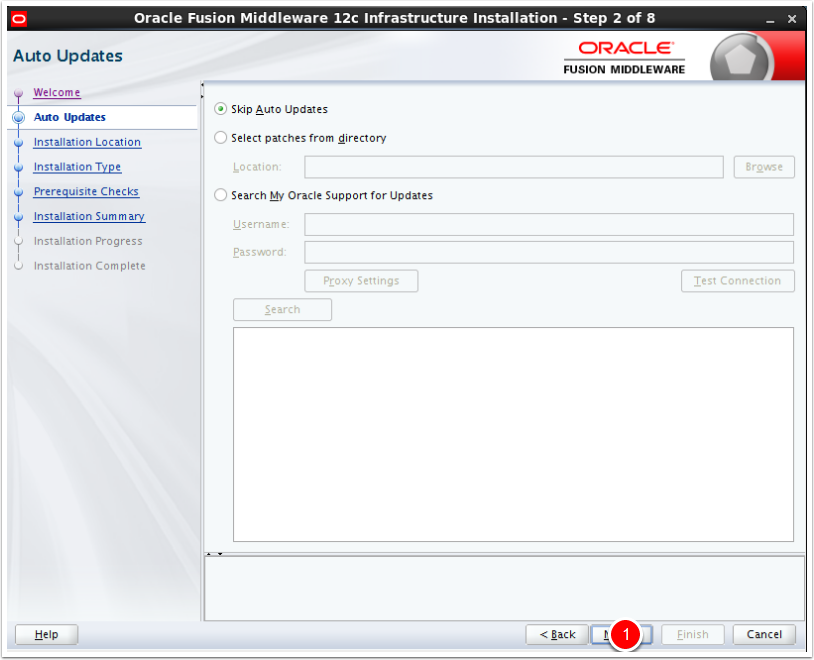
Set Auto Updates
We will skip and just click next
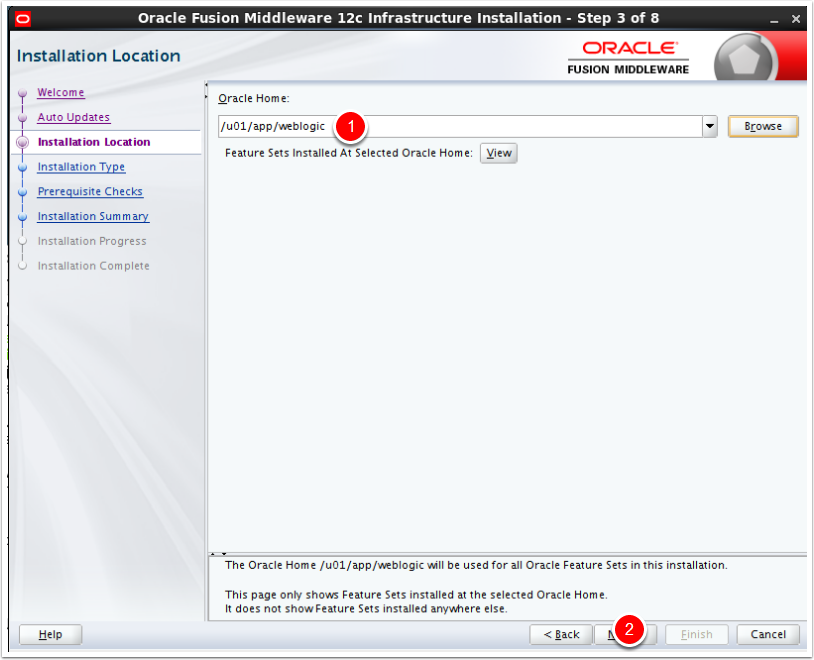
Set the installation directory
Set the installation directory of weblogic then click next
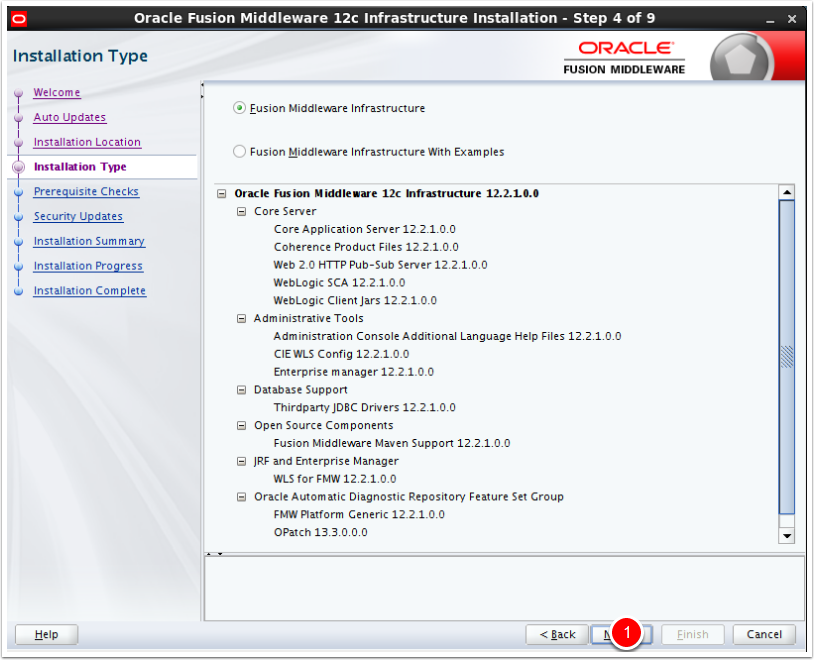
Choose whether to install samples
In this case we will not install the samples, so just click next.
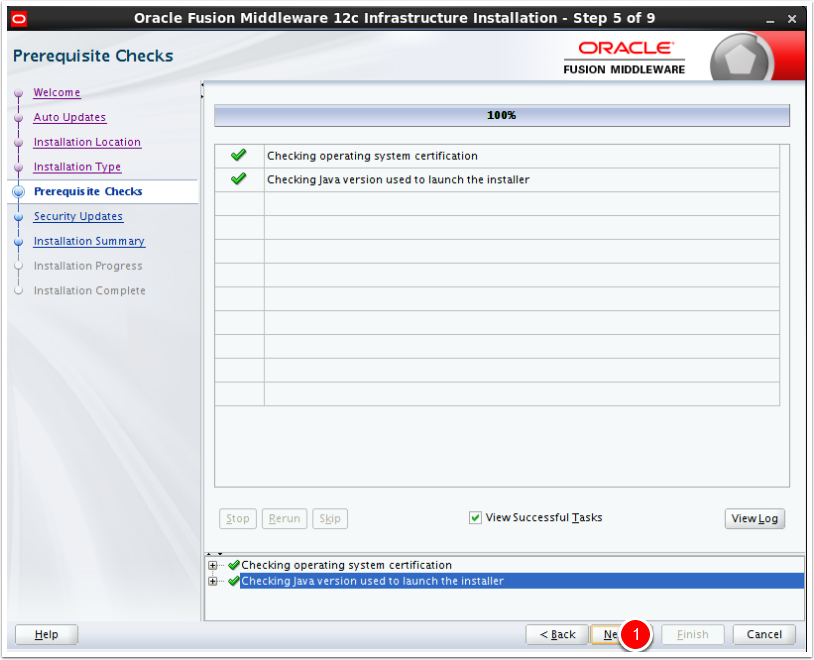
Prerequisite Checks
If nothing is wrong just click next
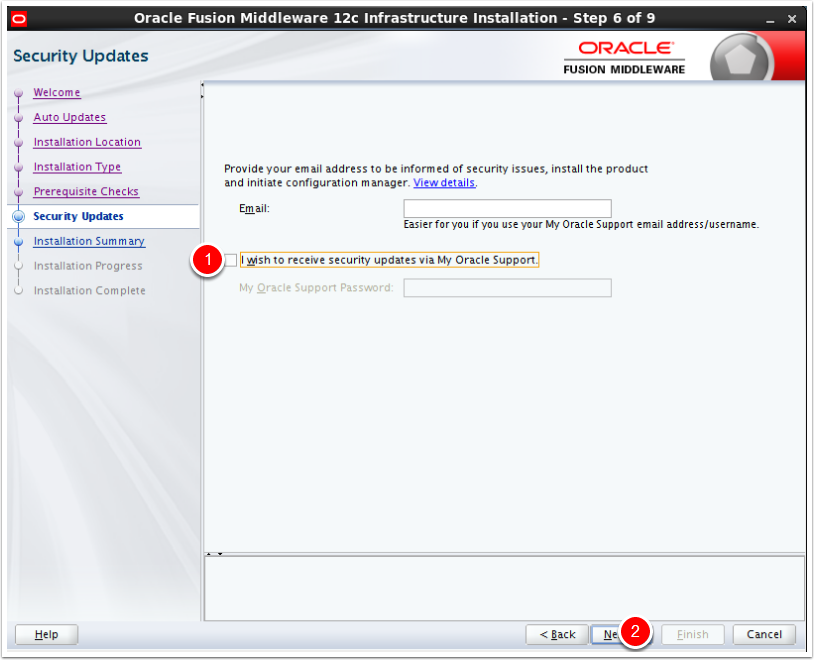
Select whether to receive security updates
In our case we simply deselected this and clicked next since this is an example install
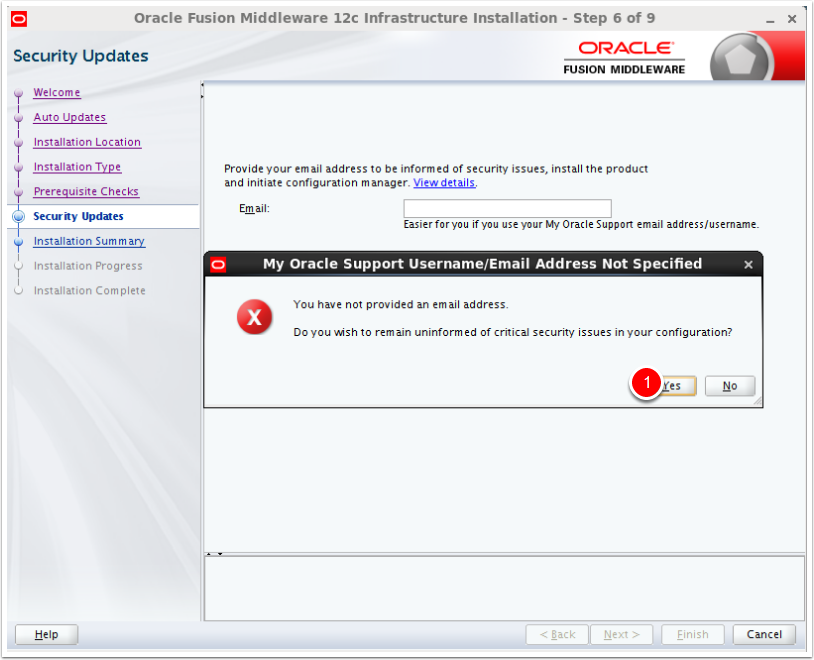
Accecpt the warning (if you chose not to receive security updates)
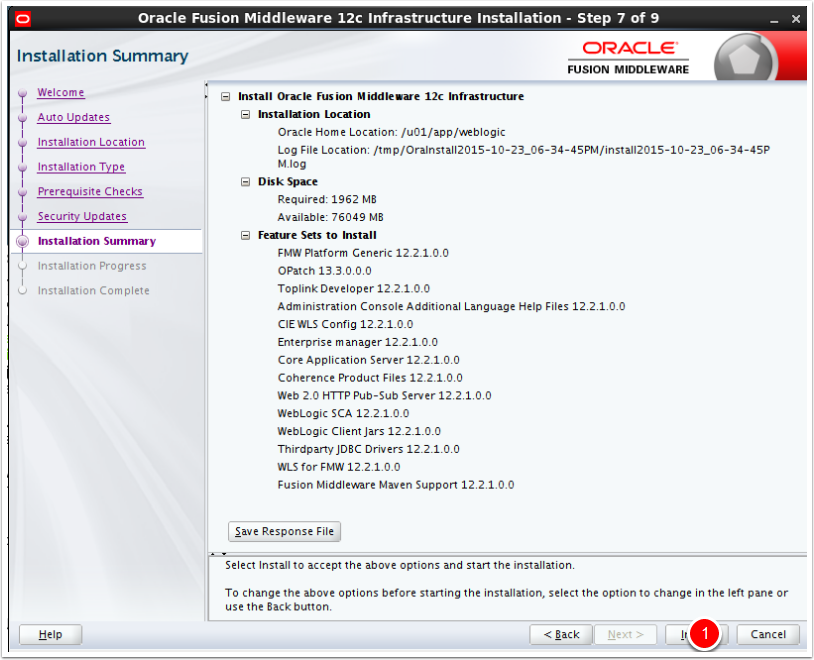
Installation Summary
Review then click on install.
Intallation Success
Presumming everything works you will see all green checkmarks. Just click finish.
Start the Oracle Fusion Middleware 12c Oracle WebCenter Sites Installer
This may take a while to start up.

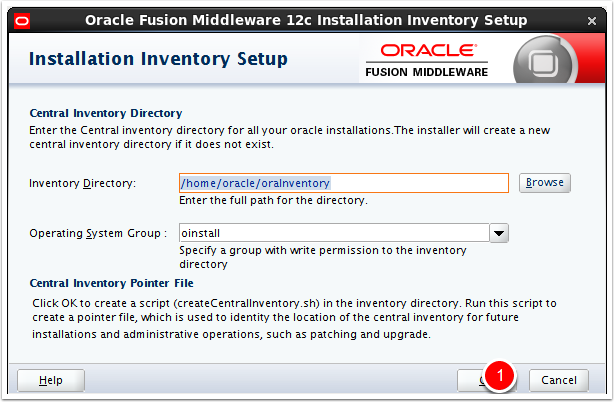
Specify your inventory
This should be the same as from the infrastructure installer
Welcome Screen
Just click next

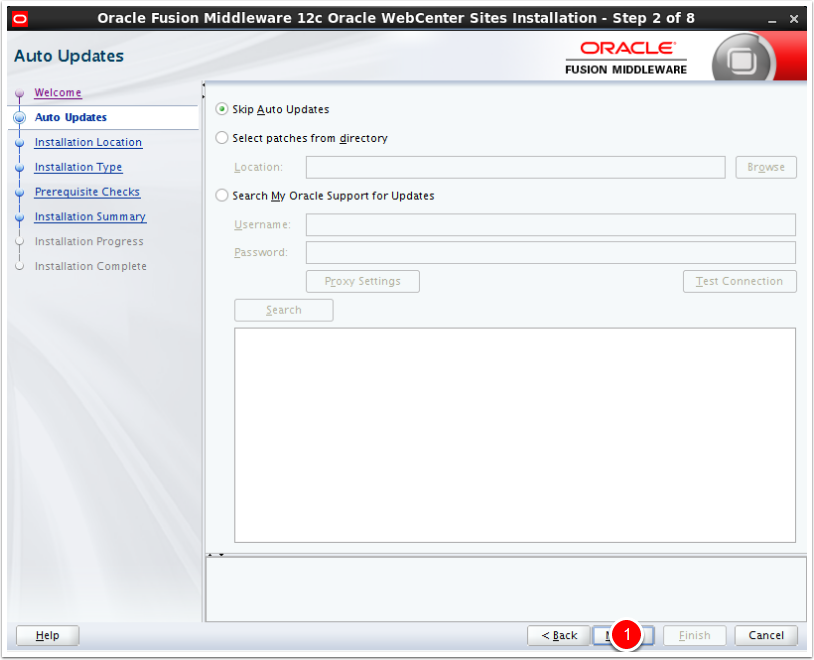
Auto Updates
We will choose to skip.
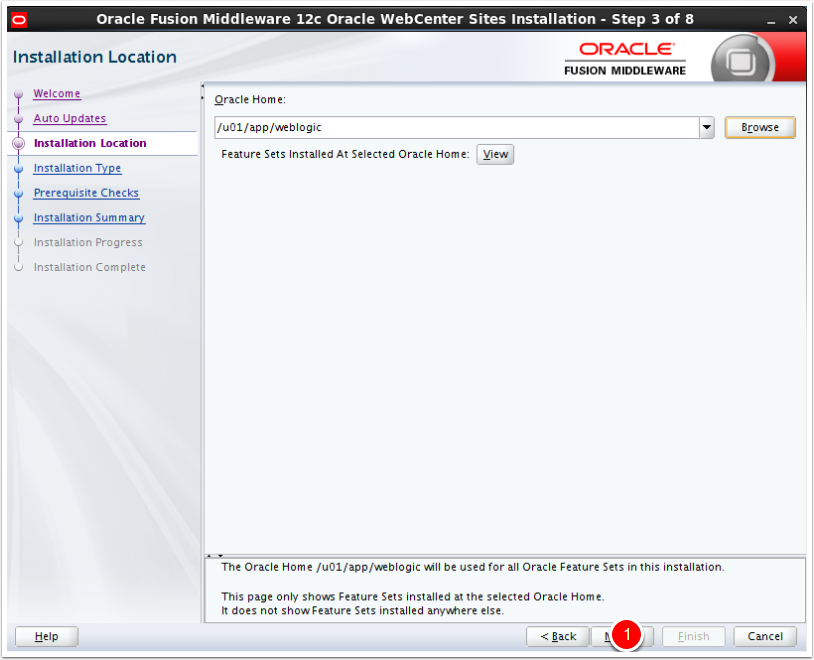
Specify the Oracle Weblogic Home
This will be the same as what you set when doing the infrastructure install. The drop down should find it automagically.
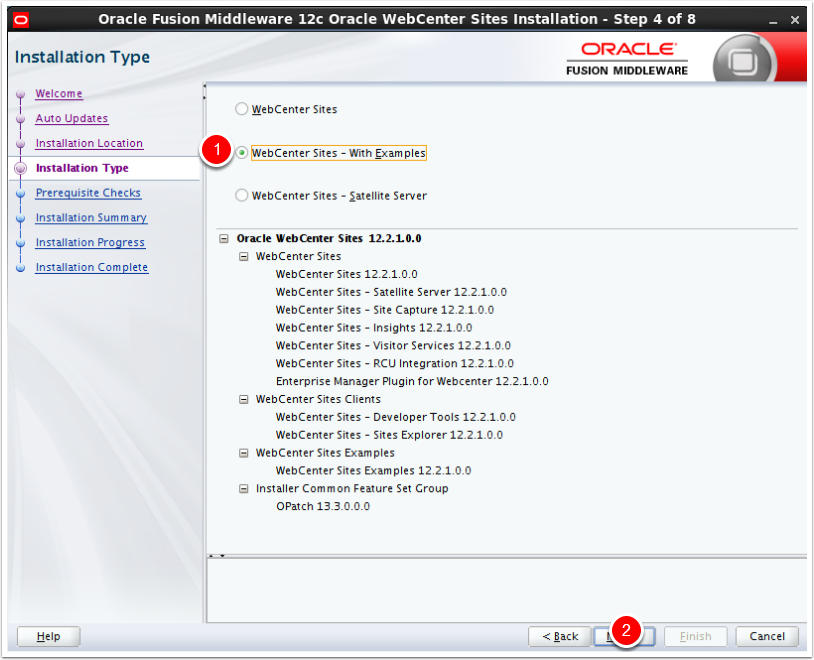
Installation Type
Note that we selected with examples since we want the sample sites to play with
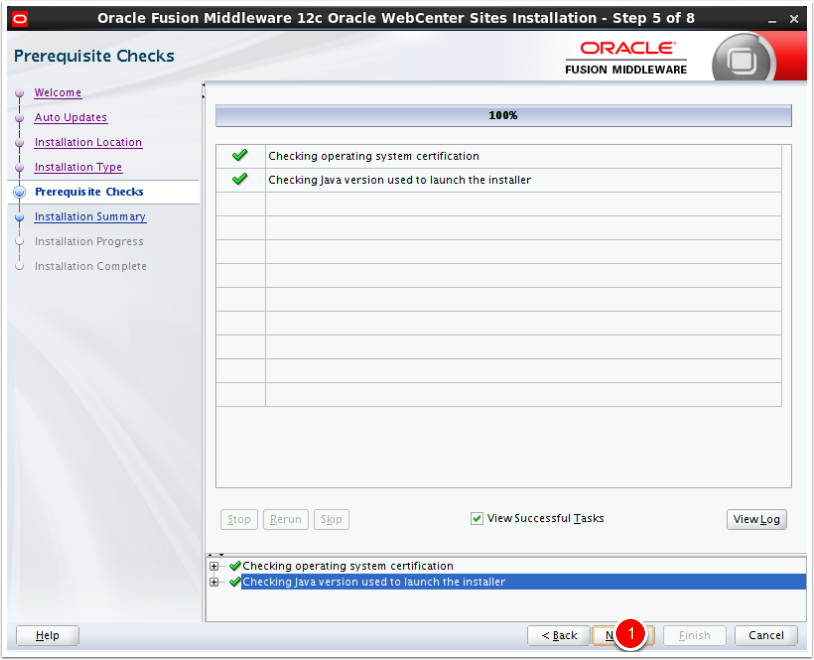
Prerequisite Checks
If everything is green just click next
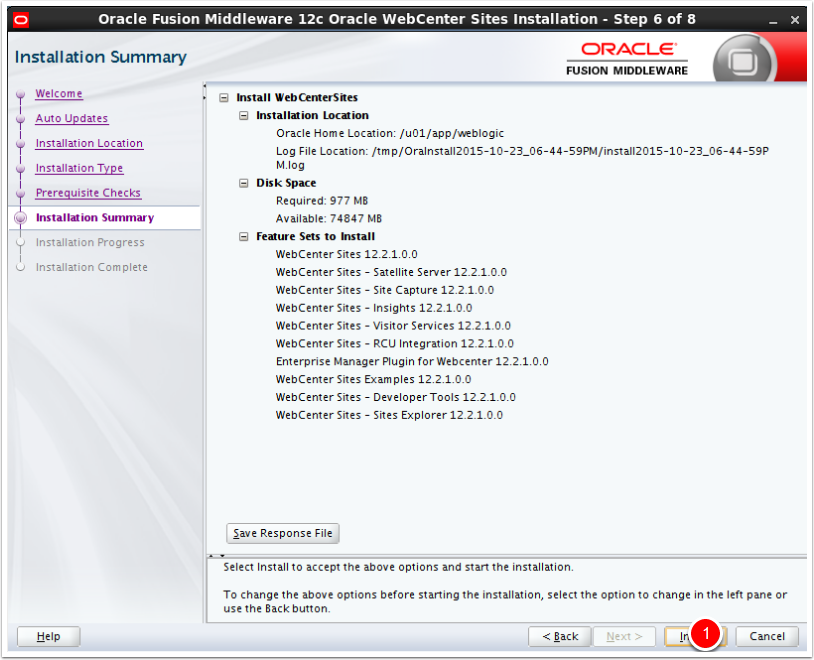
Installation Summary
If you are happy with the options you selected click install.
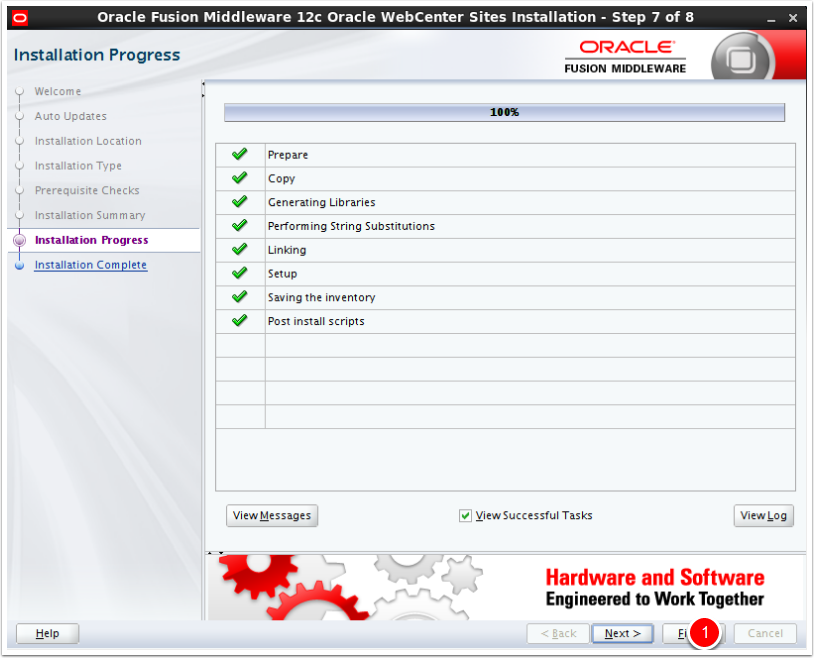
Installation Success
Assuming all the check marks are green you are good to go. Click finish
Start the rcu utility
You need to go to the oracle_common/bin directory under the weblogic home and start the rcu utility

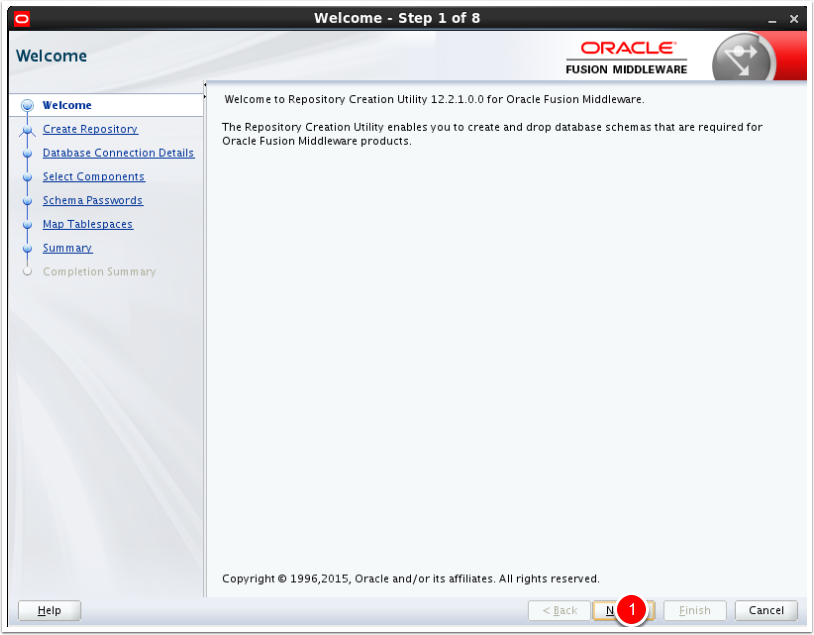
Welcome Screen
Click next
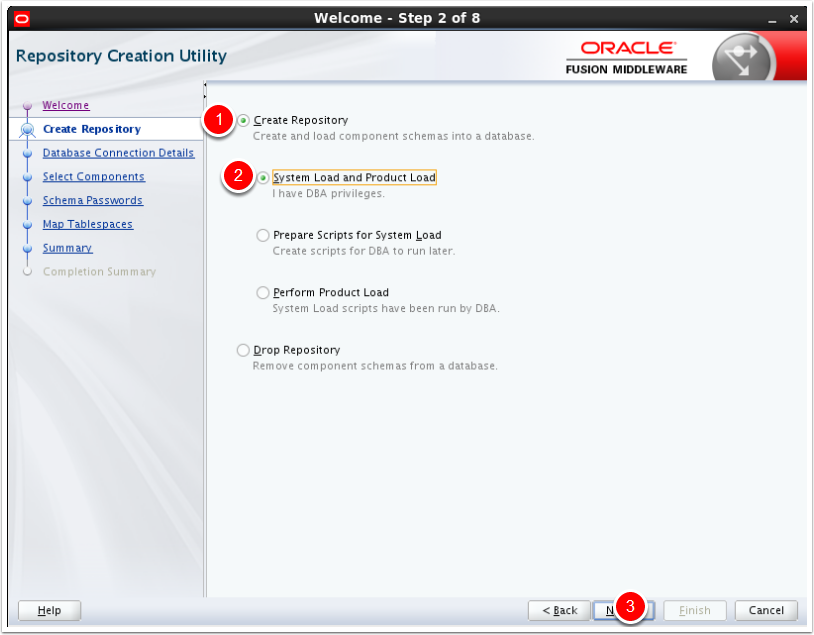
Create Repository
Select "System Load and Product Load" then click next
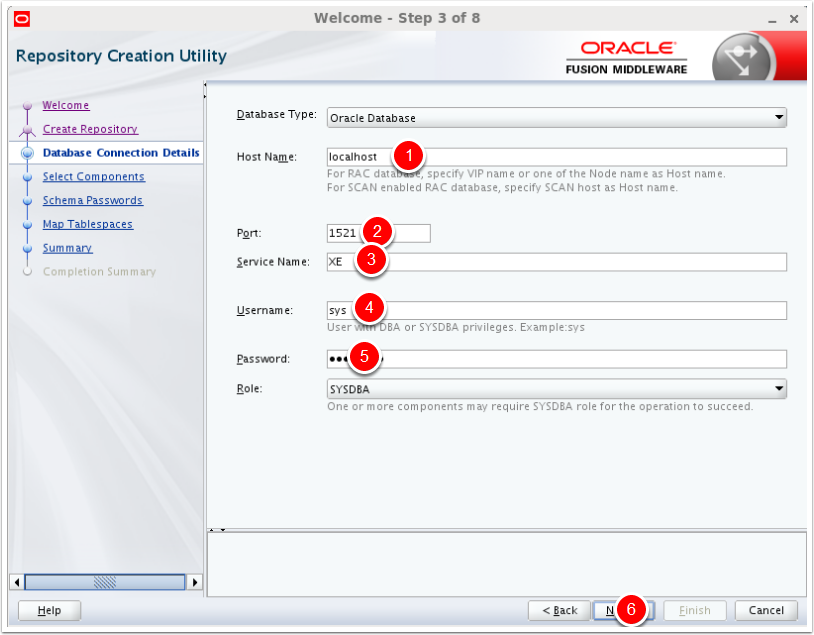
Database Connection Details
Specify the hostname, port, servicename, username and password of the database where you want to install.
Note: This needs to be a dba user as the RCU utility will creates your sites database user for you
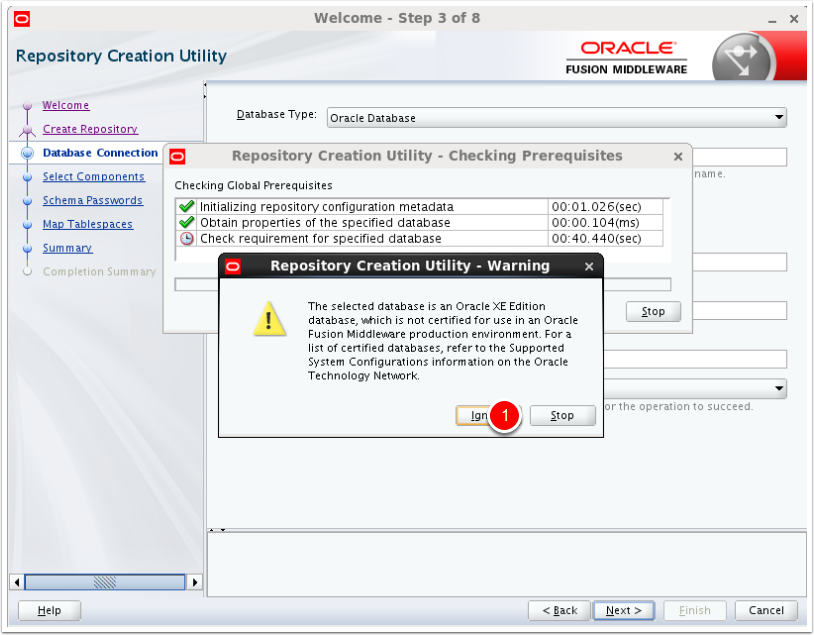
XE Warning
If you are using XE it will give you a certification warning. Just click ignore.
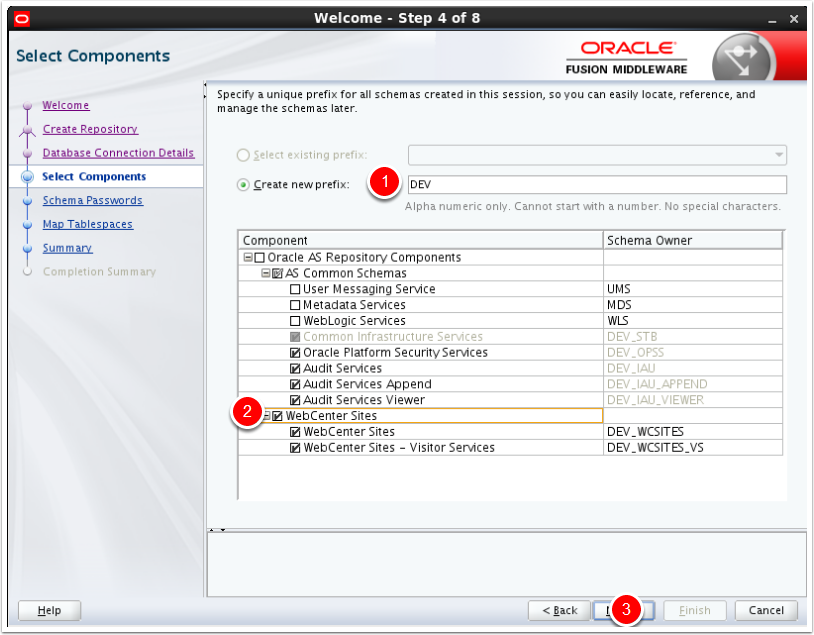
Select Components
Enter the prefix you would like to use for this environment then check next to WebCenter Sites and some other things should get check automatically as in the picture. Finally click next.
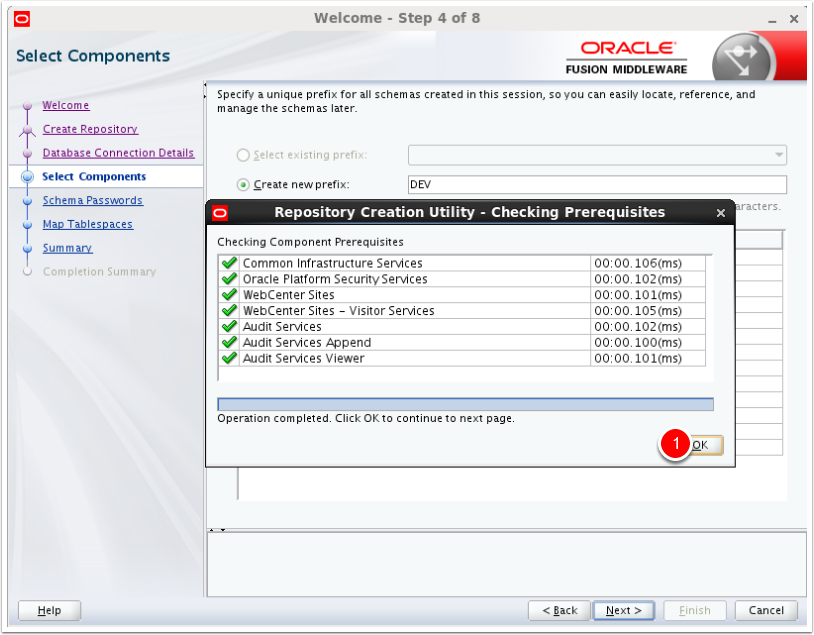
Checking Prerequisites
If everything is green just click OK
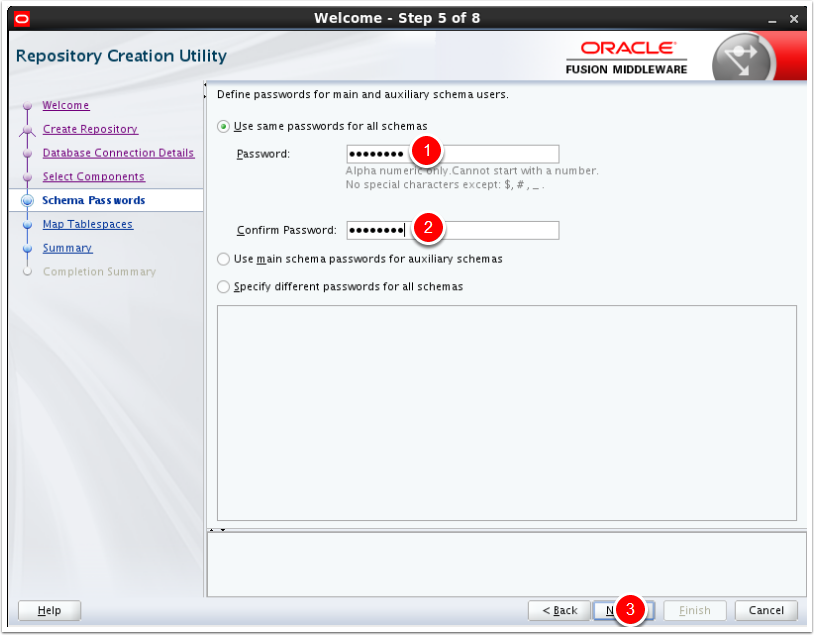
Set the schema password
Set and confirm the dbuser/schema password you would like to use for the new Sites user then click next
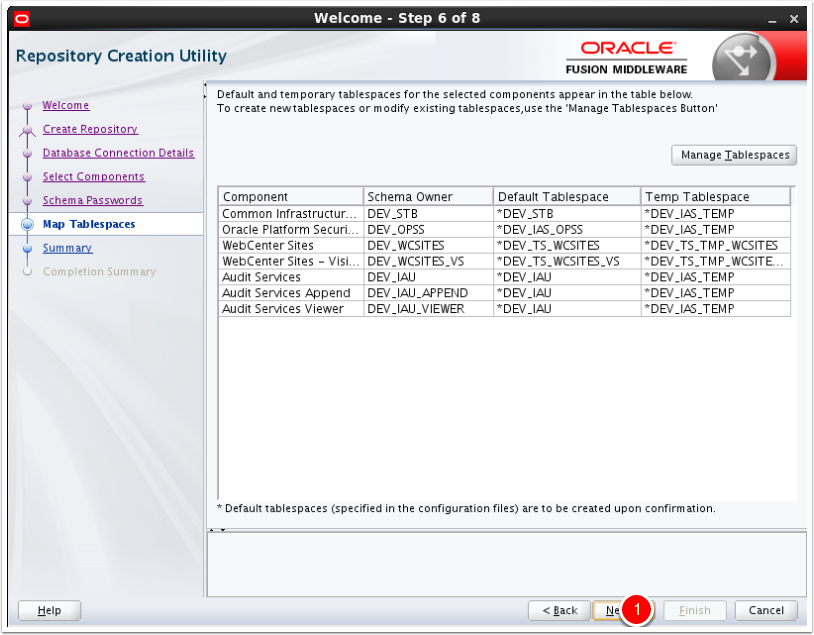
Confirm Tablespaces
Make any modifications you want and then click next
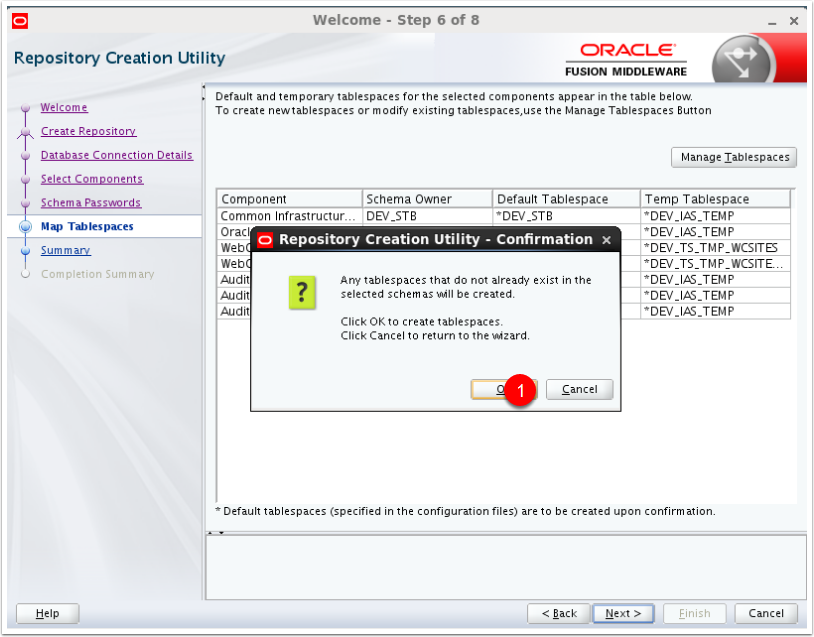
Repository Creation Confirmation
Just click OK
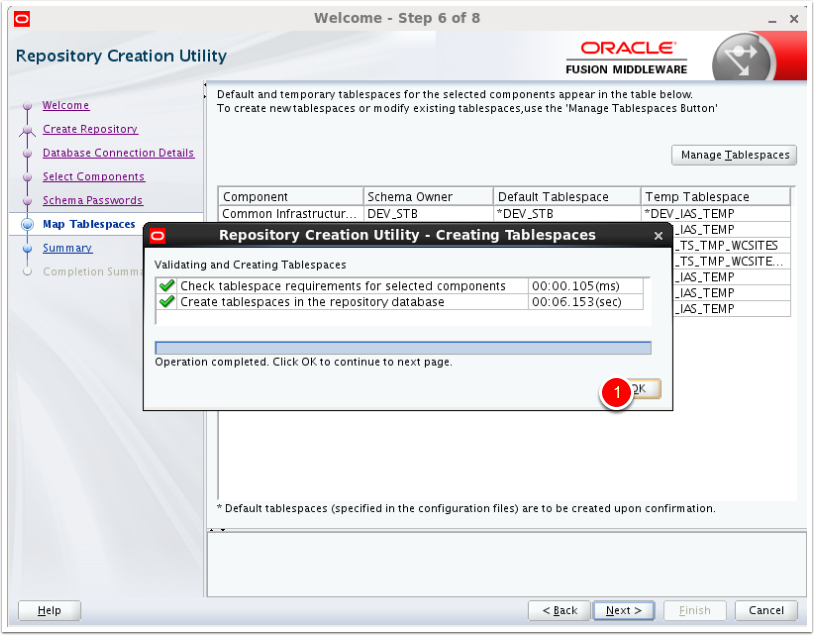
Tablespace creation success
If everything is green the tablespaces were created and you can click ok
Summary
Review summary of what is going to be created in the database and click Create

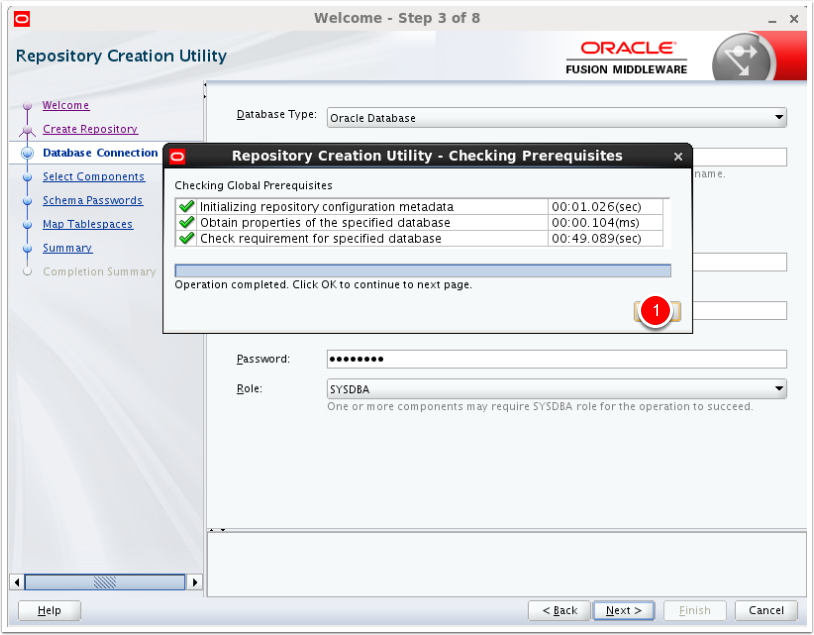
Checking Prerequisites
Assuming everything is green you can just clikc ok
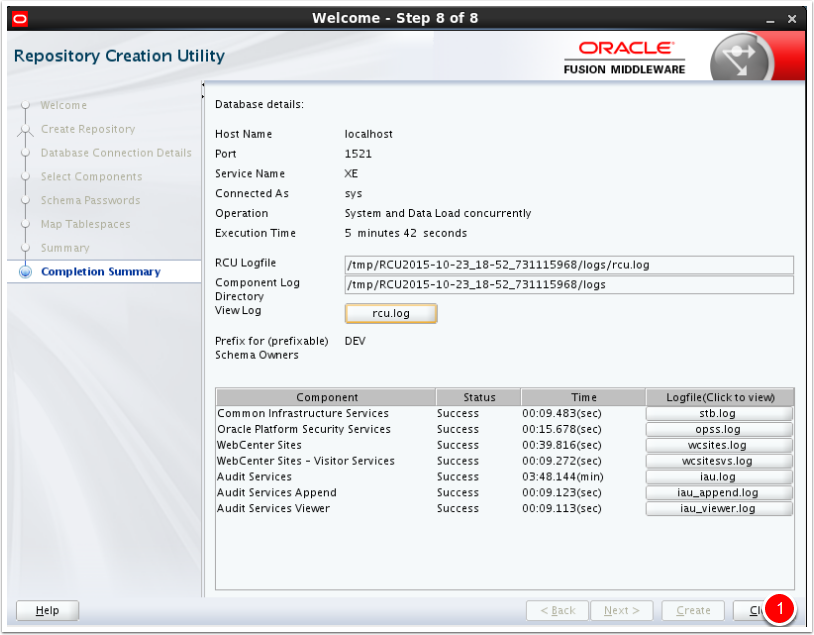
Success
Presuming everything states success you can click close.
Note that you may get some warnings when creating audit services if using XE. You can just ignore those.
Run config.sh
Change to the /u01/app/weblogic/oracle_common/common/bin directory and run config.sh

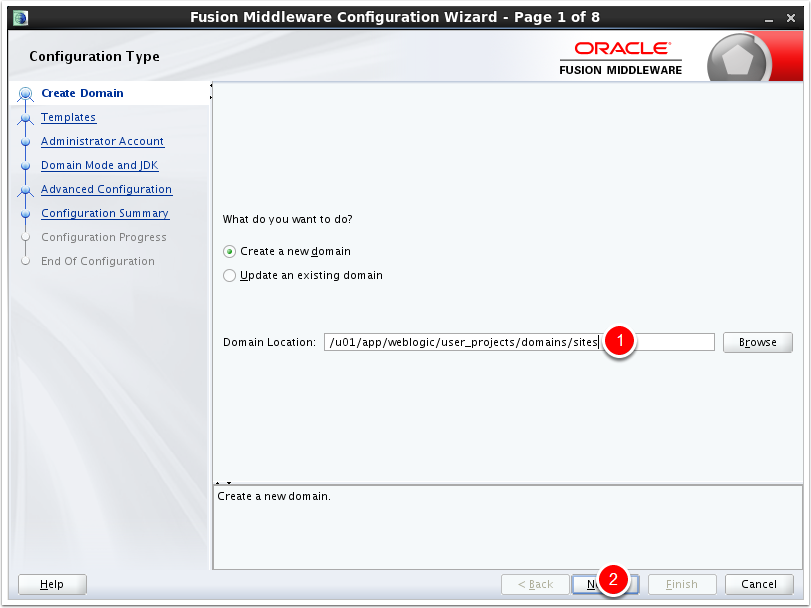
Create Domain
Set the name and location of your domain and click next
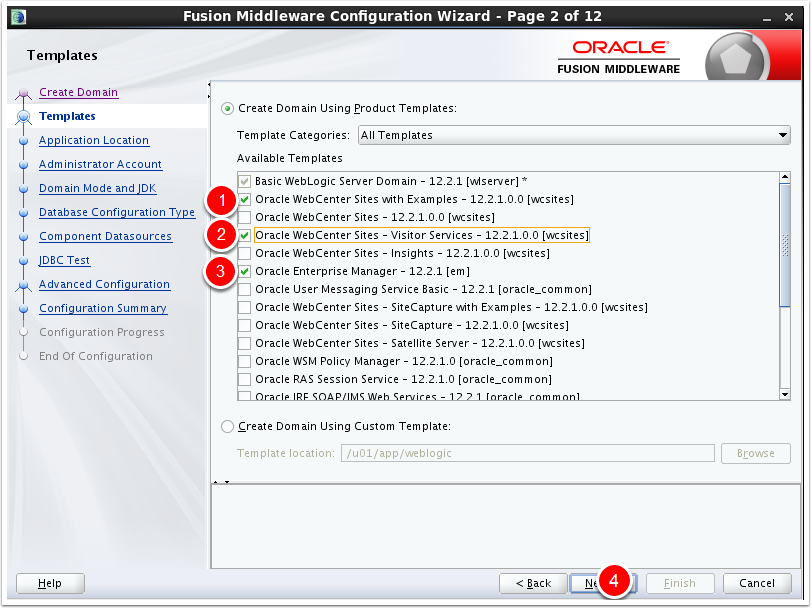
Select Templates to Use in the Domain
We will select Oracle WebCenter Sites with Examples, Visitor Services and Oracle Enterprise Manager.
Oracle Enterprise Manager will select a few other things for us.
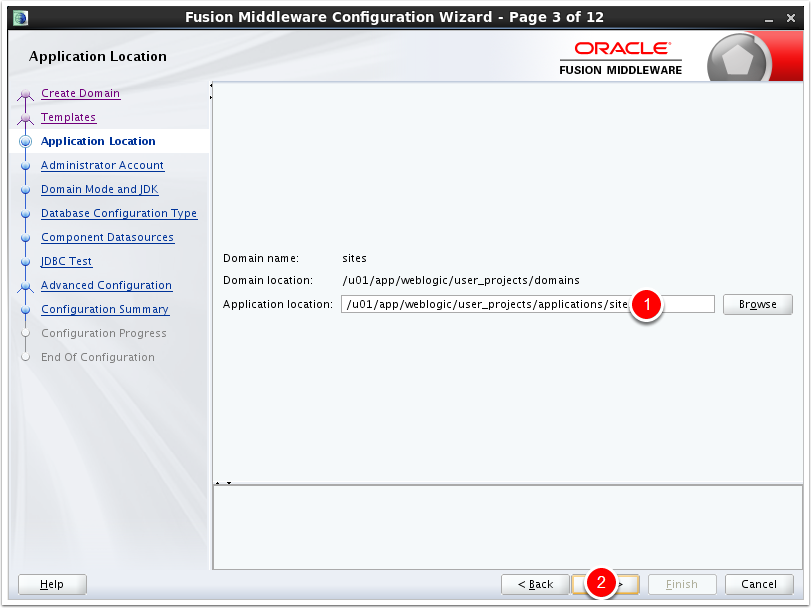
Application Location
Specify where the applications should get installed
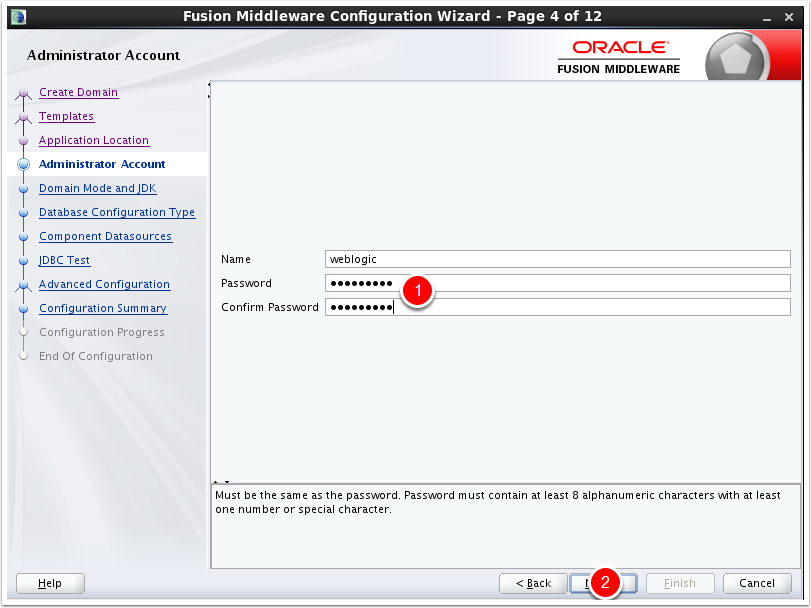
Administrator Account
Set the weblogic password and click next
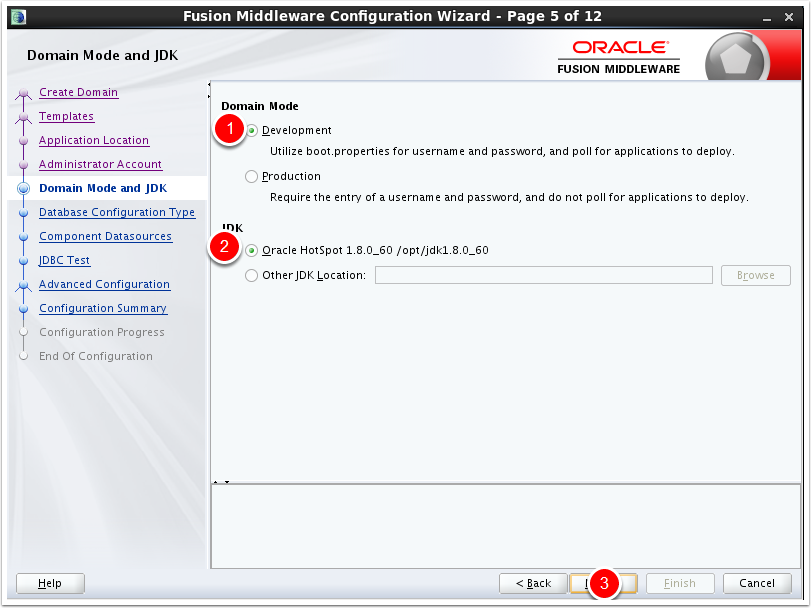
Domain Mode and JDK
Set the domain mode (we will use development) and select your JDK. Oracle 1.8 JDK is required.
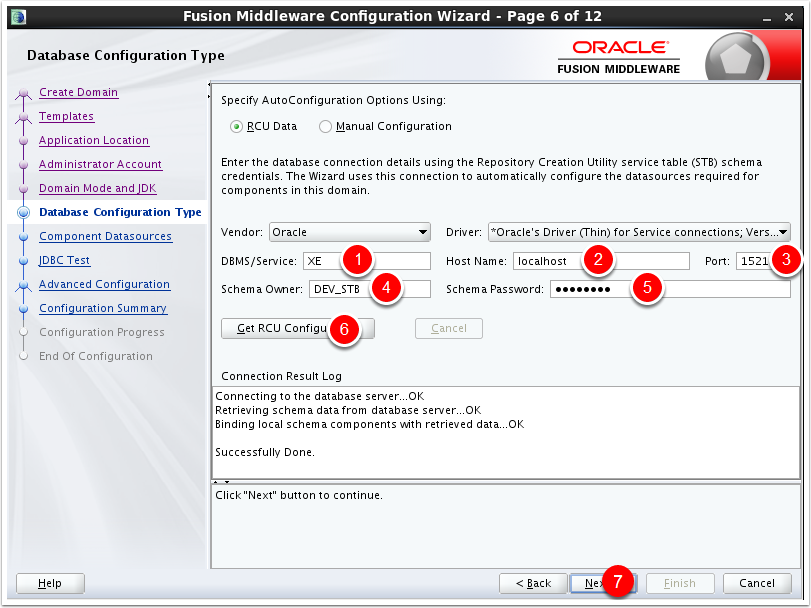
Database Configuration Type
Set the database service, hostname and port. Set the schema owner that you specified previously (will be prefix_STB) along with the password.
Then click on Get RCU Configuration. If everything says OK click next.
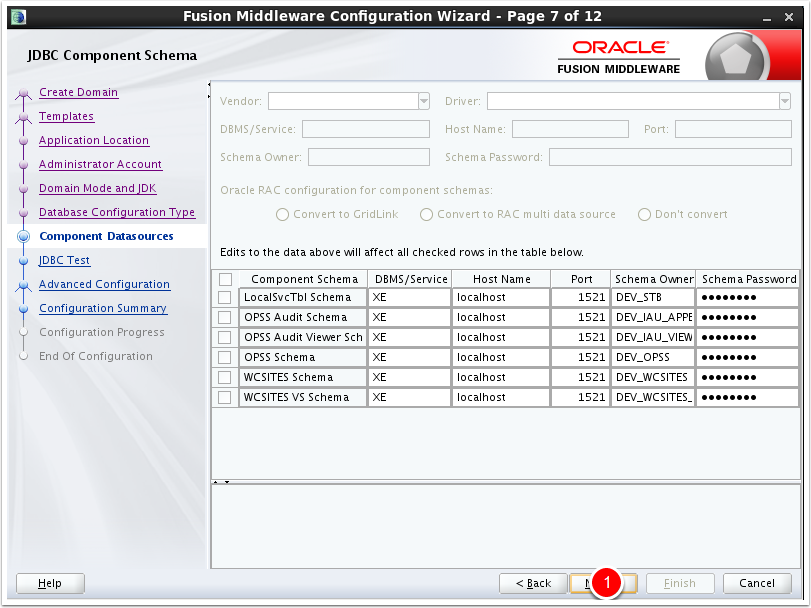
Component Datasources
Just click next
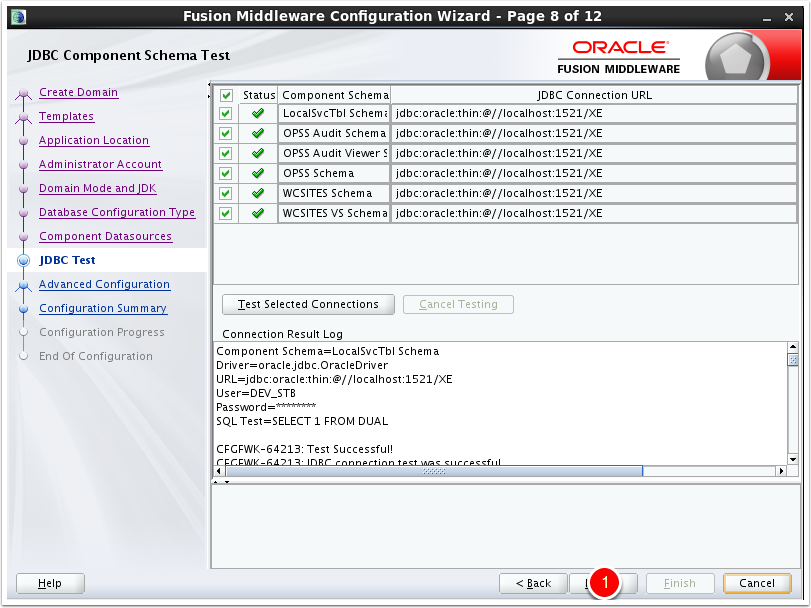
JDBC Component Schema test
Assuming everything is green click next
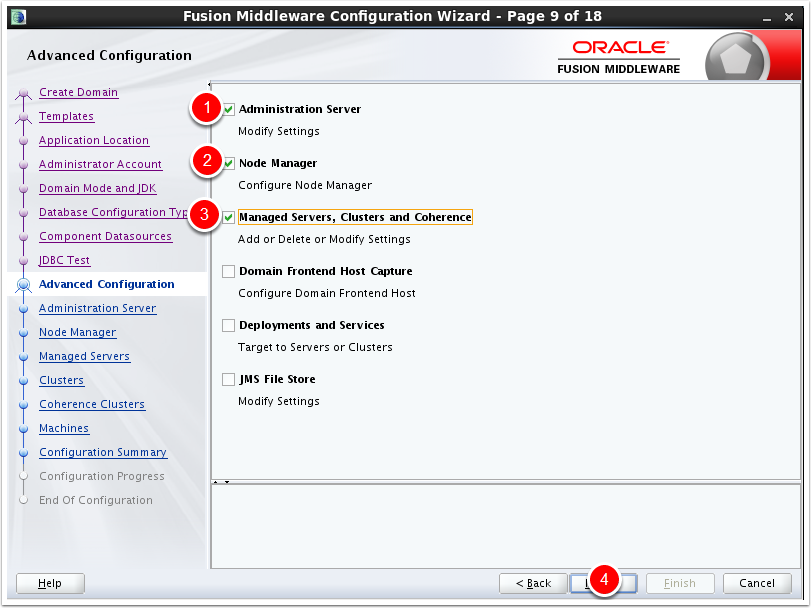
Advanced Configuration
Select first 3 items
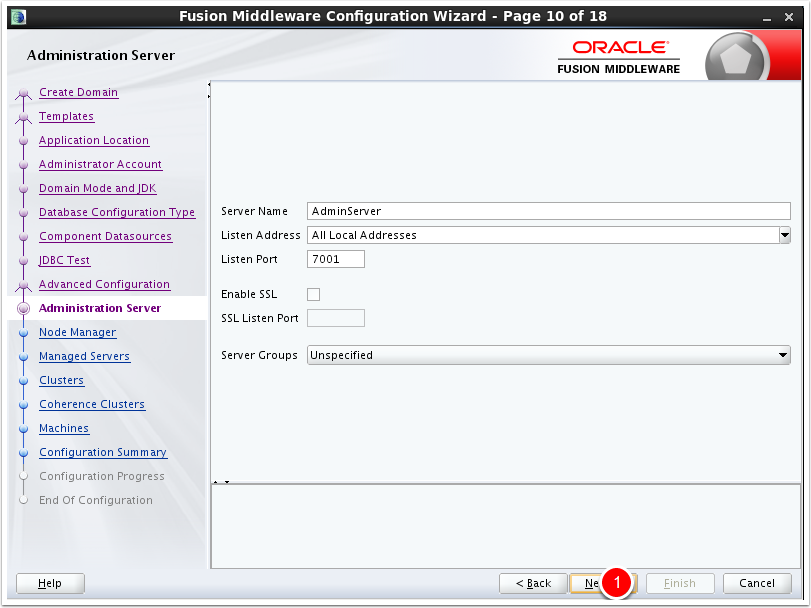
Administration Server
Make any changes you want then click next
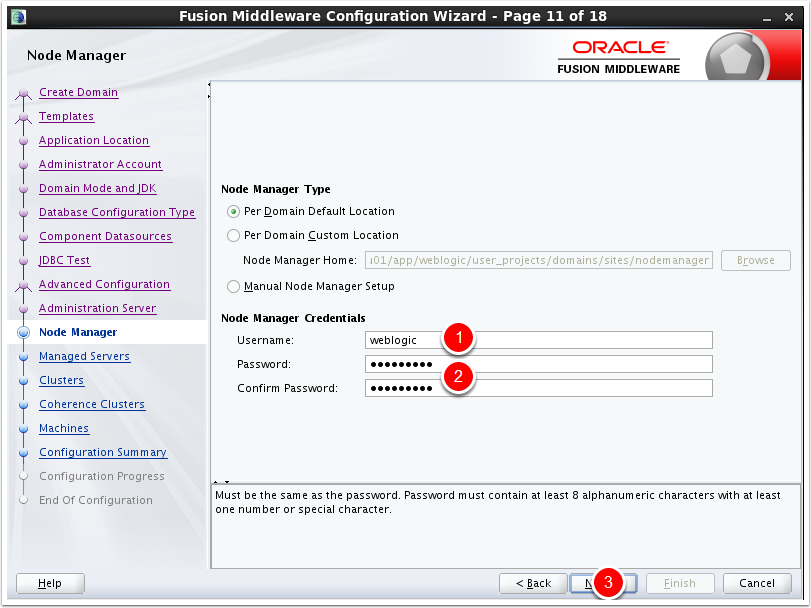
Node Manager
Set the username and password then click next
Managed Servers
Set the names and ports then click next

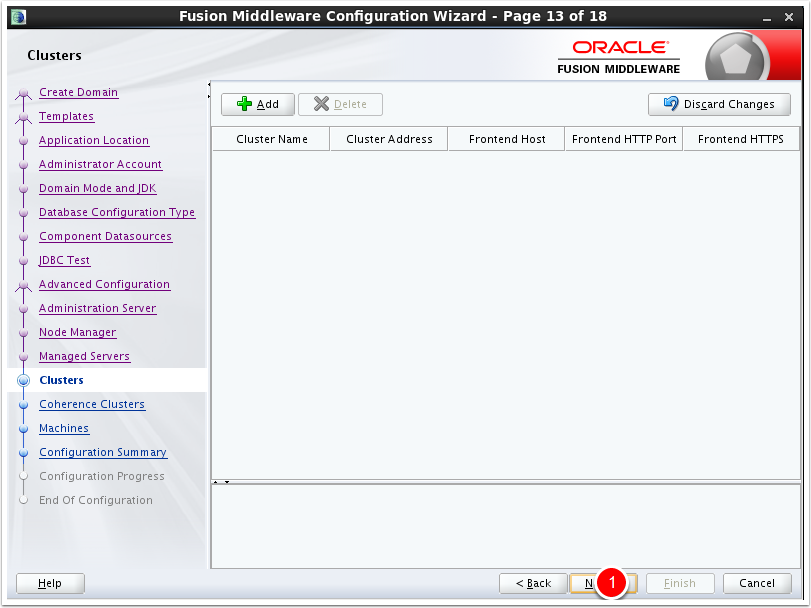
Clusters
Add clusters if you need them. For a single install just click next
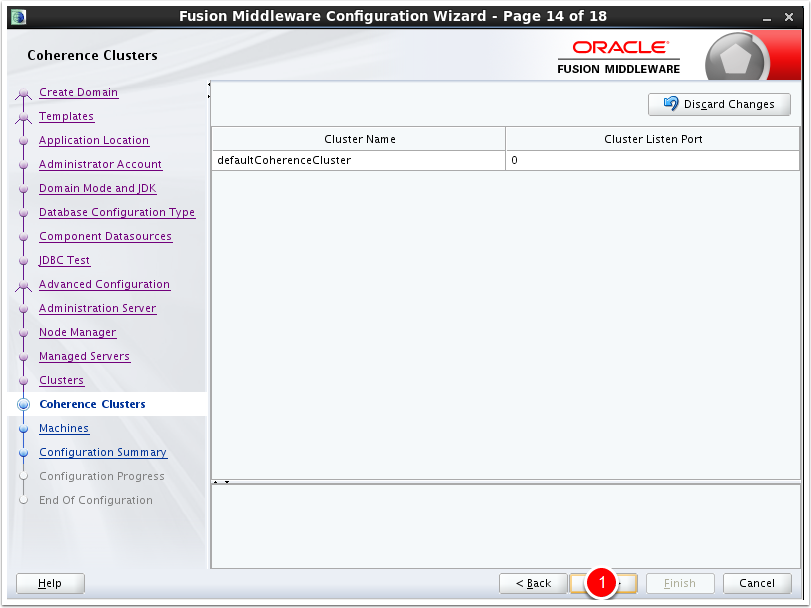
Coherence Clusters
Just click next
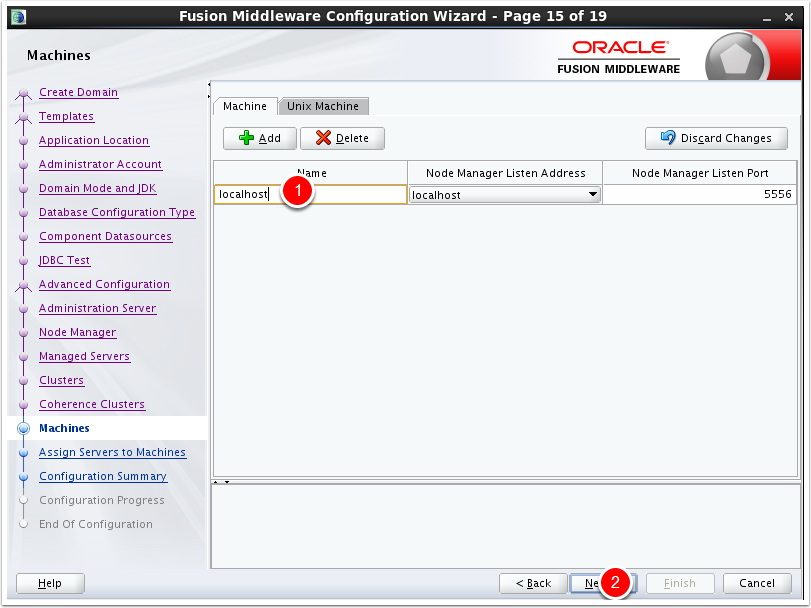
Machines
Add your machines then click next
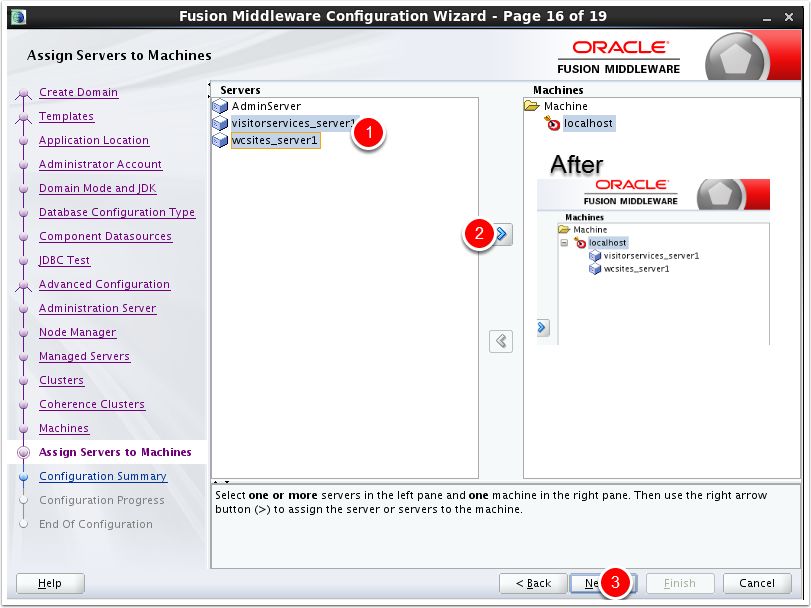
Assign Servers to Machines
Select all the sites servers (vistorservices and wcsites) and add them
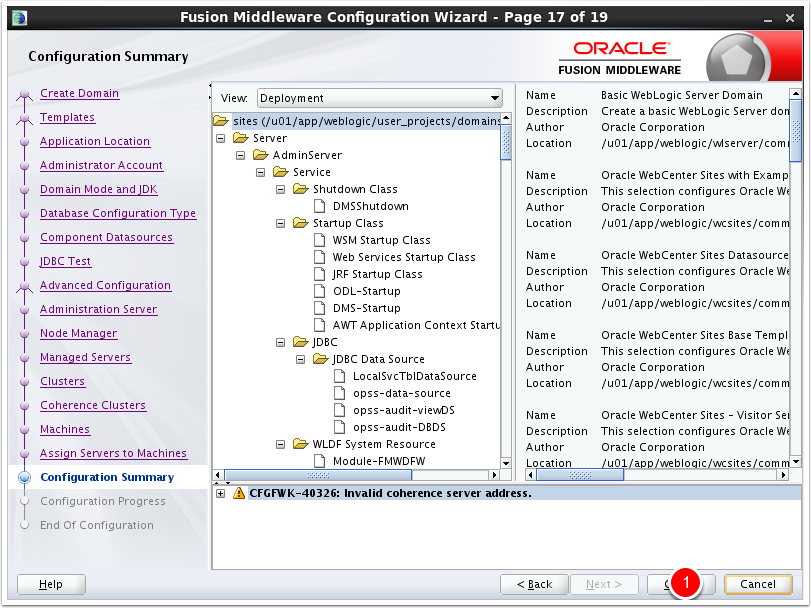
Configuration Summary
Click create
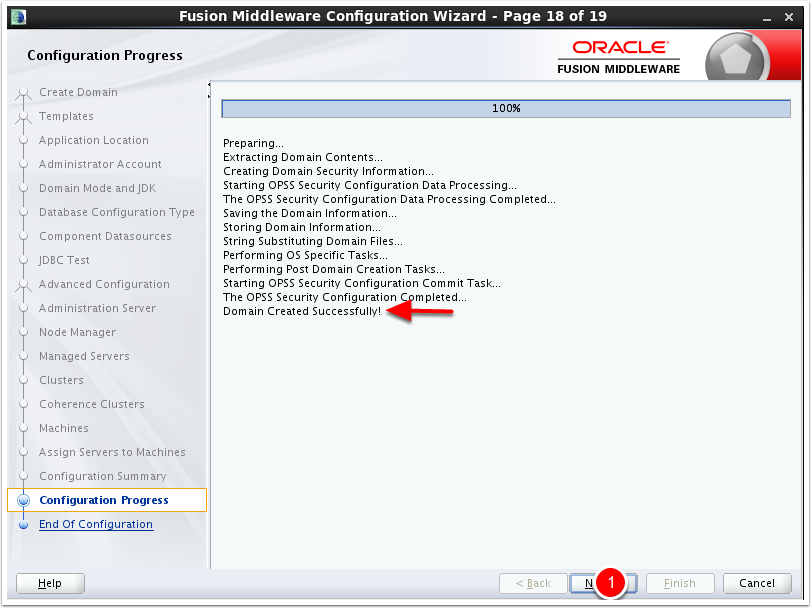
Configuration Progress
Presuming you see Domain Created Successfully you can just click next.
End Of Configuration
Presuming it is green just click finish

Start the admin server
Go to /u01/app/weblogic/user_projects/domains/sites/bin and run startWebLogic.sh
You will see all kinds of messages and warnings about various things. Wait until you see:
<Notice> <WebLogicServer> <BEA-000360> <The server started in RUNNING mode.>

Start the Node Manager
Go to /u01/app/weblogic/user_projects/domains/sites/bin and run startNodeManager.sh
It is done when you see: <INFO> <Secure socket listener started on port 5556, host localhost/127.0.0.1>

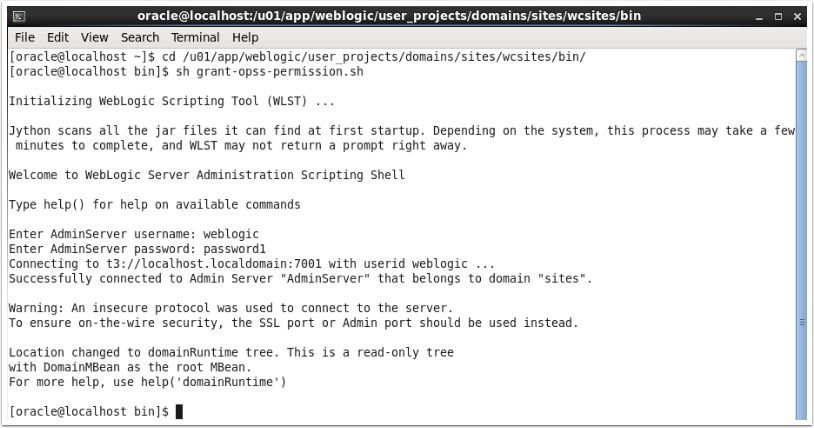
Grant Permission for OPSS
Go to /u01/app/weblogic/user_projects/domains/sites/wcsites/bin and run grant-opss-permission.sh
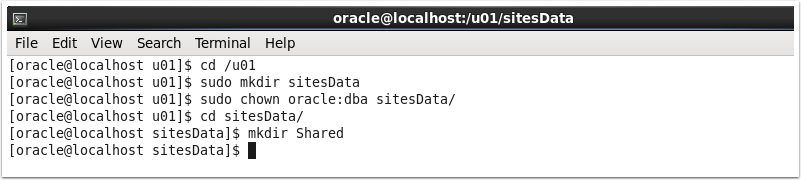
Make a Shared Directory
We made a directory under the u01 direcotry for it. Note the sudo's which are needed to create there and make sure you change the ownership.
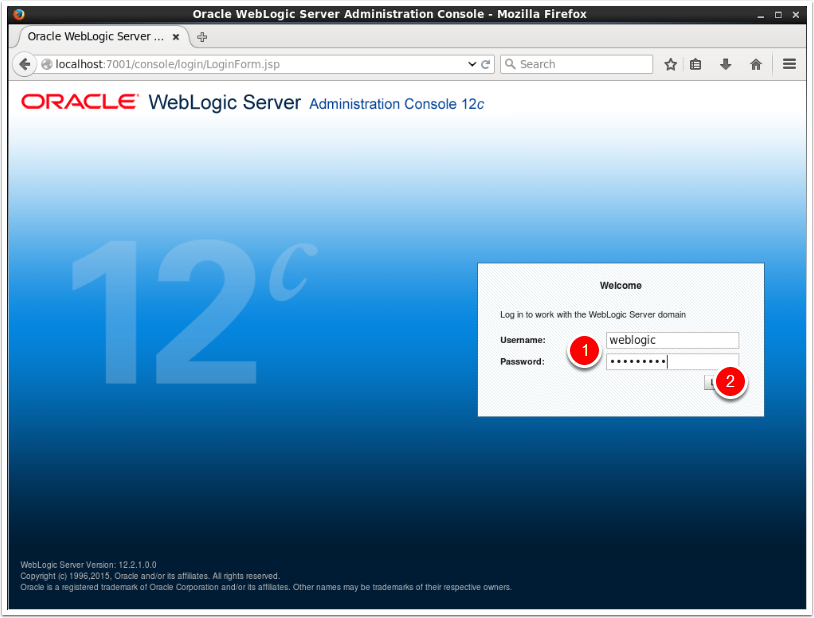
Navigate to the WebLogic Server Console
Navigate to http://localhost:7001/console
Enter your username and password then login
Start the Sites Managed Server
Expand Environment and click on Servers. Then move to the Control tab and check wcsites_server1 and click start and the refresh button.
Once the state says "RUNNING" you can proceed to the next step.

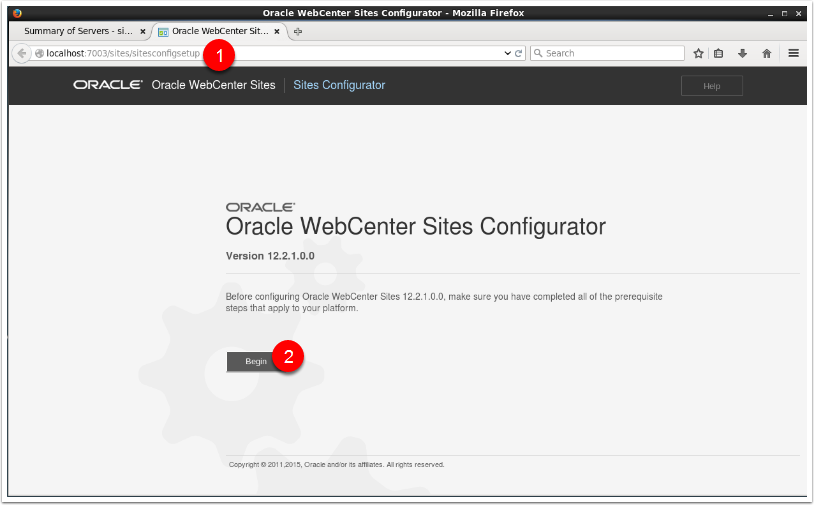
Navigate to the Oracle WebCenter Sites Configurator
Point your browser to localhost:7003/sites/sitesconfigsetup
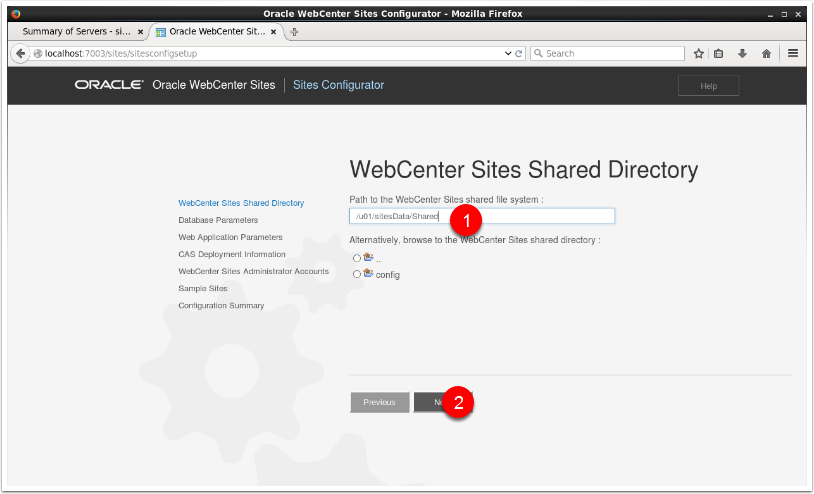
Specify the Shared Directory Location
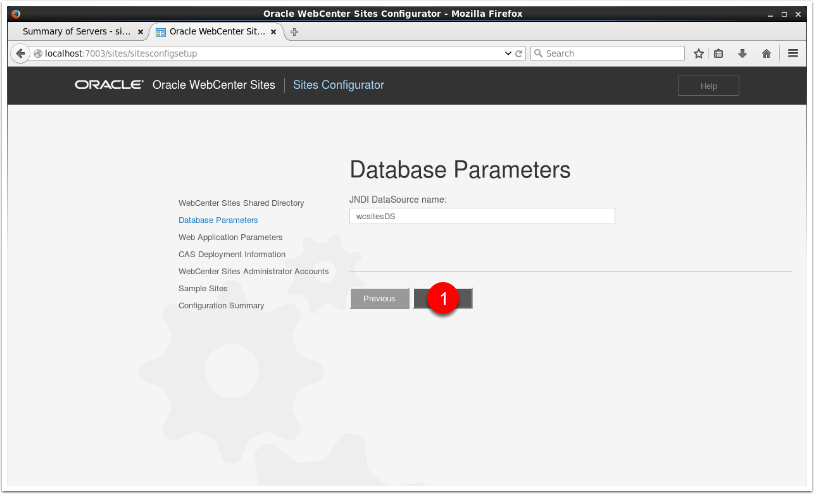
Database Parameters
Specify the JNDI datasource. This should already be set for you.
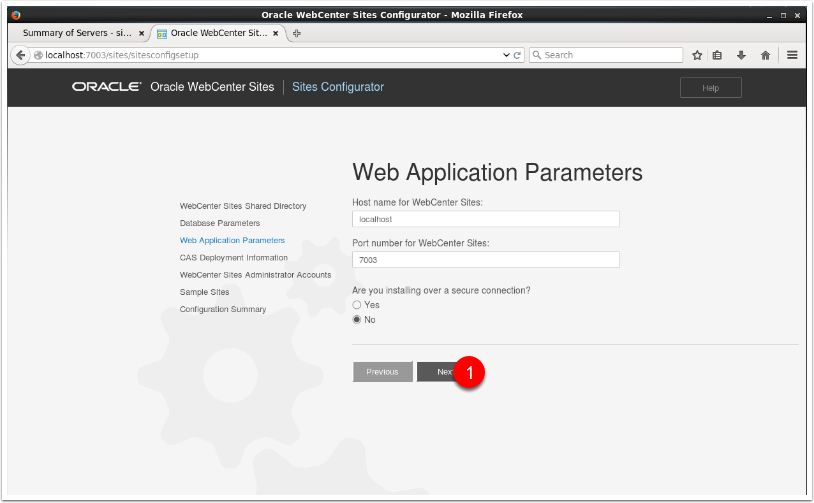
Web Application Parameters
This is where you would specify the hostname and port if you have web servers in front. We will just leave this as is.
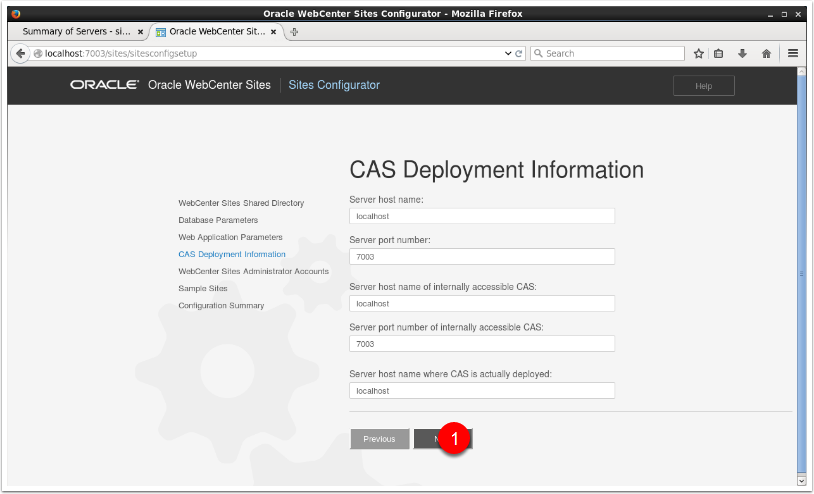
CAS Deployment Parameters
Unless you are clustering or have a web server in fron this can be left alone.
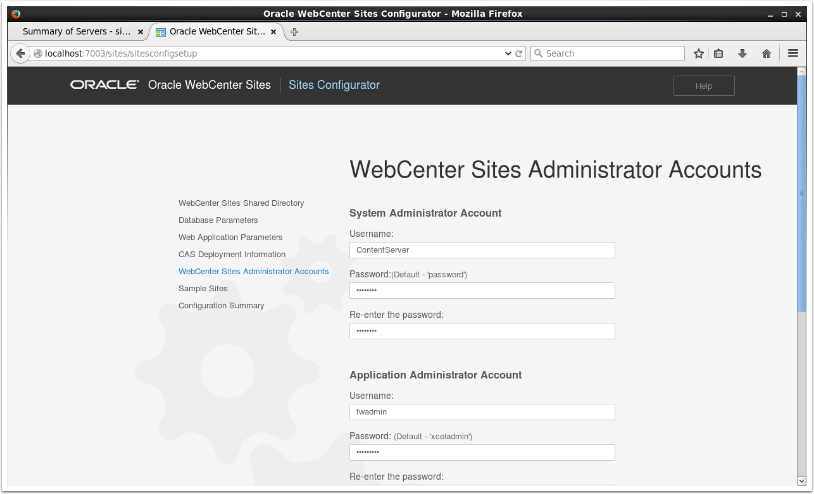
Set the Sites User Passwords
We will take defaults and just click next
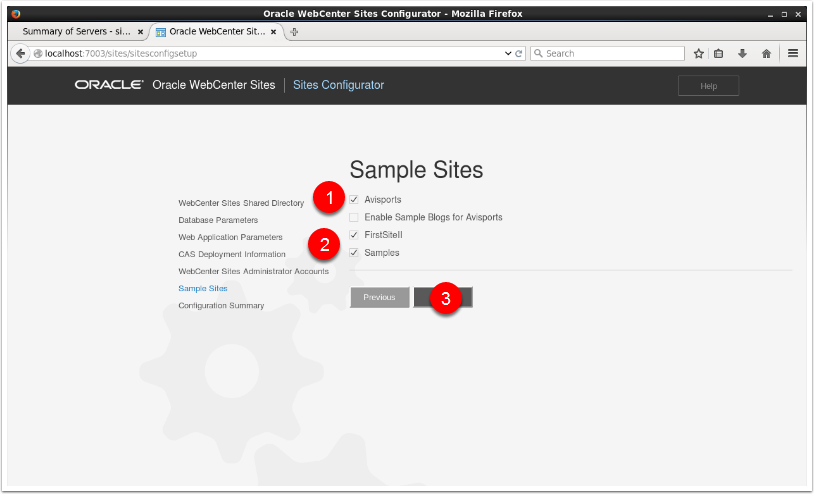
Select Sample Sites to Install
We will install Avisports, FirstSiteII and Samples
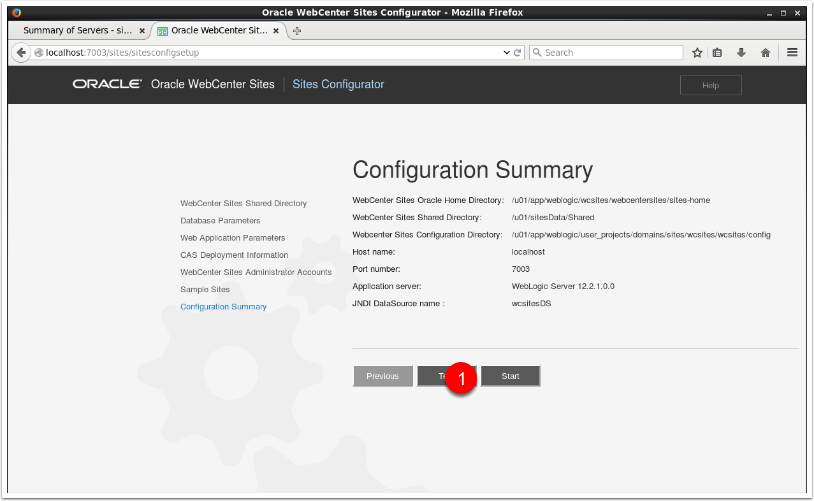
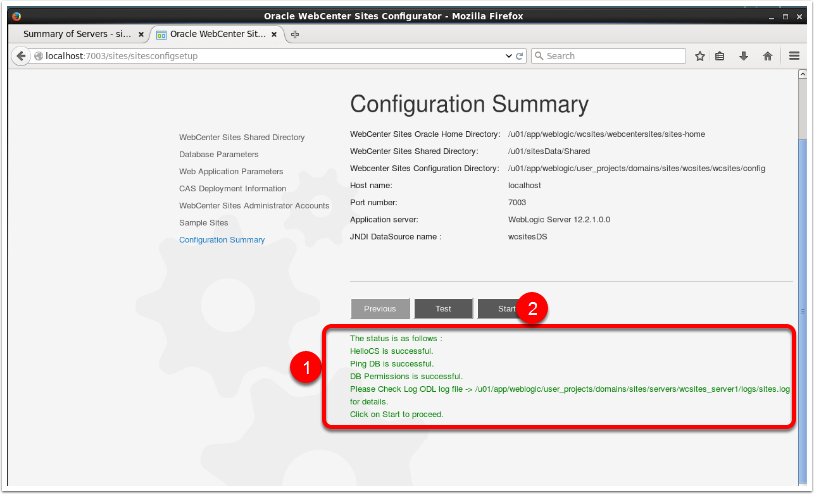
Configuration Summary
Click test to verify everything is working
Start Install
If test comes back green then you can click start
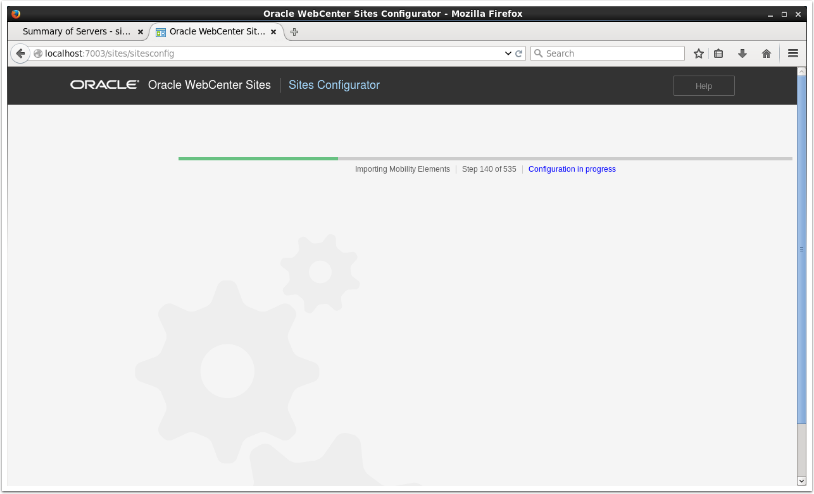
Installing in Progress
This will take a while...............
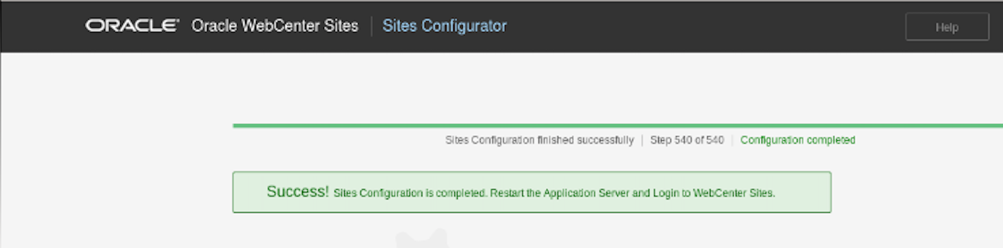
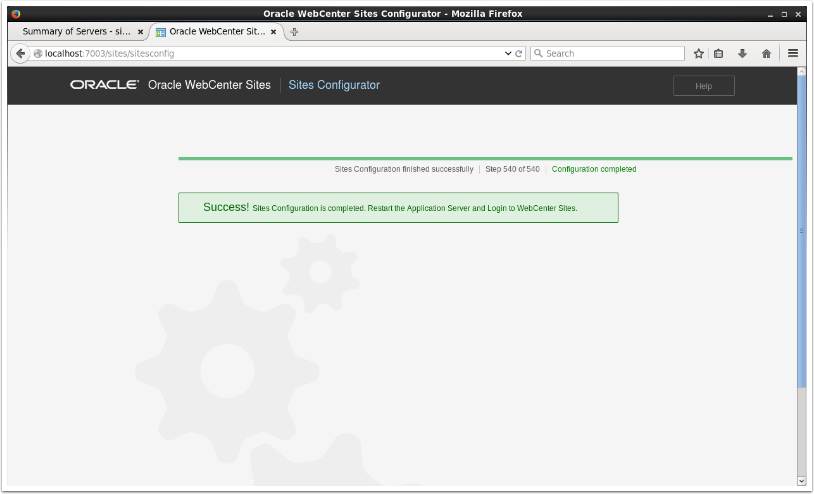
Success!
Sites has now been installed
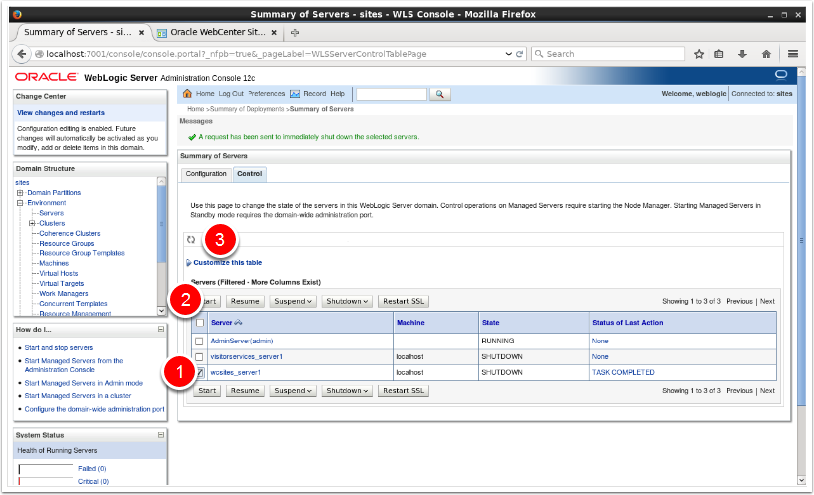
Shutdown the Sites Managed Server
Go into the weblogic console as before and shut down the wcsite_server1

Start the Server Back Up
Click the checkbox next to wcsites_server1 and click start then refresh. Wait for the state to say "RUNNING"
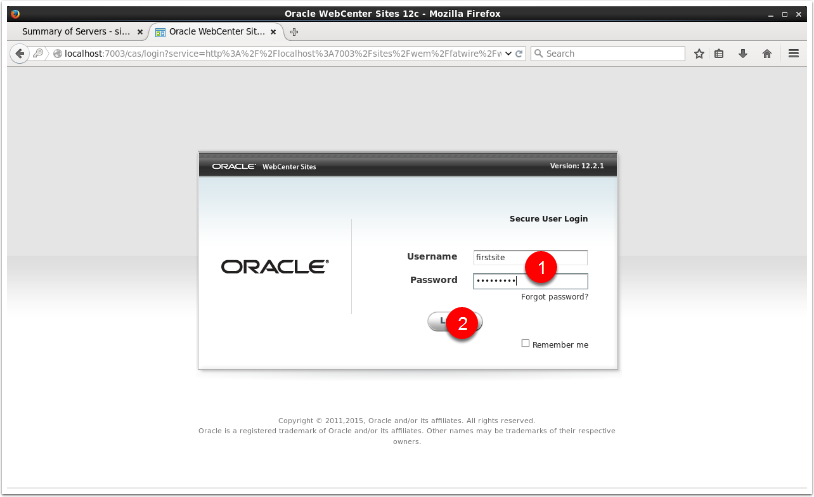
Login to Sites
Navigate to http://localhost:7003/sites and enter firstsite/firstsite or fwadmin/xceladmin
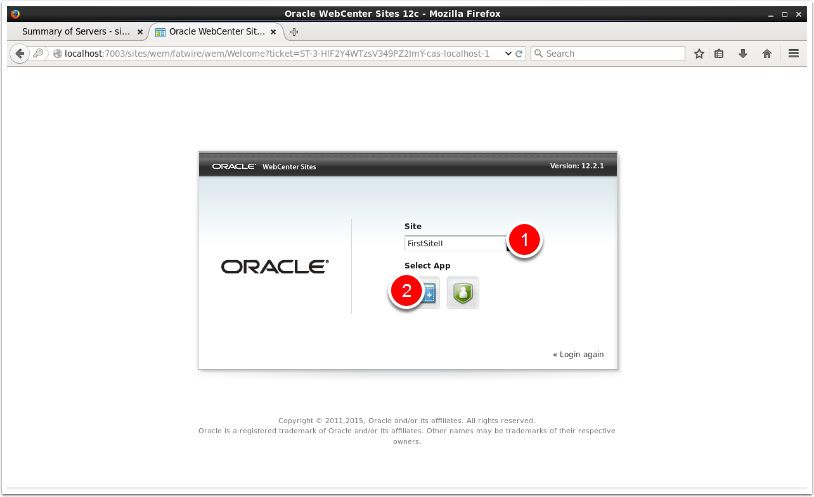
Select the Site and UI
Select the site and the UI you want.
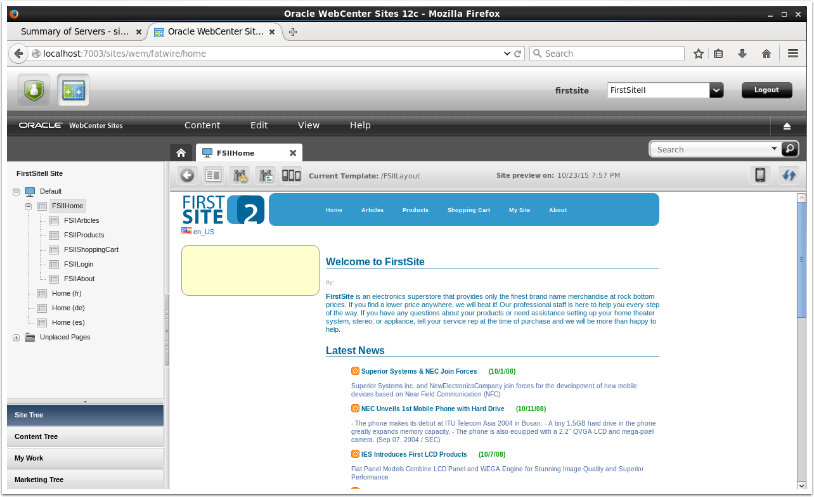
Looks like it is working
Congratulations, you now have a working sites install.
Need Help?
At Function1 we specialize in WebCenter Sites consulting, providing best-of-breed solutions on this powerful platform. If you would like any assistance with WebCenter Sites and would like to explore how Function1 can help you, please contact us.
- Log in to post comments

Comments
Joe Scanlon on November 29, 2015
Awesome Tutorial -
Surendhiran Balaguru on June 16, 2016
Database Connection Details ---- Got Error
michael on June 16, 2016
Sounds like maybe you didn't
Sagar Ramachandran on July 14, 2016
WebCenter Sites Upgrade from 11g to 12c
michael on July 14, 2016
The possibility to upgrade
Siva Polamarasetti on February 20, 2017
WCS Configuration
michael on February 20, 2017
WCS Configuration