Being Unique is All About Being Different

Unique: (adjective) Existing as the only one.
Being unique is something we strive for, to be the only one of “us”. Wouldn’t you like for your Splunk app to be the same? For customers to use your app and see your color, your logo, your complete customization.
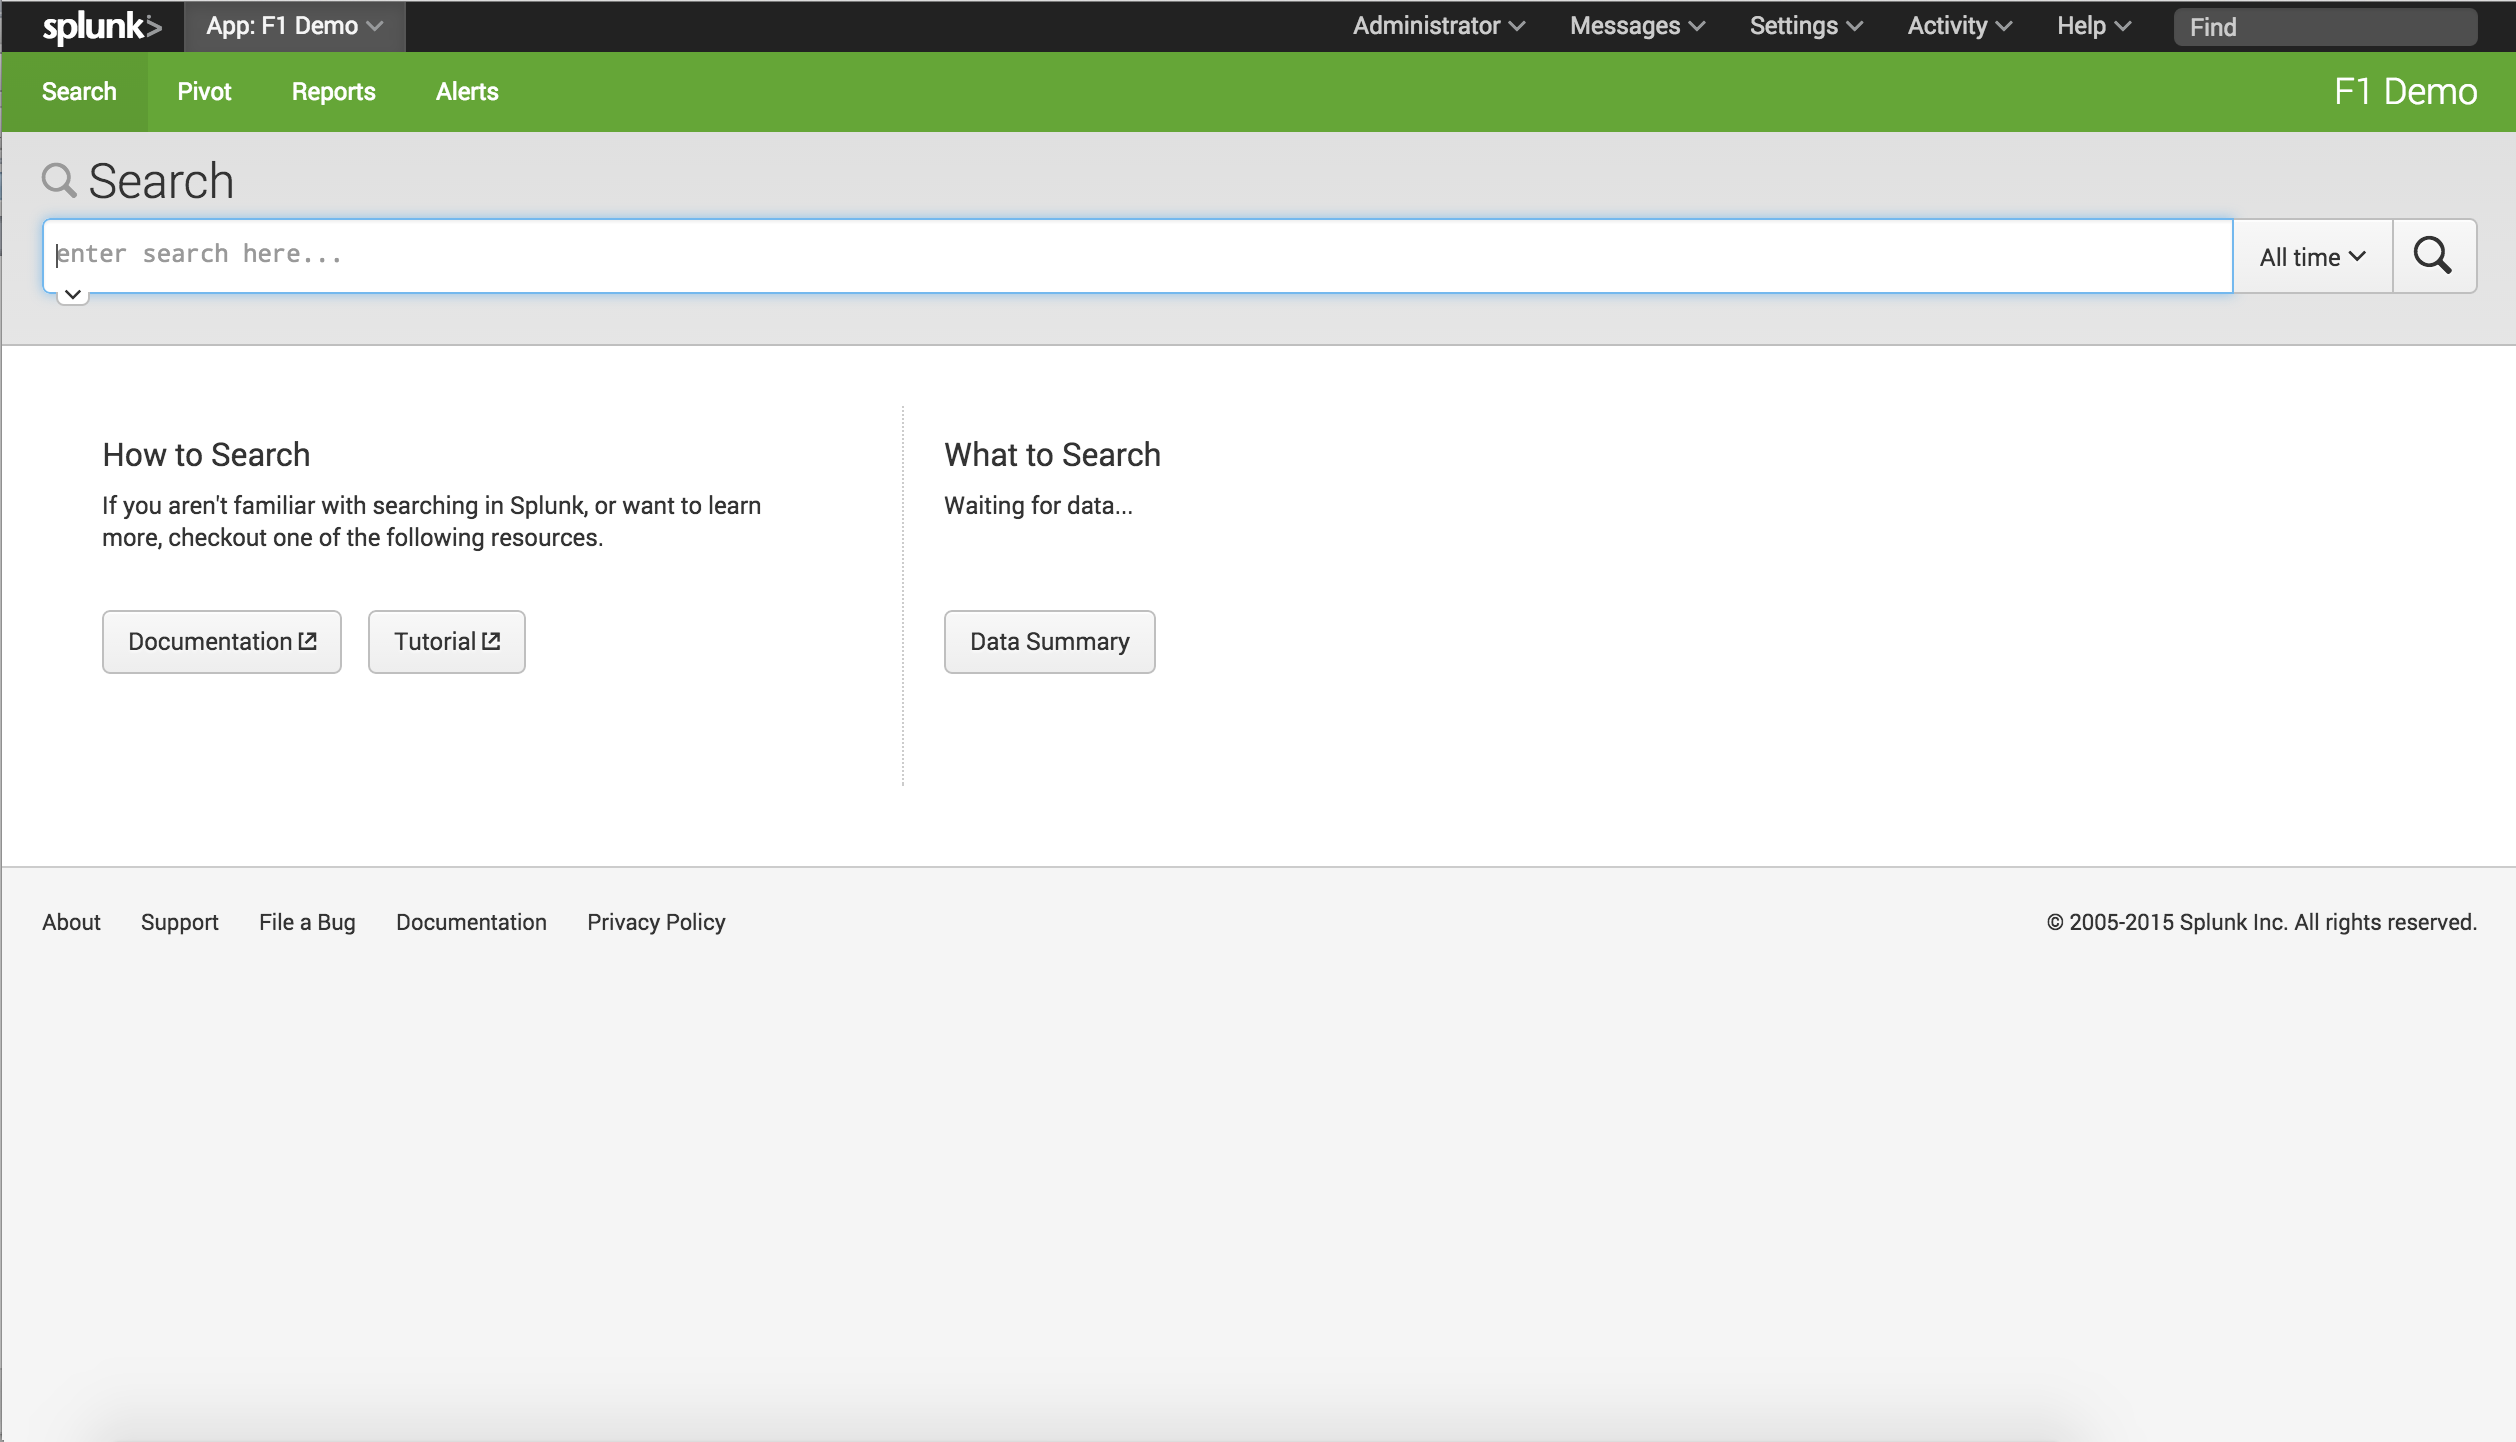
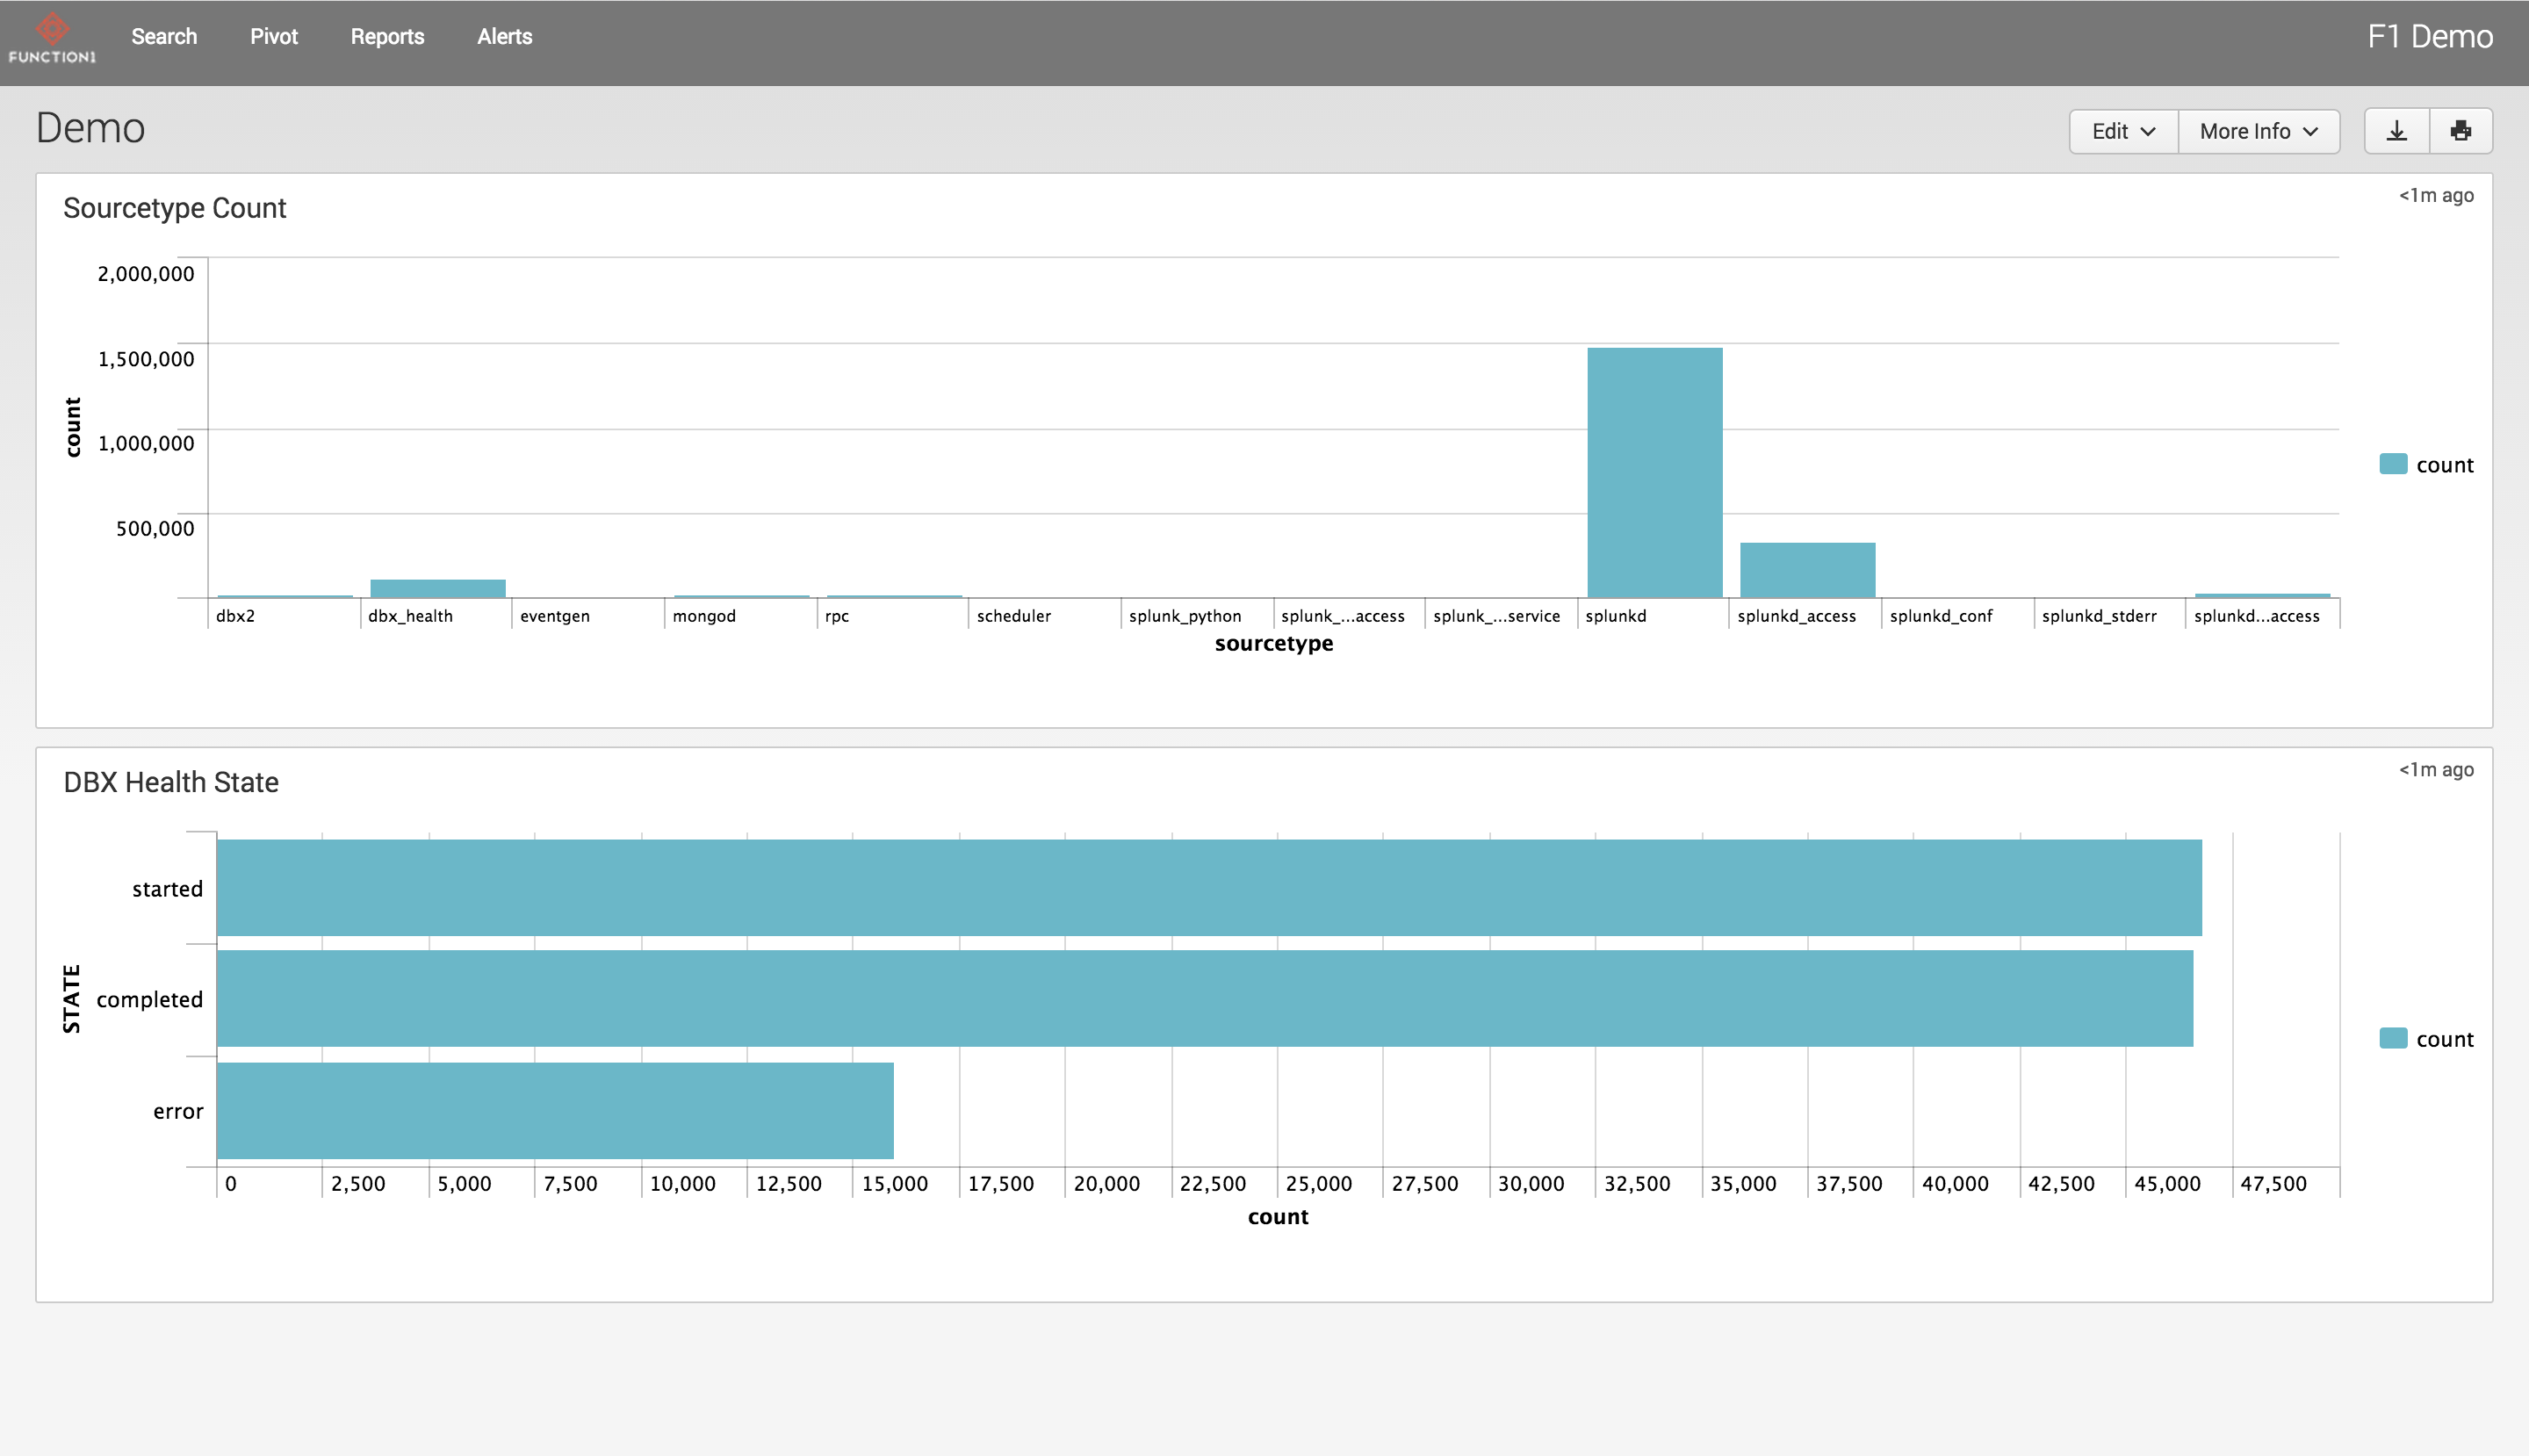
Here is my app, F1 Demo, as “bare bones” or basic.

First we’ll change our Navigation bar. Our Nav bar is where you see the Splunk green – With options Search, Pivot, Reports and Alerts. To change this to a different color, go to Settings>User Interface>Navigation Menus and that will lead you to this page:
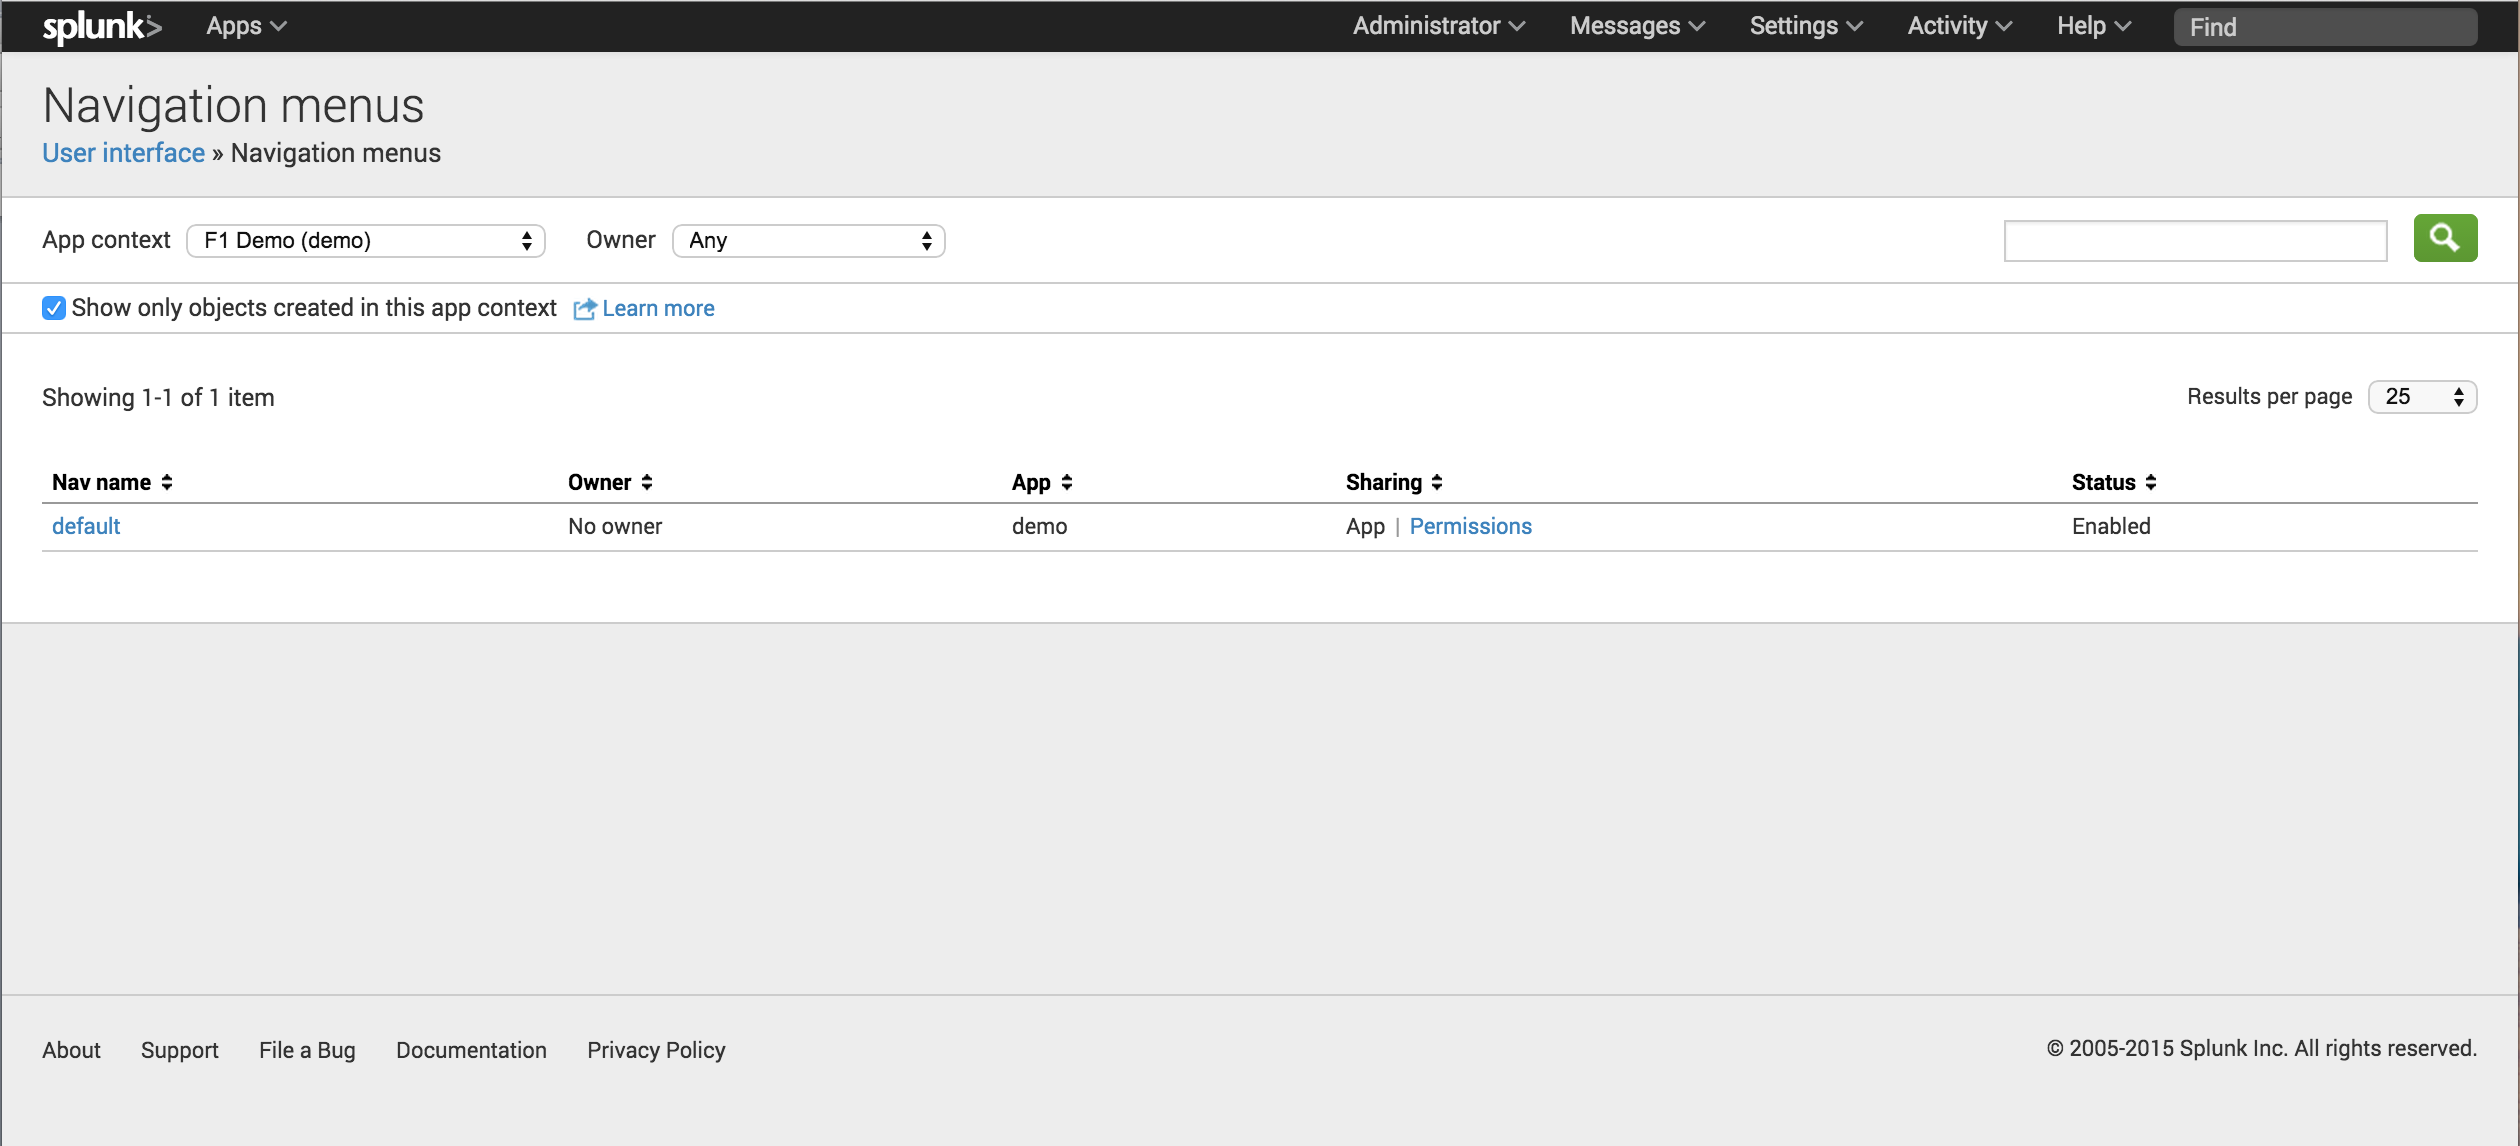

*Be sure you are in your App context!
The default xml is where you can edit your navigation bar color by using the HTML color code. Here is my new xml:
<nav search_view="search" color="#151c26">

  <view name="search" default='true' />

  <view name="data_models" />

  <view name="reports" />

  <view name="alerts" />

  <view name="dashboards" />

</nav>
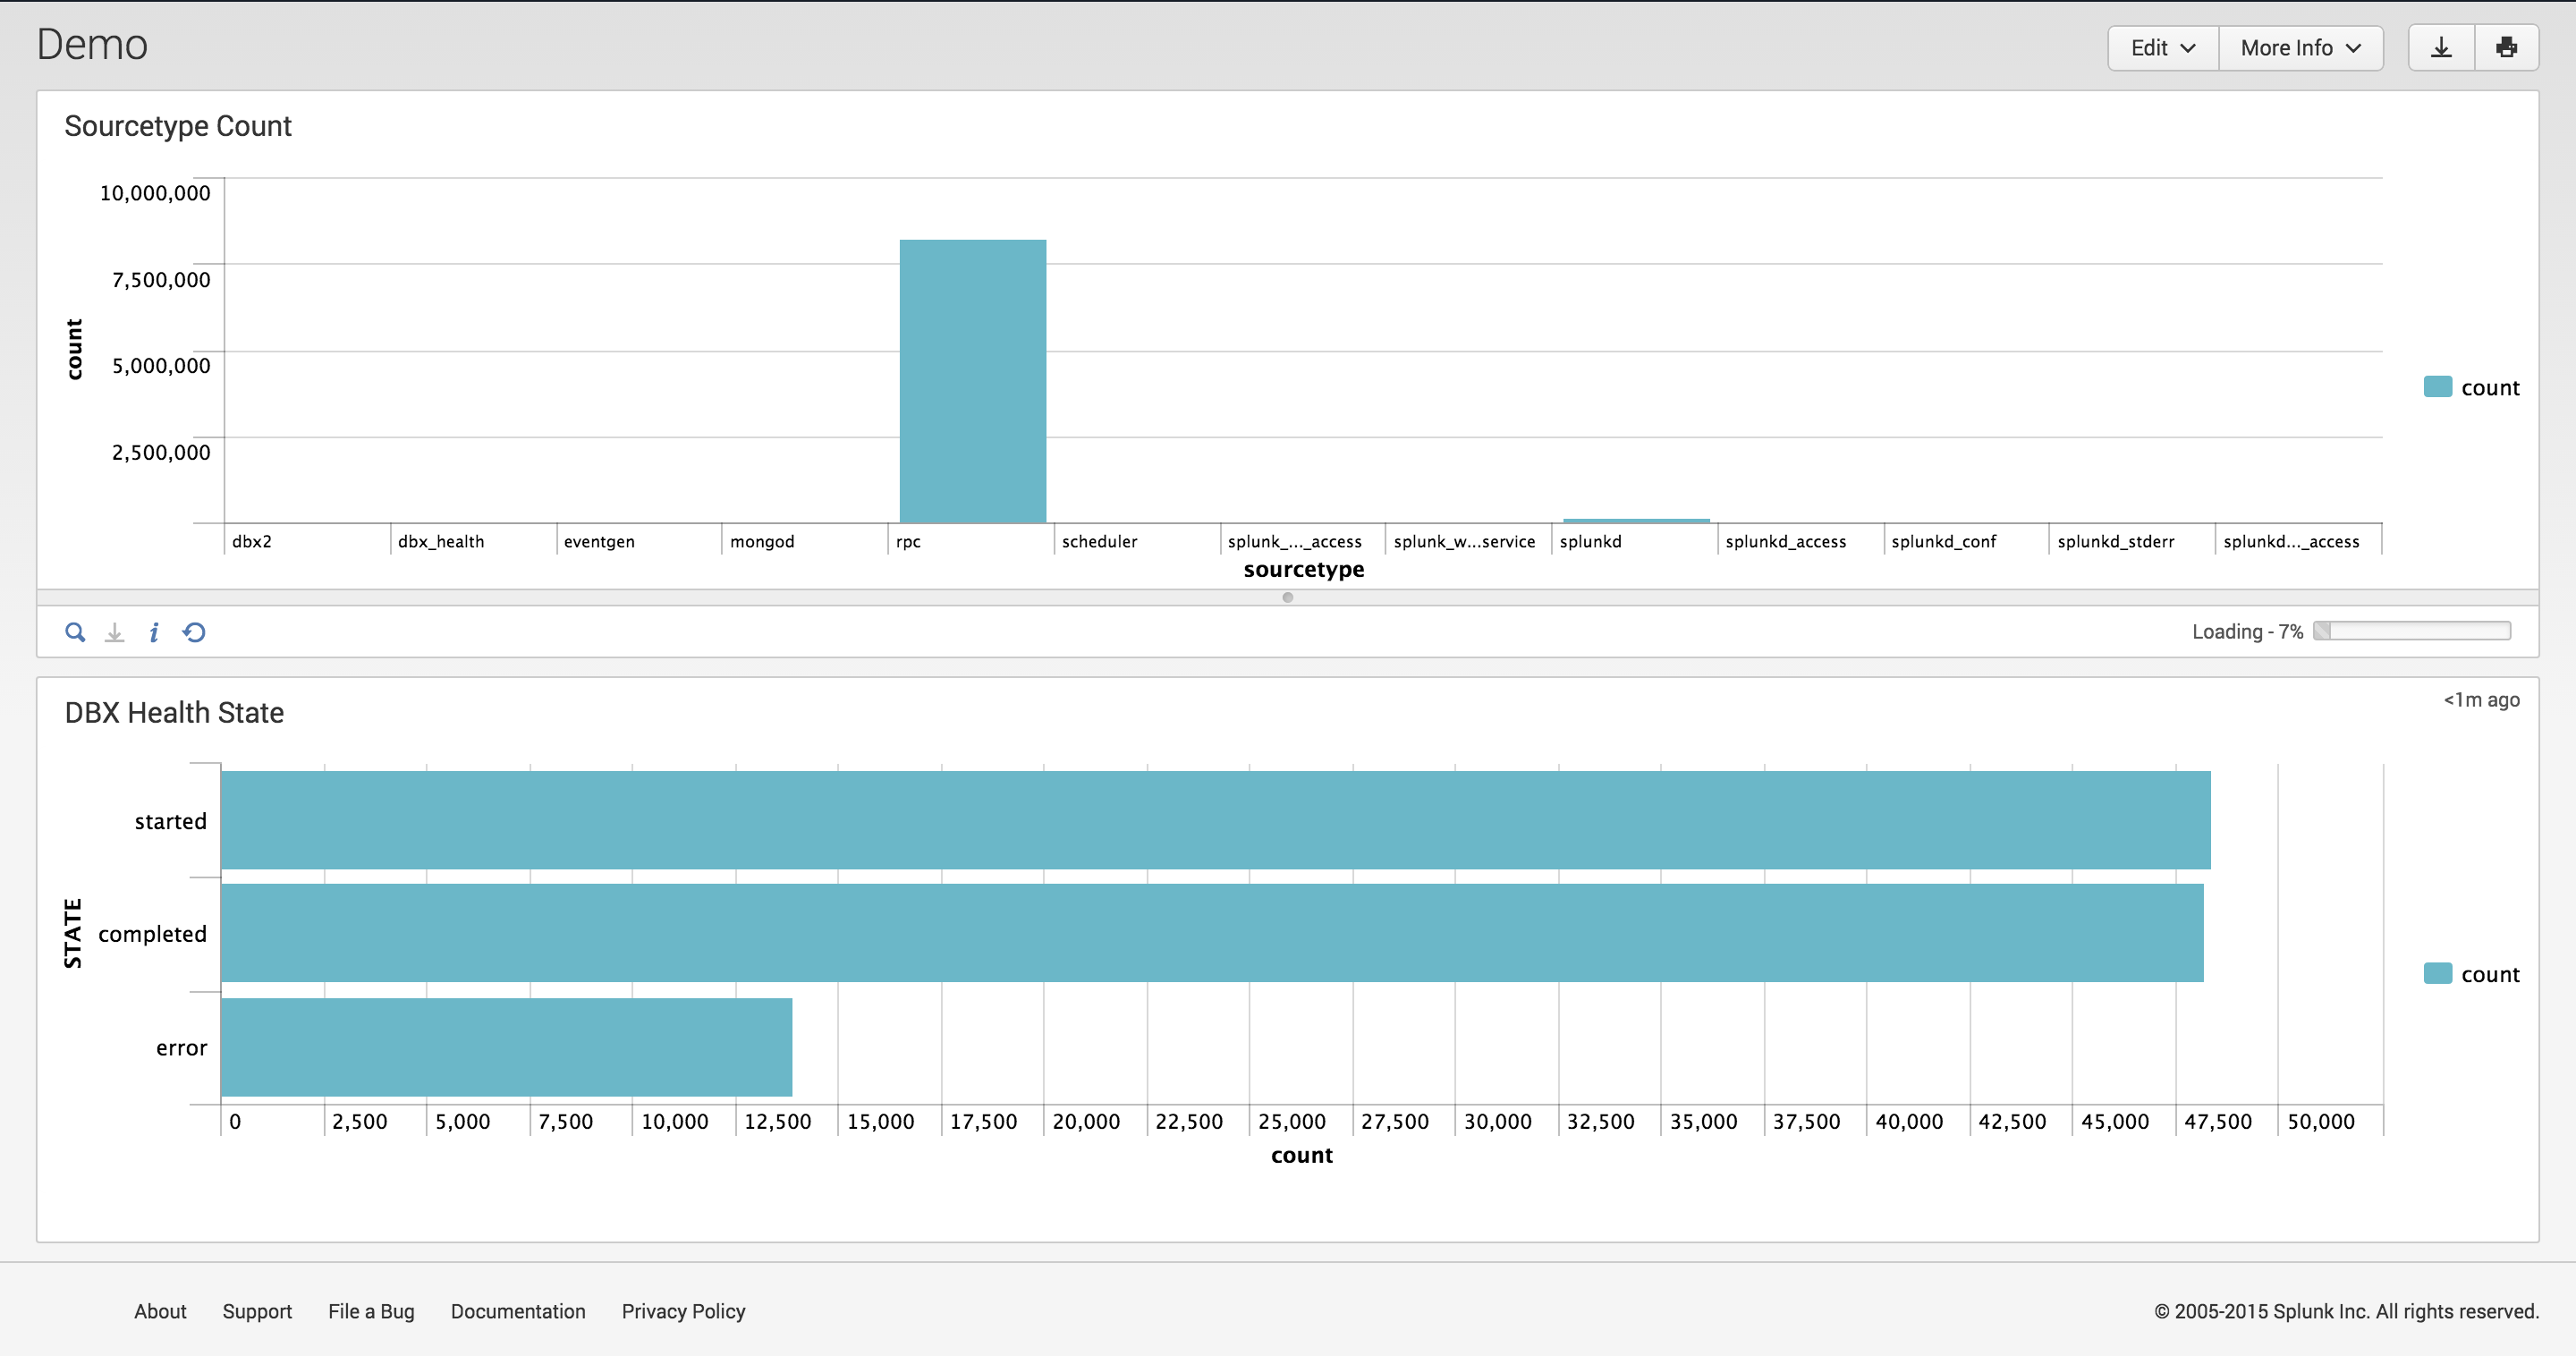
This gives me the following dark gray color as my new Navigation bar:


To continue further with edits, you must create an appserver/static path in your app.
$SPLUNK_HOME/etc/apps/demo/appserver/static
This is where you will create your .css file and place your logo. Your css file will contain all the changes you’d like to see. My css file is demo.css and my logo is f1_logo.png.
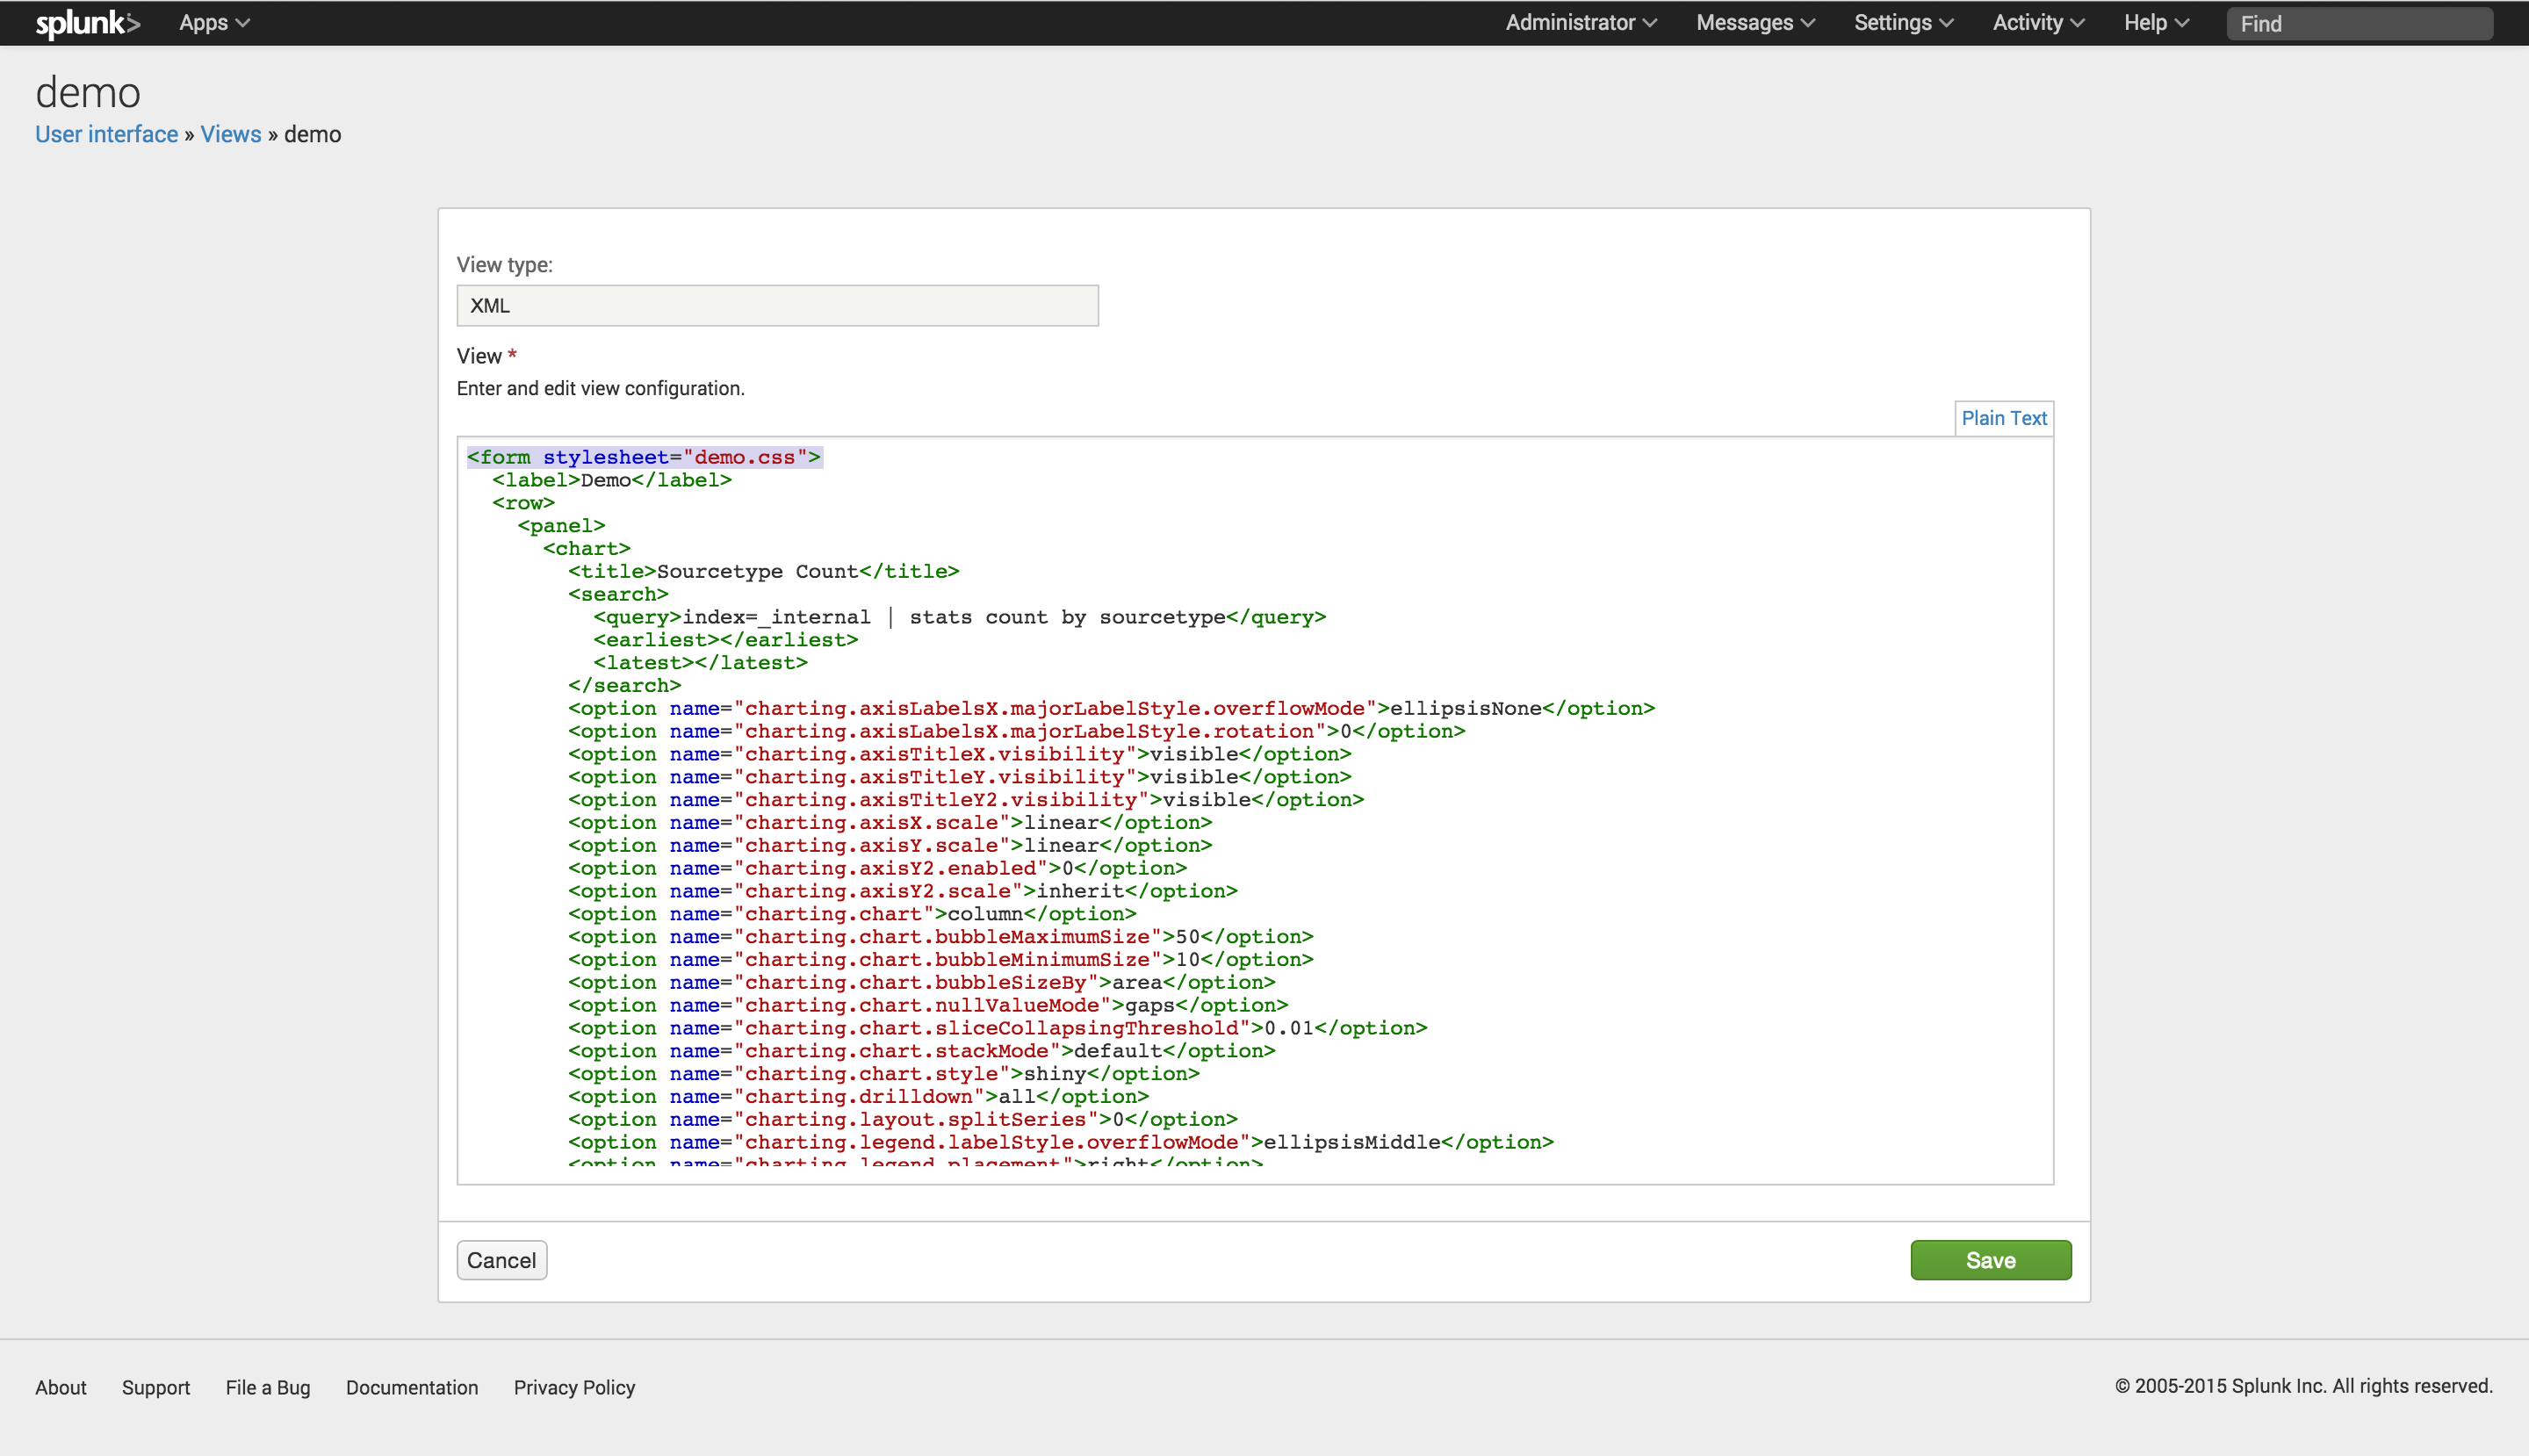
Once these items are in your appserver/static path, go to your UI and go to Settings>User Interface>Views.


Click Open. Once into your View, you can see your dashboards. Mine are created with some internal data on my machine.

In the upper right, you’ll see “Edit”. Click that and then select “Edit Source”. This will bring you to the xml of your view. To make your customizations appear in the view, you MUST refer to your .css file in this xml. This is new to Splunk 6.0+!! This can be done by adding the following to the top of your xml:
<form stylesheet="demo.css">
And adding this to the bottom of the xml:
<\form>
*If you get an Error stating that there are no dashboards to view, simply take out the <dashboard> at the top and the </dashboard> at the bottom of the xml.

If you’d like to hide your top Splunk bar, and the footer on the UI, add the following text within the form:
hideSplunkBar="true" hideFooter="true"


Lastly, click “Save” at the bottom of your page.
Now your page will contain all of your edits thus far. So far we’ve changed the navigation bar color, hidden the Splunk bar and footer, and referred to our demo.css file.


From here out, all of your edits and changes will be done by editing your CSS file.
Next, let’s add a logo to your view. Save your logo as a .png file and copy it to your appserver/static file path. Once your logo is there, edit your demo.css file. Add the following to your CSS file with the name of your png file.
.appHeaderWrapper {

    background: url(f1_logo.png) repeat-x;

}


.appLogo {

    background: url(f1_logo.png) no-repeat 0 0;

}


.app-bar {

  min-height: 48px;

  background: url(f1_logo.png) no-repeat scroll 0 0 rgba(0, 0, 0, 0);

}
.nav {

  margin-left: 55px;
}
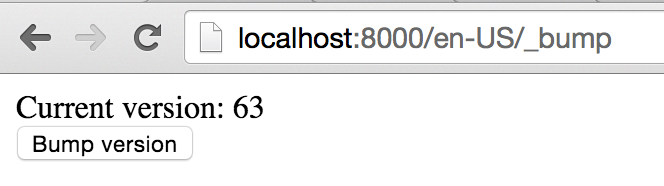
Once you save your CSS file, no restart is required. An alternate way is to use your host:port/en-US/_bump in your web browser and click “Bump version”. This will allow your changes to take place without a restart. I find this very useful and quick

Once you’ve bumped your version, go back to the view you’re editing and refresh the page. Your changes should then appear.

Please note: Your logo may need to be resized; therefore, everyone’s margin size (.nav {margin-left: 55px;}) will be different and may need to be adjusted. It took several “bumps” before I was able to get my margin size the way I wanted it so my app and the “Search” tab were not overlapping.
You now have a fully customized Splunk instance! There’s so many more options and opportunities for customization within the Splunk UI, so don’t be afraid to play around with different aspects.
For more information on customizing your Splunk: http://docs.splunk.com/Documentation/Splunk/6.2.2/AdvancedDev/CustomizationOptions
As always, happy Splunking!
- Log in to post comments
