Modifying the Approval Screen in the Contributor UI
By: Mike Field October 27, 2016


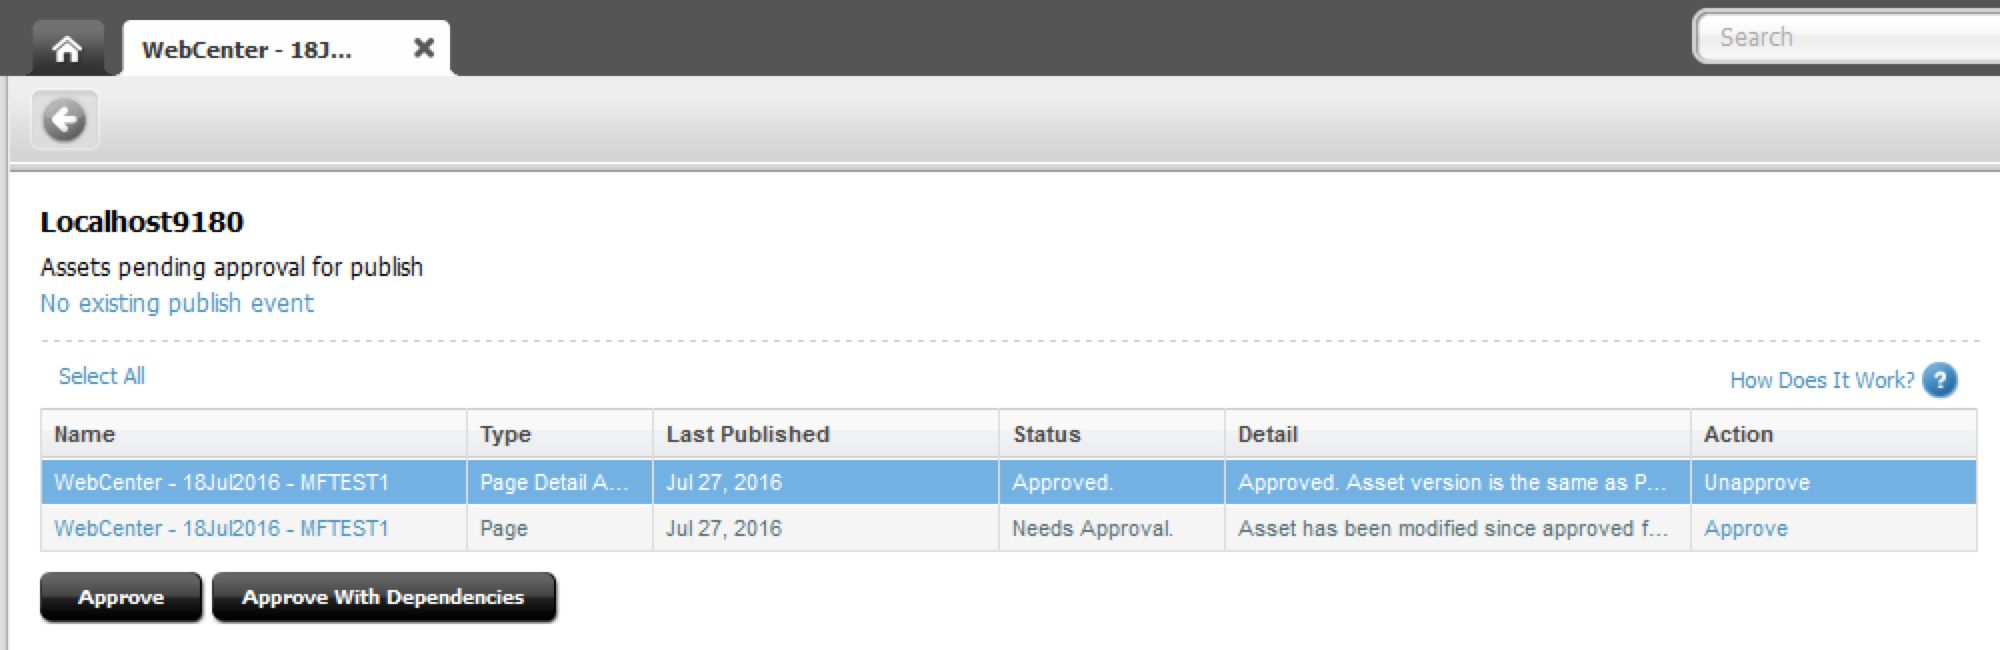
In some cases, you may want to approve two or more assets at a time. For example, suppose every time you approve a widget asset, you want to automatically approve the Page asset containing it. Because the Page is not a dependency of the Widget, WCS doesn’t automatically ask you to approve it.
So, it would be helpful to have the Approval Screen automatically show both the Widget and Page assets. Making this customization is straightforward.
The elements controlling what’s displayed on the Approval screen are the following:
- UI/Layout/CenterPane/ApprovalAction
- UI/Layout/CenterPane/ApprovalHtml
- UI/Layout/CenterPane/ApprovalJson
So, to customize any one of them, be sure to create a copy with the “CustomElements/“ prefix (see examples below).
Step By Step Guide
1. Create a new jsp CS Element called CustomElements/UI/Layout/CenterPane/ApprovalAction (and share it to all sites)
2. Copy the code from UI/Layout/CenterPane/ApprovalAction into the new element
3. Around lines 43-45, you will see these lines of code:
List<AssetId> assetIds = GenericUtil.retainDistinctElements(GenericUtil.emptyIfNull(AssetUtil.toAssetId(GenericUtil.toObjectList(GenericUtil.asList(request.getParameterValues("assetIds"))))));

List<UIApprovalBean> result = GenericUtil.transformSourceList(assetIds, new GenericUtil.Transformer<AssetId, UIApprovalBean>() {
4. Copy the assetIds list into a new list (since GenericUtil.retainDistinctElements() returns an unmodifiable list, so we need to create a new one in order to add to it). Place the following code directly below the line beginning with List<AssetId> assetIds (shown above):
ArrayList<AssetId> newAssetIds = new ArrayList<AssetIds>();
for ( AssetId aid : assetIds ) {
     newAssetIds.add( aid );
}
5. Write your own logic to lookup whichever assets you want to add to the list, and add them to newAssetIds
AssetId myPageAsset = < … write whatever logic you need here to get the desired assets … >
newAssetIds.add( myPageAsset );
6. Update the list variable name in the line:
List<UIApprovalBean> result = GenericUtil.transformSourceList(assetIds, new GenericUtil.Transformer<AssetId, UIApprovalBean>() {with
List<UIApprovalBean> result = GenericUtil.transformSourceList(newAssetIds, new GenericUtil.Transformer<AssetId, UIApprovalBean>() {7. Save your custom element. This will take effect immediately.
8. Be sure to COMMENT your code, DOCUMENT your customization, and WRITE DEBUG MESSAGES to the log file.
Further Considerations
1. If you want this customization to apply only to a certain site, you can wrap your custom logic in code such as:
if ( “FirstSiteII”.equals( ics.GetSSVar(“site”) ) ) {
     … my custom logic here …
}
2. If you want this customization to apply only to a certain asset type, you can edit the code that creates the newAssetIds list. For example:
ArrayList<AssetId> newAssetIds = new ArrayList<AssetIds>();
for ( AssetId aid : assetIds ) {
     newAssetIds.add( aid );
     if ( "myAssetType".equals( aid.getType() ) ) {
          ... my custom logic here ...
     }
}
3. If you want to toggle which row items are highlighted automatically, you can customize the UI/Data/CenterPane/ApprovalHtml element. Around line 73 in this element, you will see this line:
<script type="dojo/connect" event="_onFetchComplete">fw.ui.GridFormatter.selectAllRows('<%=gridId%>');</script>You can add logic such as the following to deselect certain rows:
<script type="dojo/connect" event="_onFetchComplete">
fw.ui.GridFormatter.selectAllRows('<%=gridId%>');
var customBoolean = ... enter custom logic here to do whatever you need ...
if ( customBoolean ) {
     var _ad = dijit.byId('<%=gridId%>');
     if (_ad) {
          _ad.selection.deselect(_ad.rowCount - 1);
     }
}
</script>- Log in to post comments
