Dude, Where's My Block?

Blocks have gotten a whole lot of core functionality in Drupal 8. The new interface can trip you up as you get used to the changes, especially when you start adding Views blocks into the mix.
Drupal 8 Block Overview
Drupal 8 blocks are managed from the same location as in Drupal 7, Admin > Structure > Block, but the new menu, with tabs for Block Layout and Custom Block Library, is your first hint that something has changed under the hood.

The Block Layout page looks fairly similar to it’s Drupal 7 counterpart with the noticeable exclusion of the Add Block links. You see a list of blocks ordered by the region where they are currently placed. A change in the block listing table itself is the new Category column. Out of the box, Drupal 8 has block categories like Menus, core, Help and System.
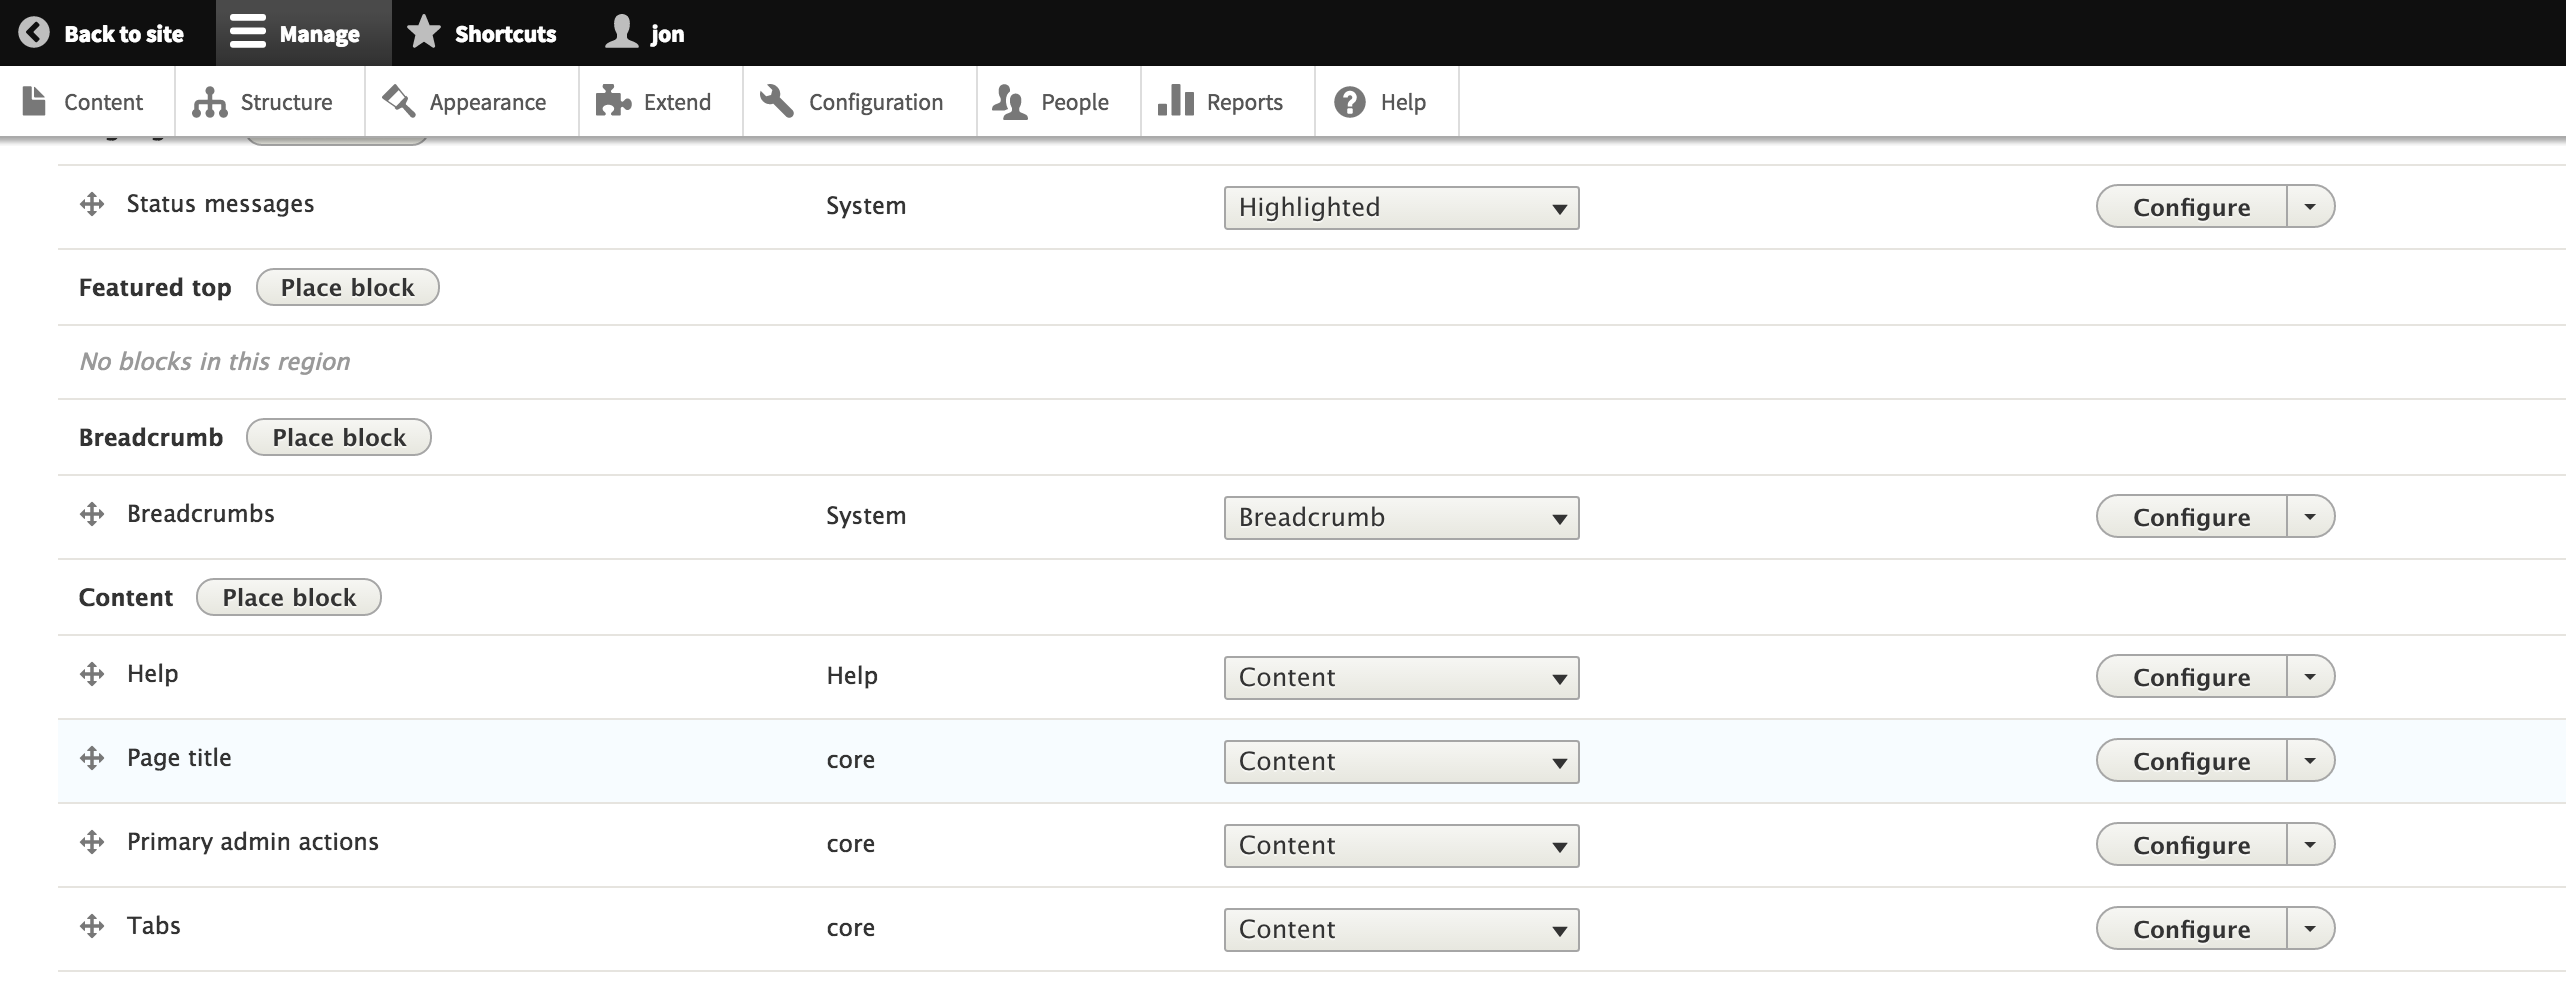
A neat find in this default list is the Page title block.
You can configure the Page Title block, categorized a System block, to be hidden or shown on specific content types, for various roles and on individual pages or page groups just like any other block. This little tidbit alone solves a persistent annoyance from Drupal 7. In Drupal 7 we had a number of unsatisfactory options to handle the page title display ranging from custom CSS or template files to contributed modules.
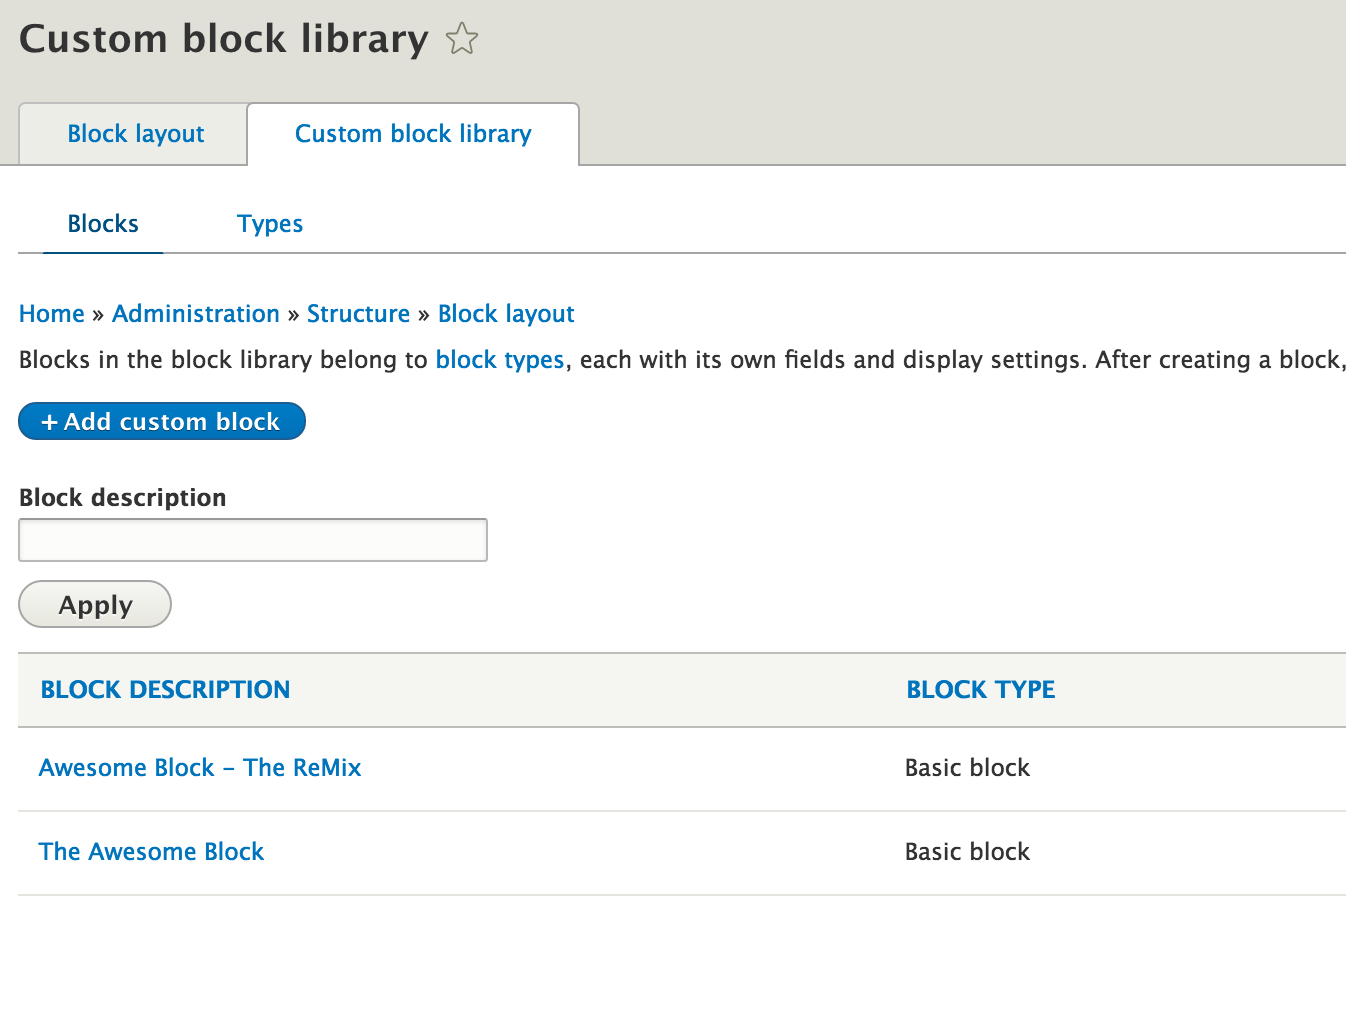
Leave the familiar Block layout page behind for the moment and click the Custom block library tab. Here you find a list of any custom blocks that you’ve created, a link to + Add custom block (that’s where it went) and an additional tab for block types. Clicking the Types tab, you can see that Drupal 8 supplies you with a starting block type, Basic block. Check out the operations available on this one to get a real peek at the block enhancements.
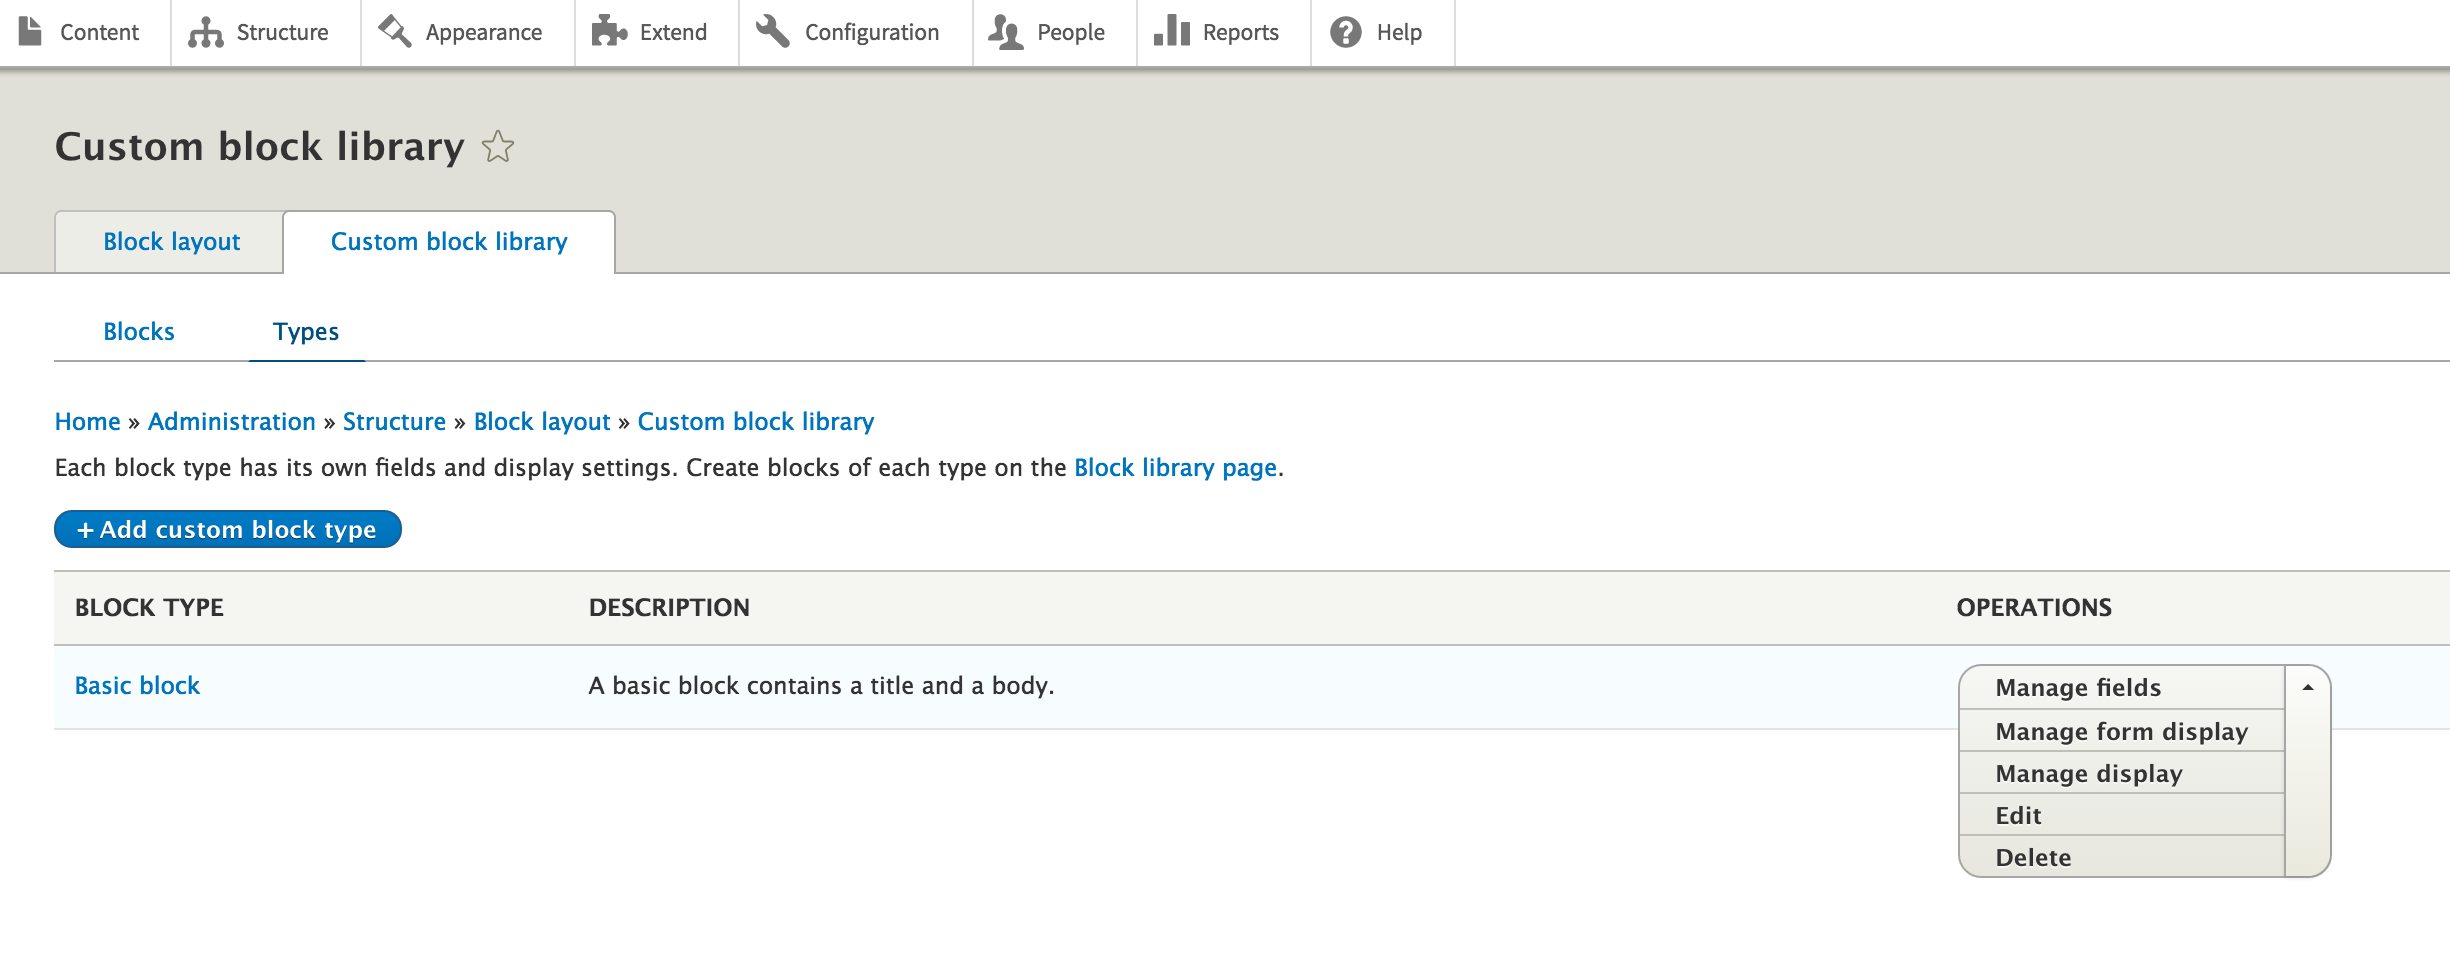
In Drupal 8 blocks have:
Fields
Display Modes

& Multiple Instances (You may place a block in more than one region at a time).
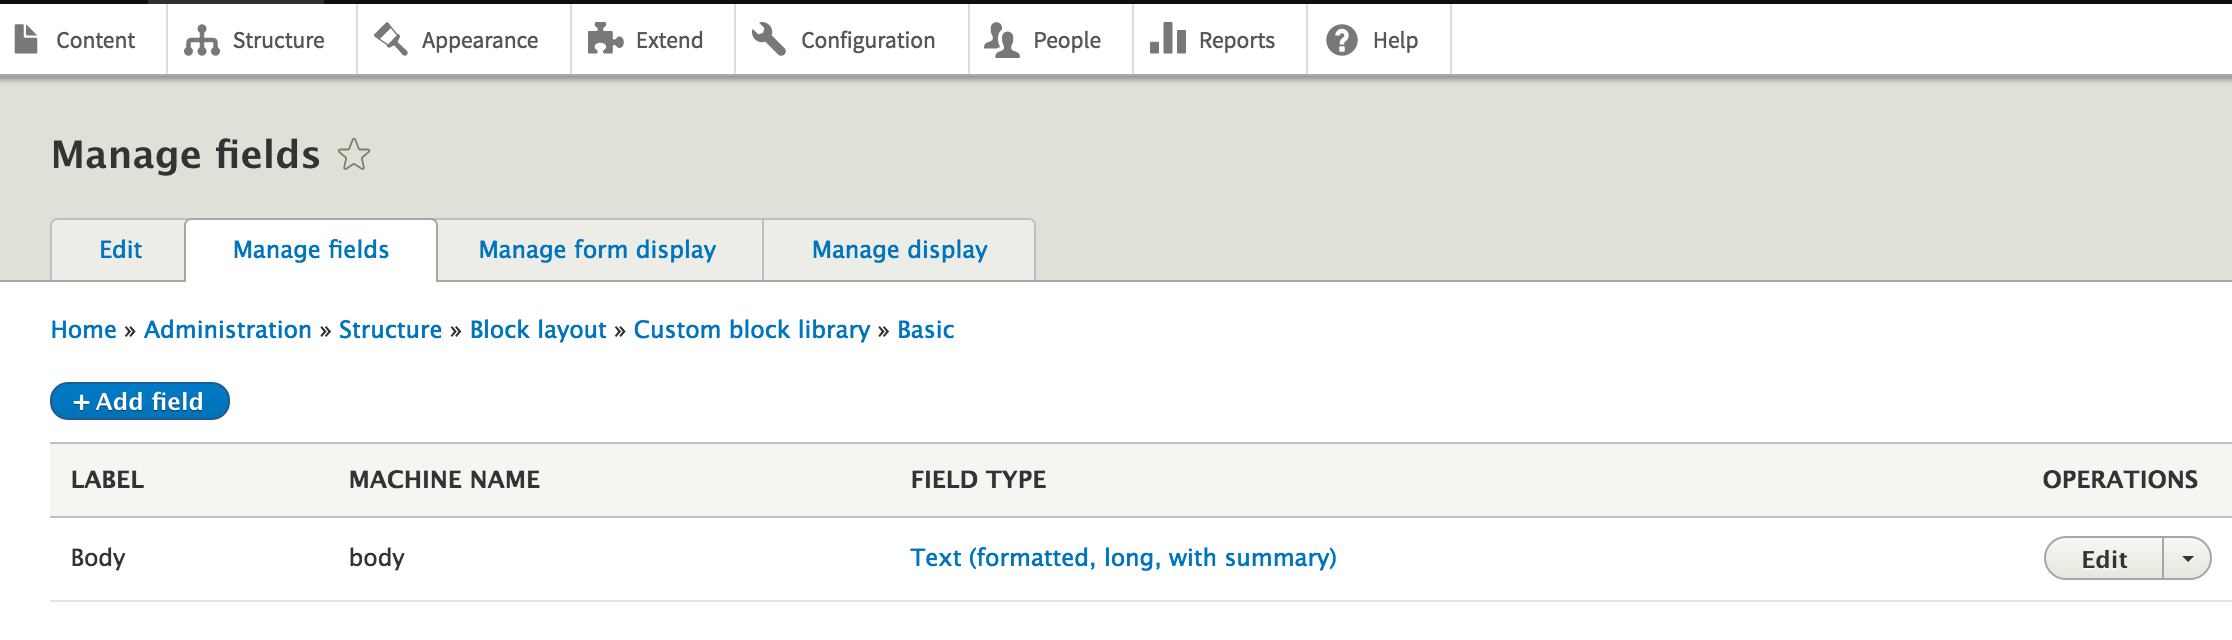
Hop back to the Custom block library and click Add custom block to create a basic custom block. Since we haven't yet modified the basic block type, we only need to fill out the Title and Body but this screen could have as many fields of any type as you need.
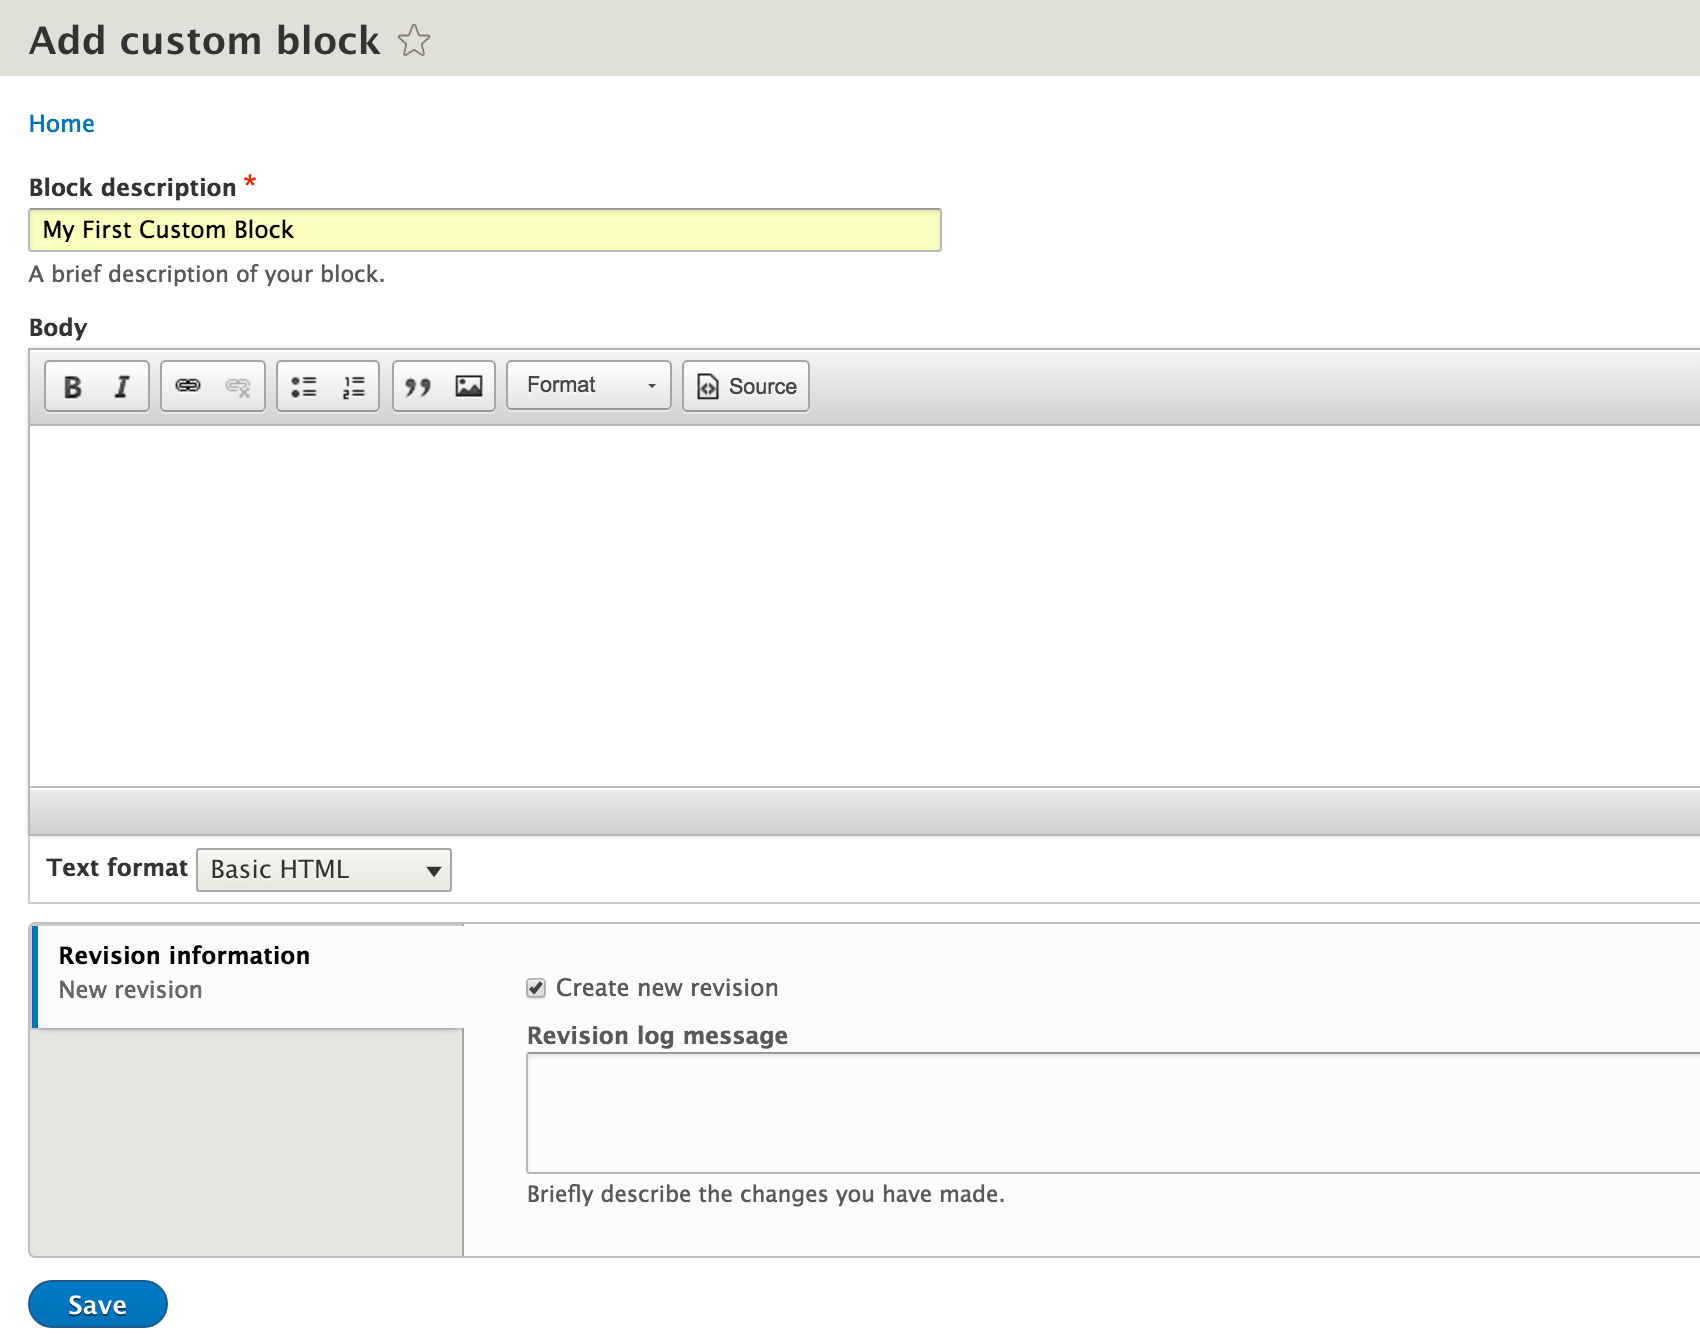
In Drupal 7 we needed to add the Bean (Block Entities Aren’t Nodes) module to get this kind of functionality. In fact, that’s exactly what’s happened here since the Bean module was added to Drupal 8 core. And just like in a Bean-enabled Drupal 7 site, you can create your own block types, field them the way you want and even create custom View modes.
Views Blocks
When I created my first block in Drupal 8, it was actually in Views, not in the custom block library. I had jumped into a project mid-stream and saw that my colleague needed a list of a certain type of content for one of their pages. Fairly standard procedure since the Views module that we all love so much from Drupal 7 is also in Drupal 8 core. I was ready to hit the ground running and headed right over to Admin > Structure > Views > Add.
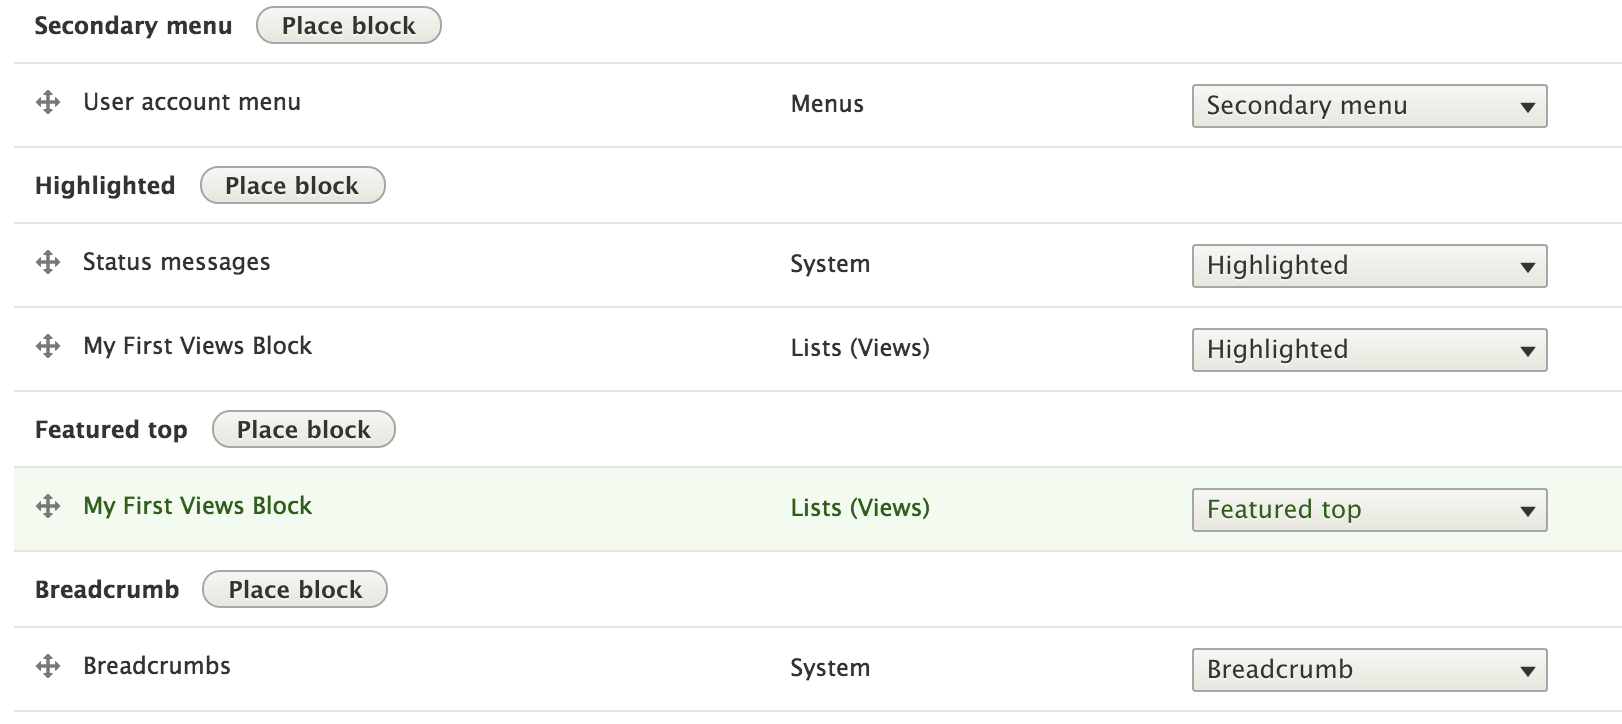
There were no surprises in creating the views block I needed. I was happy with the preview at least. Next up, add it to my colleague’s page. Back to Admin > Structure > Block. After a quick scroll through the list, I had my first “Dude” moment.
There’s a quick reminder that we’re not in Drupal 7 anymore. My Views block isn’t listed on this page.
Of course, there's nothing to be alarmed about. This is actually a nice feature of the new multi-page block management. The block layout page will stay nice and tidy, only showing those blocks that you’ve actually placed in various regions of your theme.
Go ahead and review the list. The “My First Custom Block” that we created earlier is no where to be found on the block layout page either. Why? Because we haven’t placed it yet.
Placing a Block
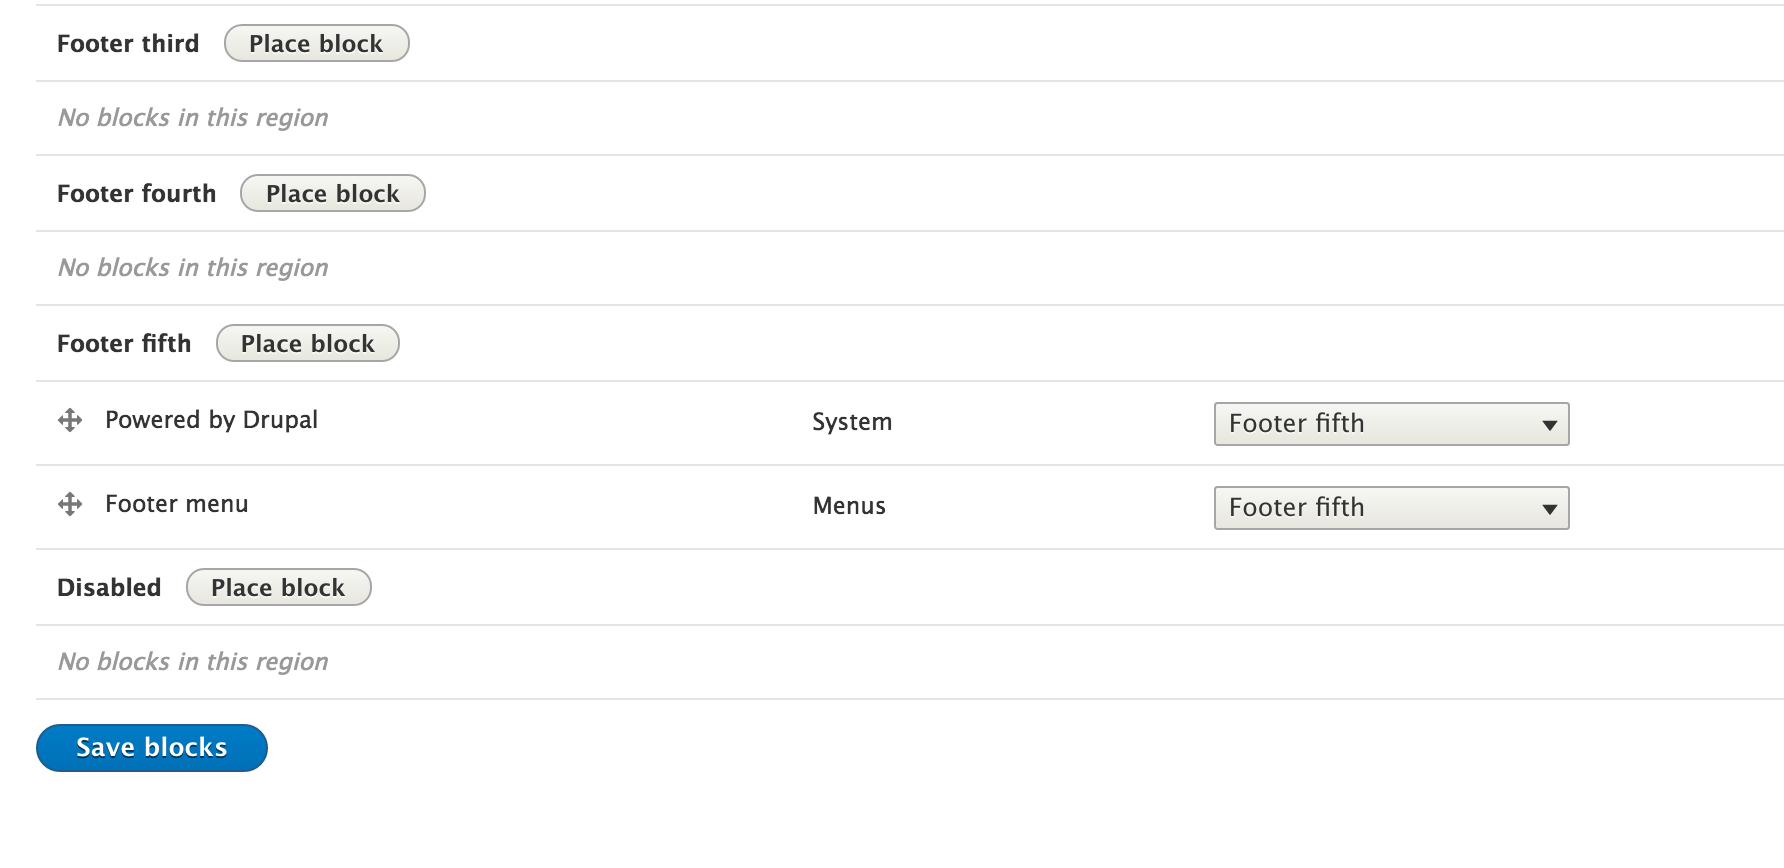
Let’s test this out with the custom block we created. Go ahead and click Place block in one of your regions. I’m choosing Sidebar first. A list of the blocks available for placing appears. A nice touch for navigating the list is the Ajax, autocompleting name filter.
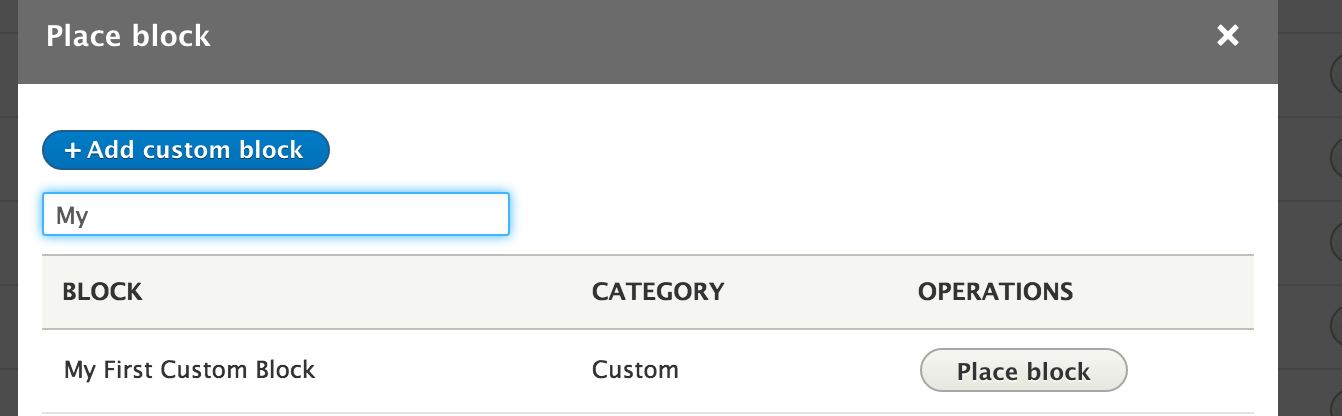
There it is! After clicking Place Block we see the familiar block settings configuration, albeit with a couple of enhancements.
1. A checkbox for Display Title – which means we no longer have to type in <none> to hide the title of a block
2. View mode – you can select Full or Default view modes for now. You can create your own at Admin > Structure > Display-modes > View.
The same method is used to place Views blocks. Placing another block and using the autocomplete filter quickly finds the simple Views block I created.

But while the placement method is the same for both custom and Views blocks, Views blocks are not listed in your custom block library. I suppose that makes sense, as Views blocks aren't created from the custom block library section.
On the other hand, at least both types of blocks have Drupal 8's awesome inline editing available to them. This handy little edit icon let's us jump quickly to both the configuration and editing screens for either type of block.
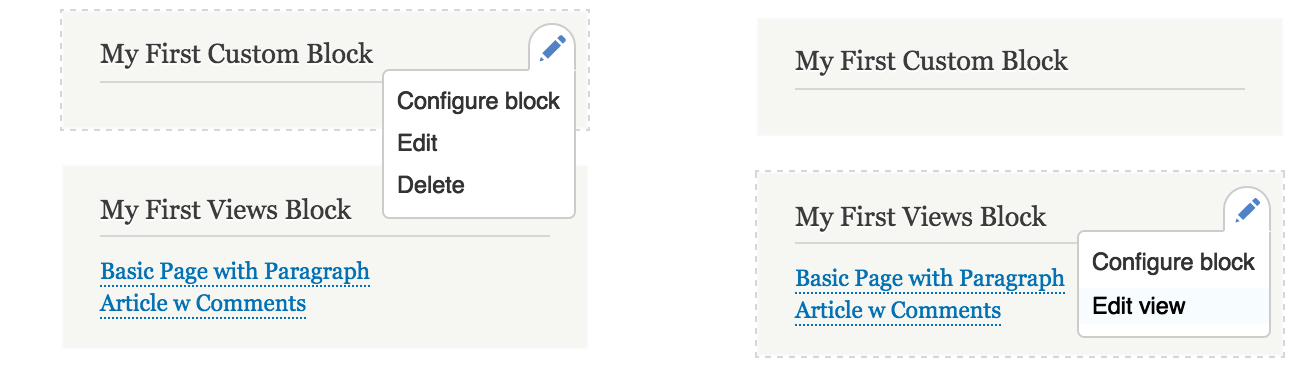
The only visual difference in the contextual editing links for these different types of blocks are that there’s no quick edit link or delete option on a view block.
WARNING: I would avoid the contextual delete link even for custom blocks. If you delete a block from the contextual menu, it deletes every instance of that block! Drupal 8 offers up an interstitial warning page when you do but that's cold comfort when someone clicks confirm in a rush.
It may be a safer bet to disable your custom blocks by setting their region to None until you’ve run through these scenarios a few times. Hitting the delete link from the block layout page is perfectly safe. That link only deletes the instance of the custom block that you've placed.

This next example of Where’s My Block? threw me for a loop for a minute. Here’s the scenario.
Blocks ARE Entities now. Right, we’ve established that. But hold on. That means that we can now reference block from within our content types via the Entity Reference field! One of my favorite examples of that is in Paragraphs. The Paragraphs module lets you define custom content displays for pieces of your content types. Check out the two part blog series on Display Suite & Paragraphs by my colleague Casey Fox for more details.
With block entities, we now have the option to reference blocks in paragraph instances. For example, you can define a paragraph type that uses JavaScript to dynamically display blocks. You can define the CSS for the paragraph and the blocks themselves, letting the end user concentrate of content creation.
For the purposes of this post, let’s create a simple paragraph type that allows you to reference three blocks.
First create a new paragraph type at: Admin > Structure > Paragraphs Type. I’m going with the inspired name of “3 Block Paragraph”. Then add 3 entity reference fields.
Create the field label, e.g. Block 1 and set the type of item to reference. You can select Content from the initial list.
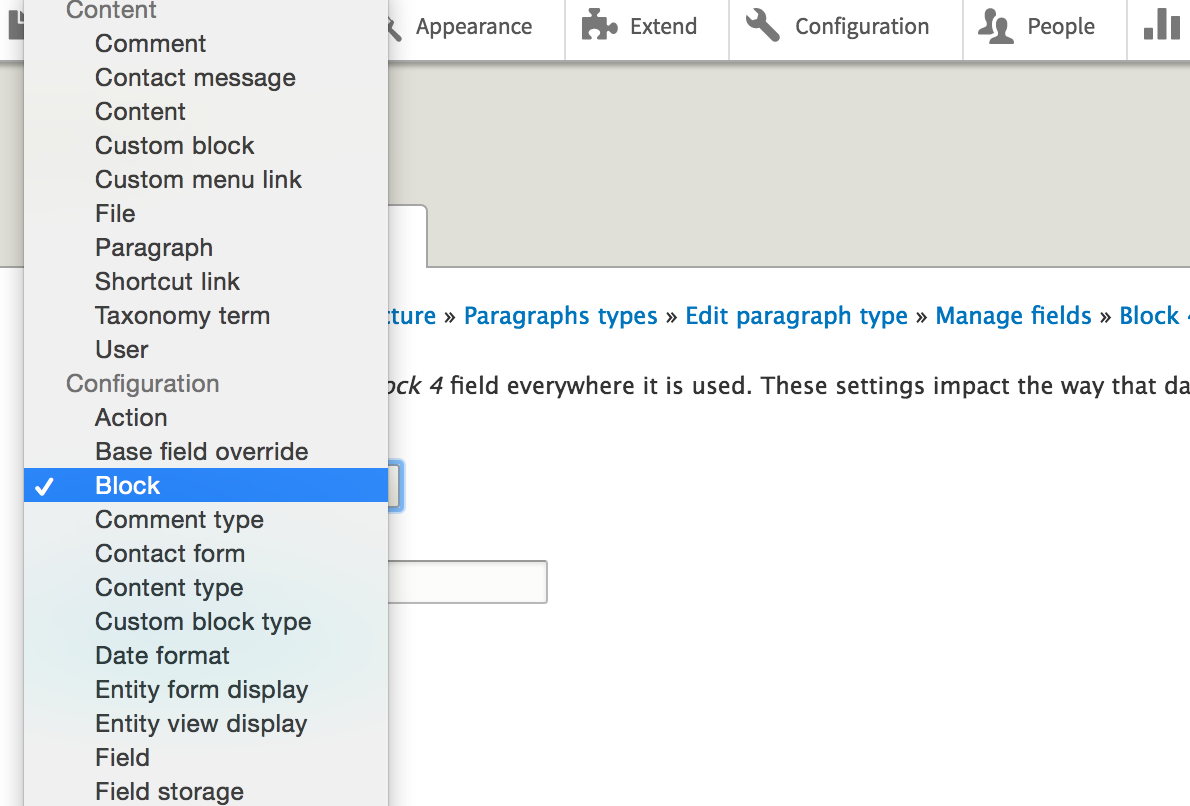
Important Note! There is an option to reference Content: Custom blocks in the dropdown. That option seems to makes sense, we want to show off our blocks here. But this option is VERY specific. If you select Custom block, then you can only reference blocks from the Custom block library. NOT blocks created from views. We want to be able to mix it up as needed so instead we’re going to choose Configuration: Block.
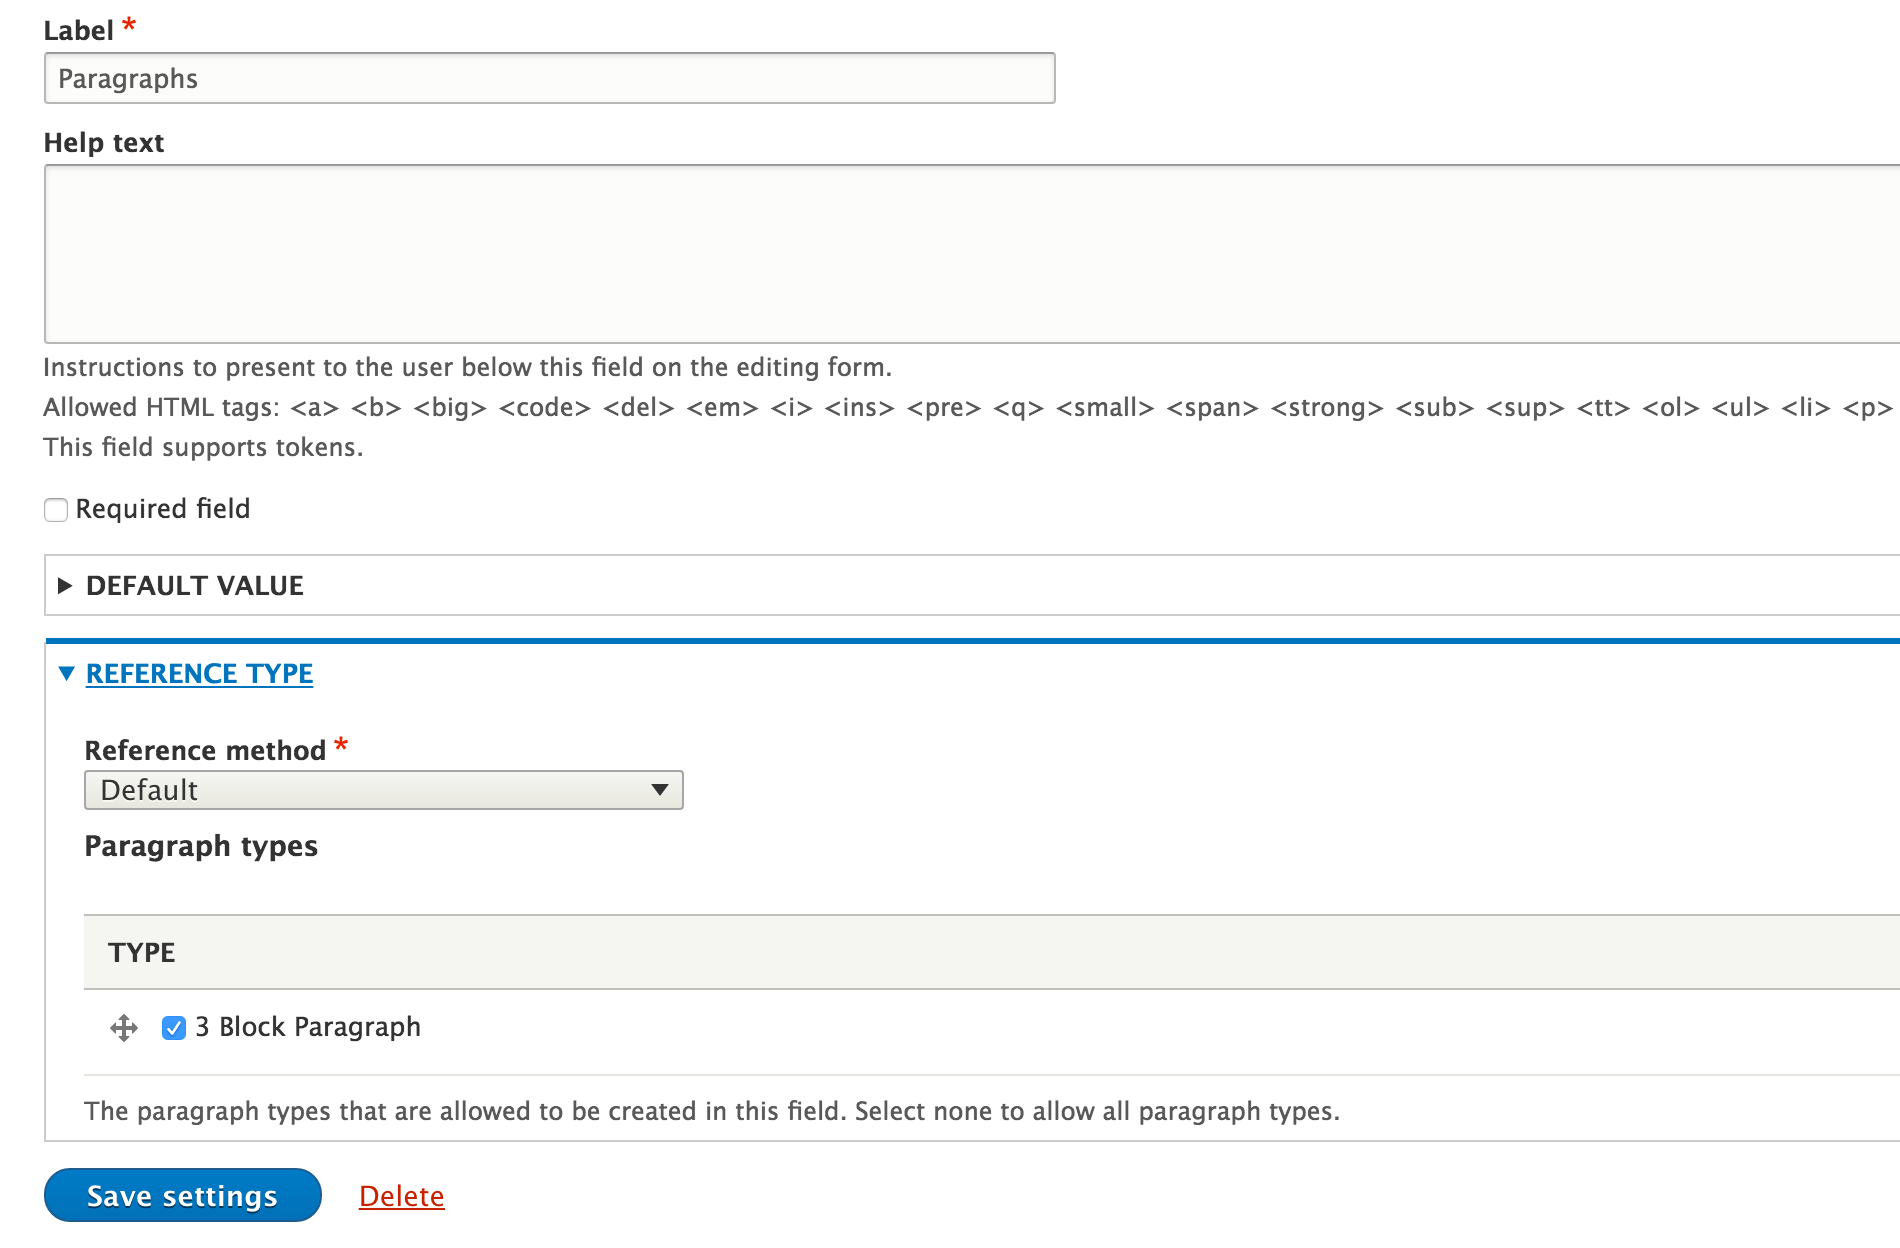
Now that we have our paragraph type created, we can go ahead and add it to a content type so we can use it. I’m using the basic page content type for this so I go to Admin > Structure and click manage fields on the Basic Page content type. Click + Add Field and choose Paragraph under Reference Revisions. I’m calling my new field Paragraphs. Set the Type of item to reference to Paragraph. In the settings for this field you can select which paragraph types you want the end user to be able to use with this content type. In our case, there’s only 1 available, the 3 Block Paragraph we created earlier so I enabled that option and clicked Save Settings.
We’re going to want some blocks to show off our new paragraph bundle so go ahead and create a couple more custom blocks in the Custom block library at Admin > Structure > Block.
Then head on over to Admin > Structure > Views and add a view block. I just needed a block with content so I left the default options of all content titles linked and just checked off Create a block.
Now we’re ready to see this block paragraph in action. Create a new basic page and click Add 3 Block Paragraph.
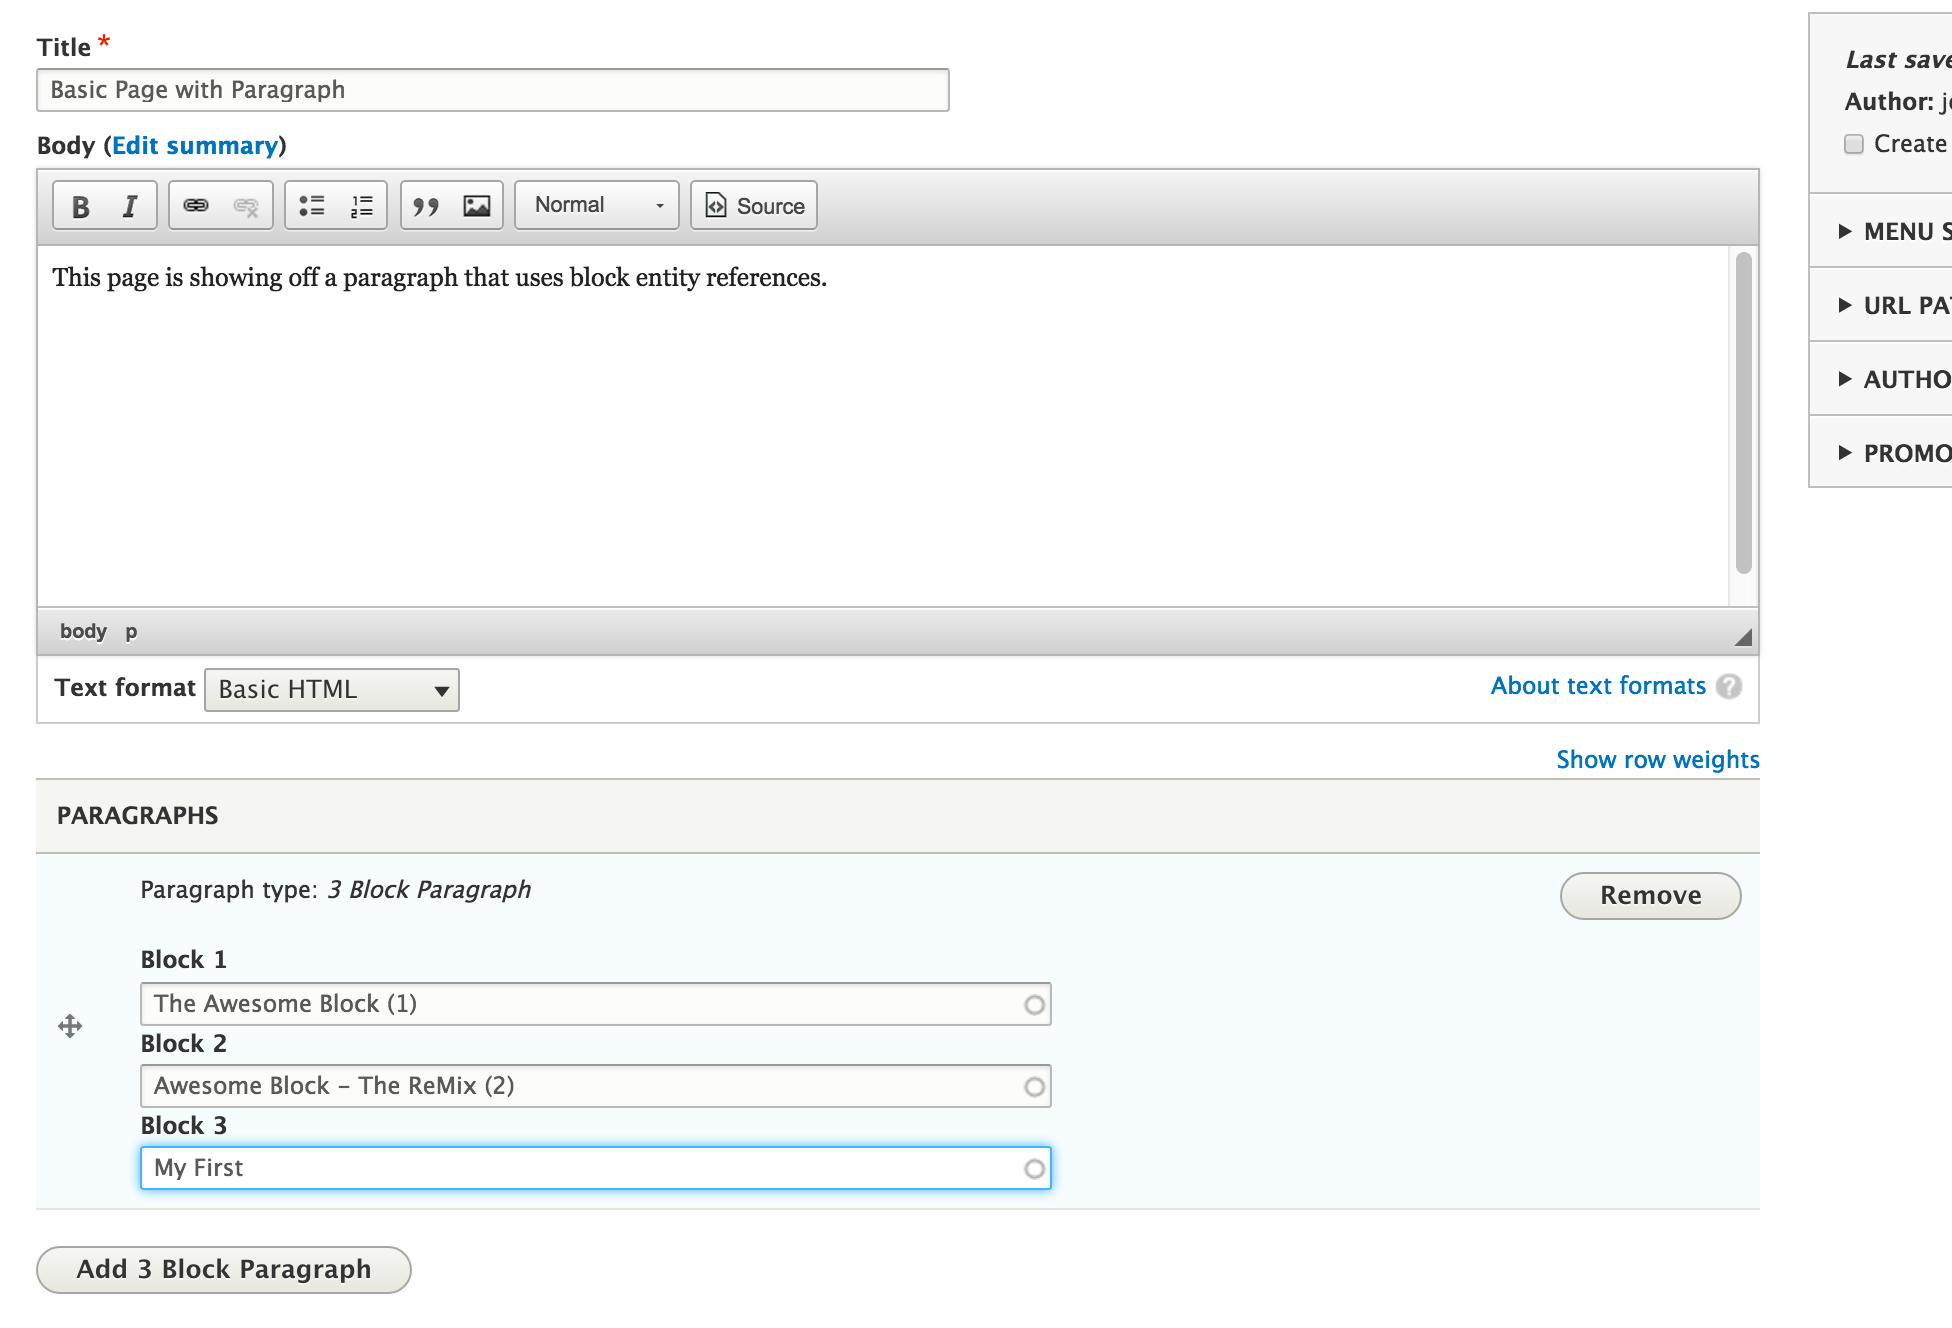
We’re presented with three autocomplete text inputs so let’s fill in the names of the blocks we want to display on this page. The two custom blocks from our library filled in easily enough but nothing is suggested when I start typing the name of our Views block.
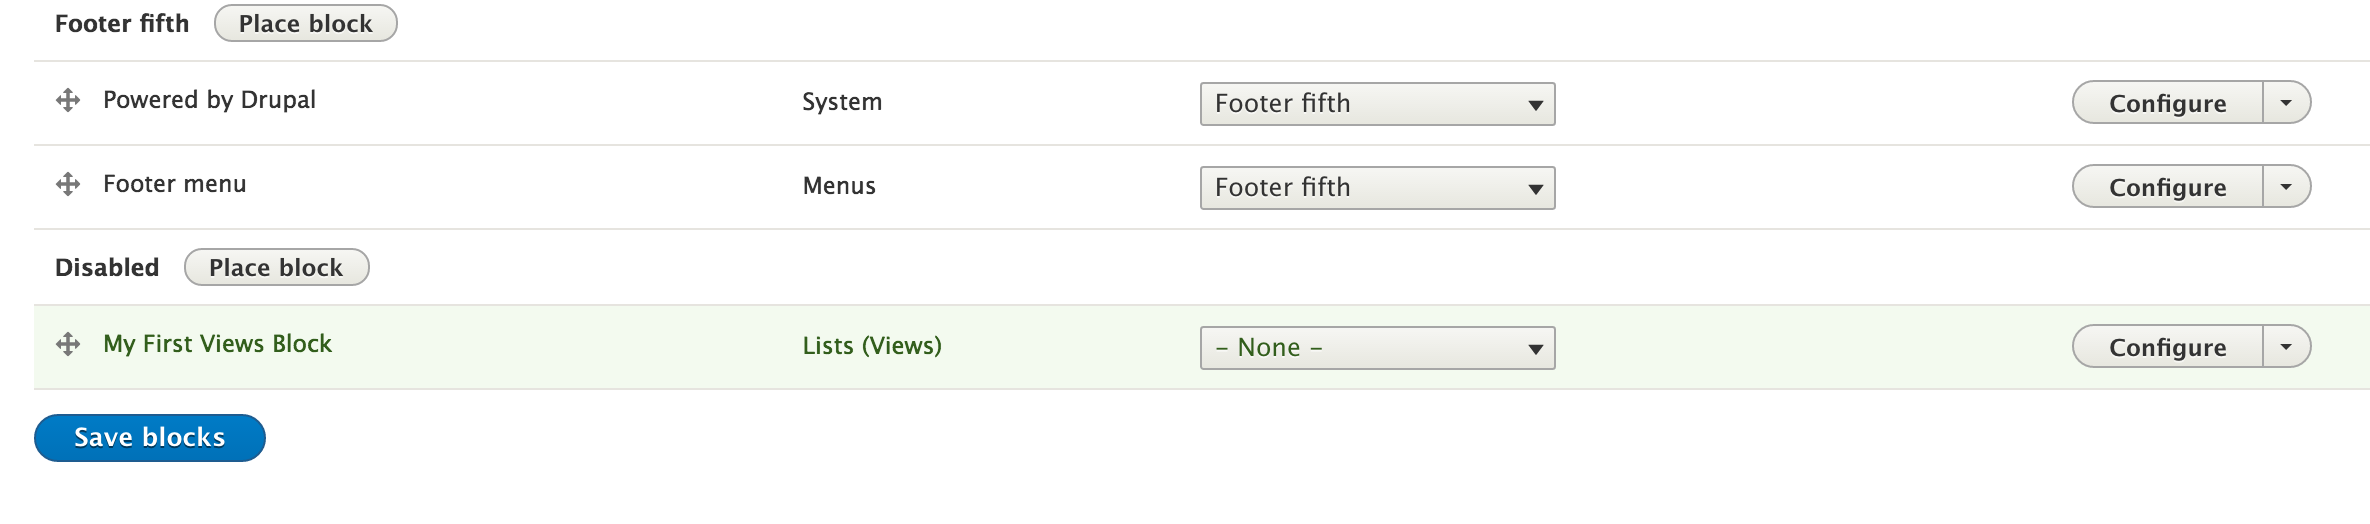
And that’s the last idiosyncrasy I encountered with blocks in Drupal 8. You can’t make an entity references to a Views block unless you first place that block! The workaround we used to allow the end users to select views blocks was to create an empty region in our custom theme. In my default install’s theme, Bartik, we can use the Disabled region. Place your Views block here and make sure you leave the Region set to None.
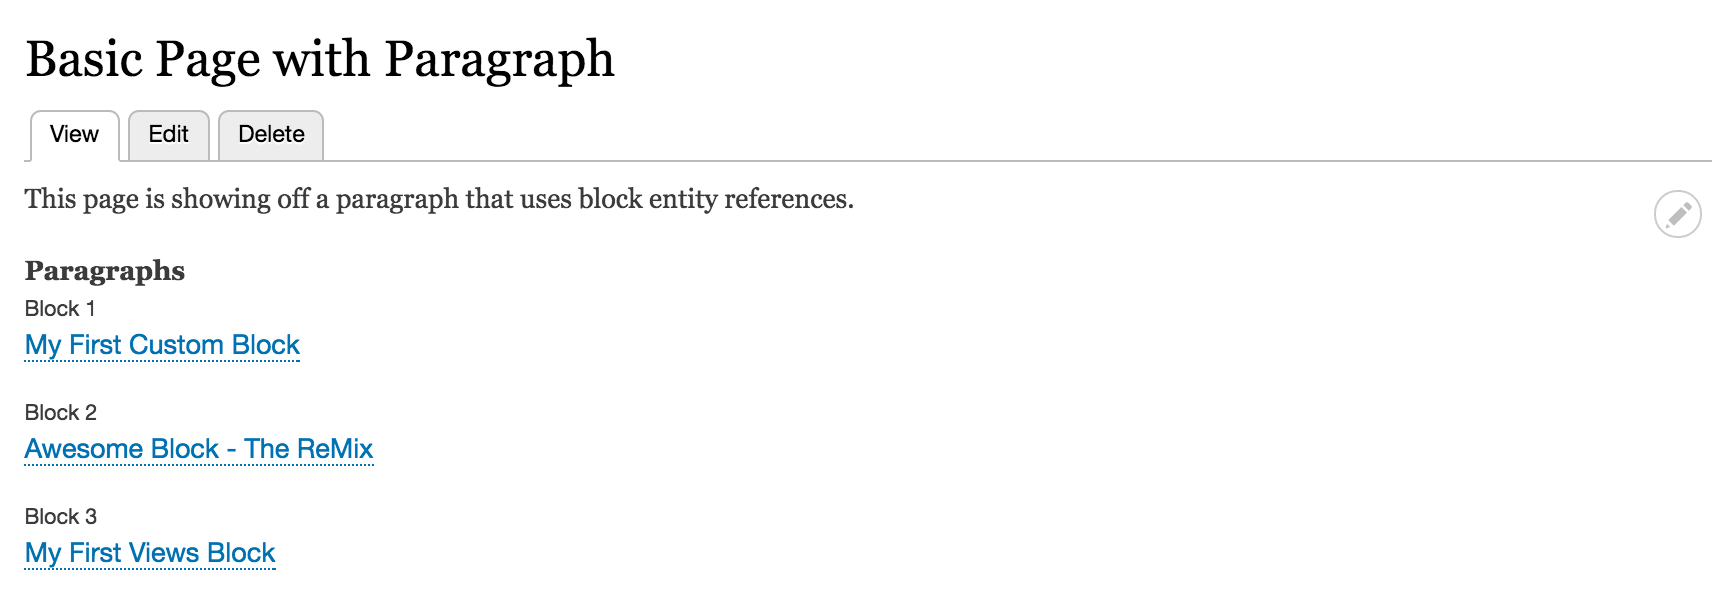
Go back and edit the basic page you started before and this time the Views block is available. Click save and you can see the paragraph display your two custom blocks alongside the Views block.
I hope you've enjoyed this overview of custom and Views blocks in Drupal 8. With so much block functionality in Drupal 8 core, I look forward to seeing what others will do with it.
- Log in to post comments
