Using event types and tags to create an accelerated datamodel search
Accelerated data models have made performing searches over large periods of time and/or large amounts of data extremely fast. This blog will go through an easy, cut through, step by step procedure on how to create a custom search while leveraging the CIM data model.
Example Use Case: Monitor all Windows user/computer account creation.
Step 1: Make sure Windows data is coming into Splunk according to best practices. This means the data should be properly indexed, sourcetyped, etc.
Step 2: Search splunkbase for any existing Windows TAs. For this example, the Splunk Add-on for Microsoft Windows will work for Windows data.
Step 3: Download the TA.
Step 4: Open the TA. In the default folder, open the eventtypes.conf. Search the eventtypes.conf for any event types that may be useful to search for events involving user/computer account creation. For this example, the event type below will fulfill our use case.
[windows_account_created]
search = sourcetype=*:Security (signature_id=4720 OR signature_id=4741 OR signature_id=624 OR signature_id=645)
#tags = add
Pay particular attention to how these event types are tagged.
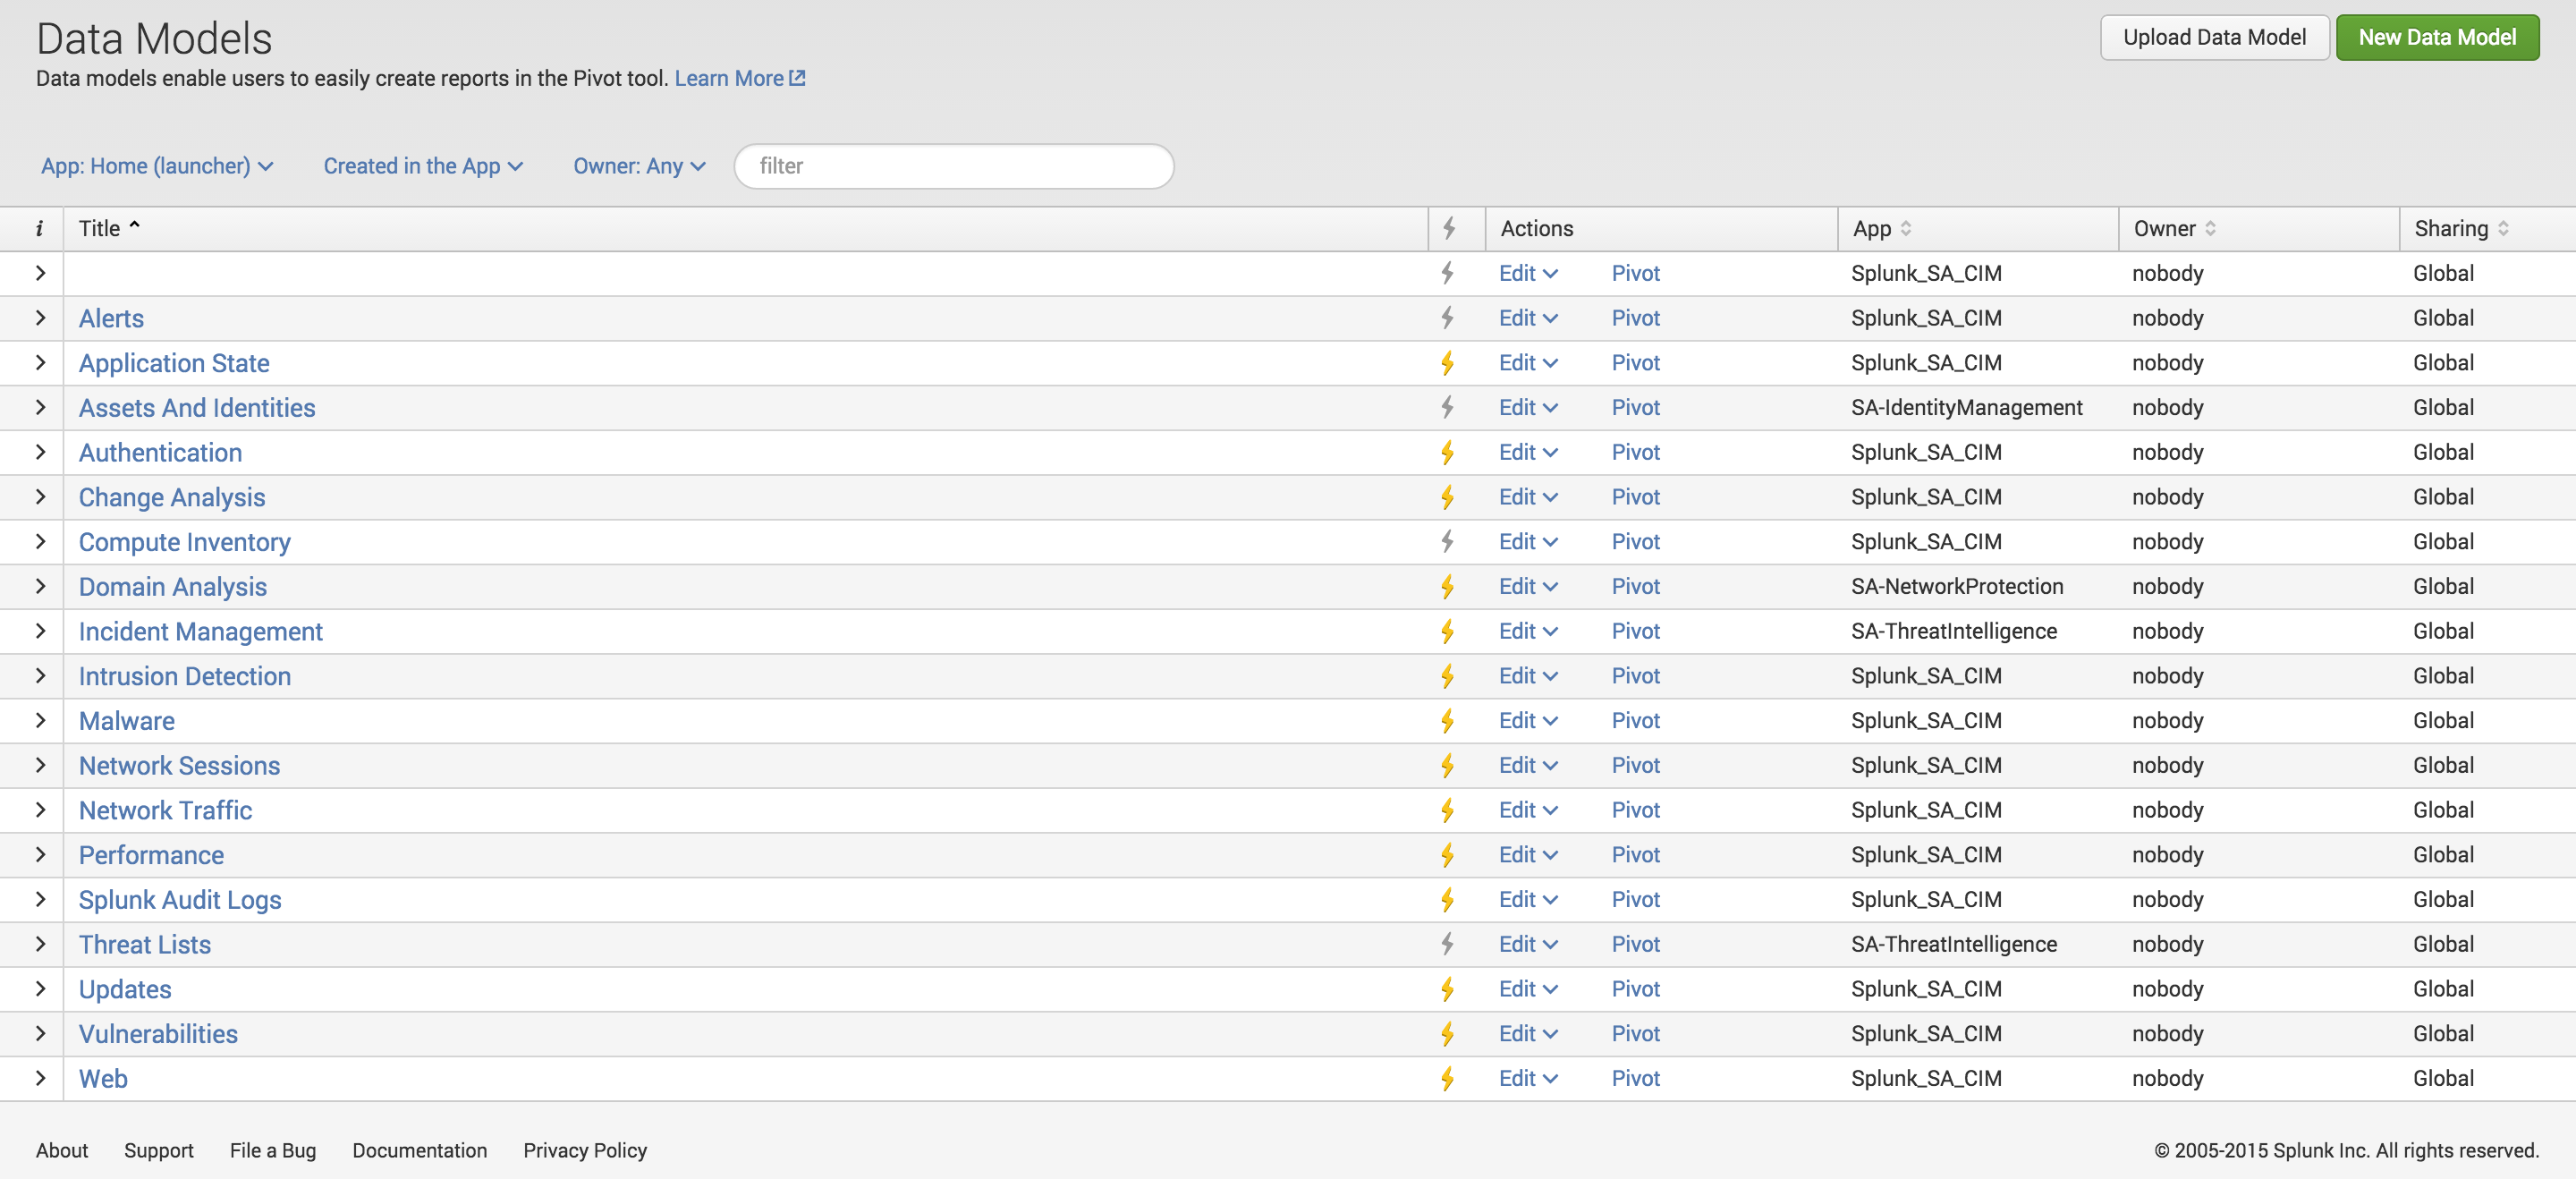
Step 5: Through the Splunk GUI, go to Settings > Data models. Search through the CIM data models to find the data model that best matches the use case. For this example, the Change Analysis data model can be used to fulfill our use case.
Step 6: Identify the appropriate child object(s) within the selected data model. For this example, we will utilize the Created Accounts child object. Take notice of the constraints for the child object, specifically the tags (tag = change, tag = account). The tag(s) is what connects the event type to the data model. This means that the event type tag(s) must match the data model child object tag(s) in order to leverage the data model. For this example, the tag(s) do not match. We will have to edit the default setting in a local folder.
Step 7: Create a local folder. Within the local folder, create an eventtypes.conf and a tags.conf file.
Step 8: In the eventtypes.conf file, copy the windows_account_created event type from the default eventtypes.conf file to the local eventtypes.conf file. When copying the event type over, be sure to customize the event type. I usually add the organization name to the beginning of the event type name.
[<organization name>_windows_account_created]
search = sourcetype=*:Security (signature_id=4720 OR signature_id=4741 OR signature_id=624 OR signature_id=645)
#tags = change account
Notice that the commented tags match the tags in the Created Accounts child object.
Step 9: Add the event type to the tags.conf.
[eventtype = <organization name>_windows_account_created]
change = enabled
account = enabled
Step 10: Debug/refresh Splunk through the GUI to allow the configuration changes to take affect.
Step 11: We are now ready to create the accelerated data model search using the tstats command.
| tstats summariesonly=true count
FROM datamodel=Change_Analysis
WHERE nodename=All_Changes.Account_Management.Accounts_Created
GROUPBY _time span=1s index sourcetype host All_Changes.user
For additional guidance on creating accelerated data model searches, reference the Splunk doc link below.
http://docs.splunk.com/Documentation/Splunk/6.2.2/SearchReference/Tstats
- Log in to post comments
